
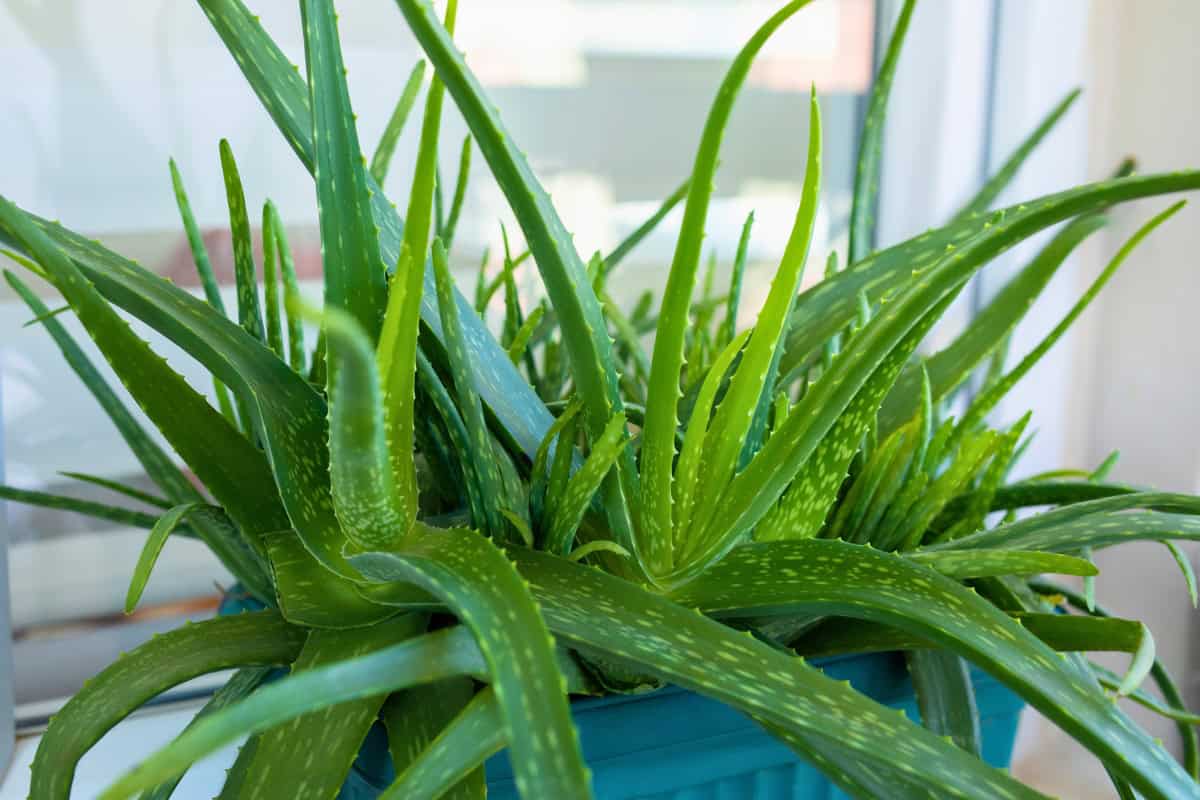
Almost everyone recognizes aloe vera: the spiky windowsill resident waiting for the next accidental kitchen burn. It’s practically indestructible.
In fact, the quickest way to kill an aloe is caring too much. Give it bright light, hold back on the water, and it will happily thrive for years. In this guide, we’ll cover:
- The biggest watering mistake to avoid
- How to avoid burning your aloe plant
- Soil tips to keep roots from rotting
- Quick trick to propagate new pups
- How to safely harvest clear gel
Let’s get started!
How to Choose a Healthy Aloe
Aloe is a huge genus of plants that includes close to 400 species, so choosing a particular plant can be tricky. If you’re looking for a true aloe vera plant — the kind used for aloe vera gel — it can be sold as aloe vera, Aloe barbadensis, or medicinal aloe.
This plant originally grew in the dry, rocky landscape of northern Oman in the Middle East. Today, it grows wild in warm places all over the world.
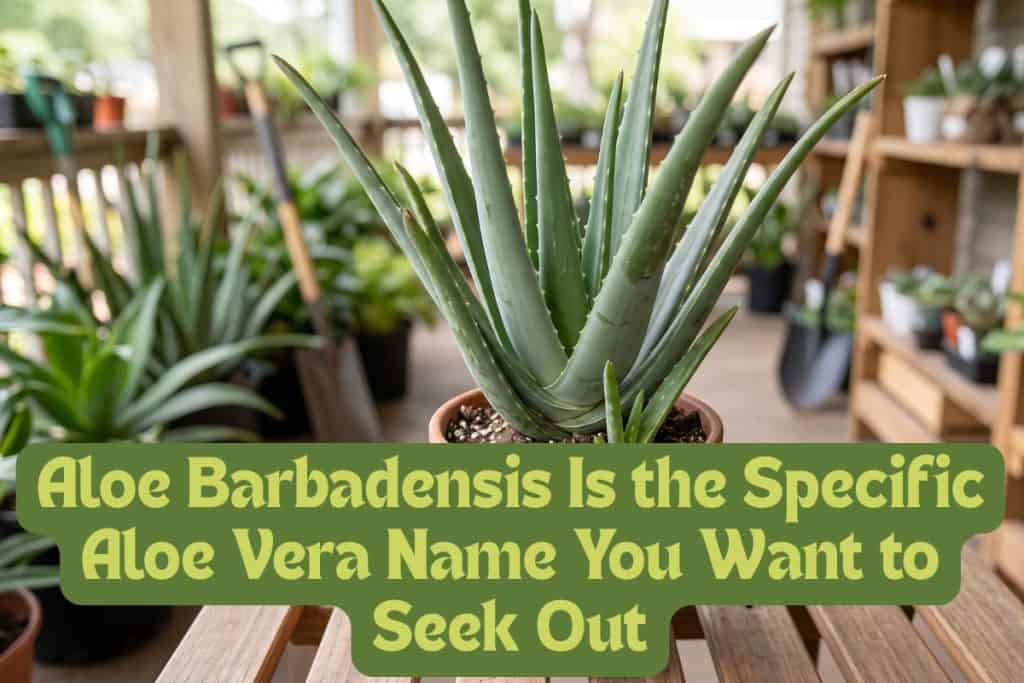
The desert heritage hints at aloe vera’s growing preferences. These plants store water in their leaves so they can wait out long dry spells. They’re also simple when it comes to care: Pick a healthy one and match it to the light you actually have, and the rest of the care falls into place.
Aloe Vera Plant Varieties
- Aloe Vera (Aloe barbadensis): This plant is used for aloe vera, and it’s a Royal Horticultural Society Award of Garden Merit winner. It’s also sold as Barbados aloe, medicinal plant, or burn plant.
- ‘Pink Blush,’ ‘Christmas Carol,’ and ‘Bright Star’: These varieties are colorful compact hybrids that are grown for their appearance, not for gel.
5 Details to Look for in an Aloe Vera Plant
- Firm, plump, gray-green leaves that stand up on their own.
- A soft, black, or reddish-brown base — that’s rot, and it’ll spread.
- Tall, stretched plants with drooping, widely-spaced leaves. These were grown in too little light.
- A pot that already has a pup or two at the base for better value and easy propagation.
- Roots poking out of the pot’s drainage holes, a sign it’ll need repotting soon.
Learn how to choose other kinds of succulents in our growing guide here.
Get Light and Plant Placement Right
Light is the first detail you need to get right, because most long-term aloe vera problems start here.
The proper amount of light will produce a tight rosette crown. Too much sun too suddenly, on the other hand, can scorch tender leaves before the plant has a chance to adjust.
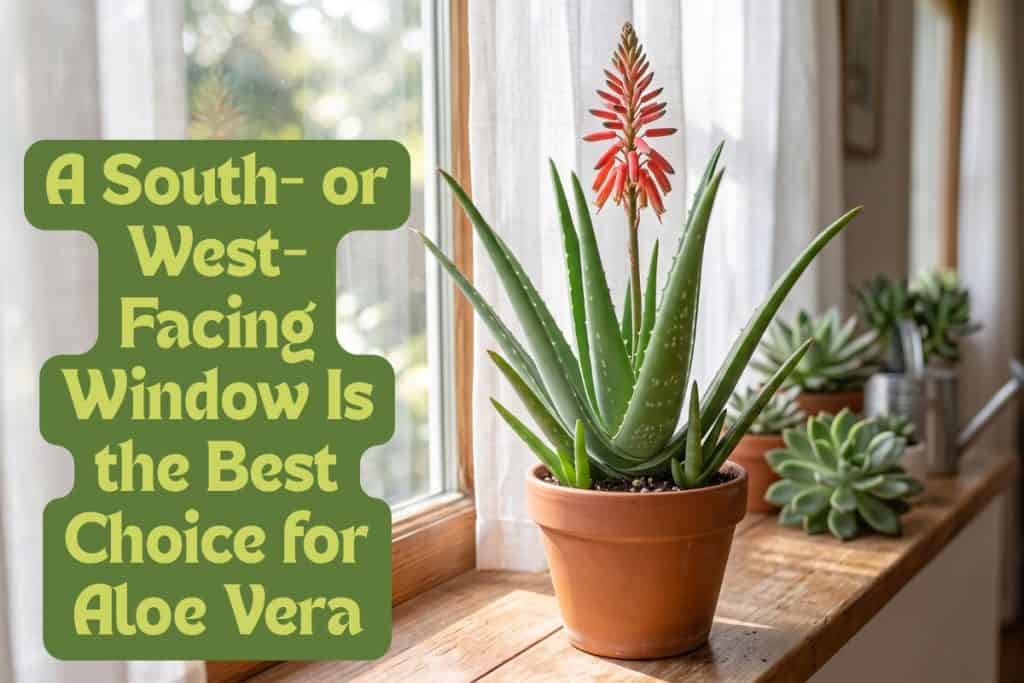
Give Aloe Vera Bright, Consistent Light
An aloe vera plant wants steady, bright light year-round. In ideal light, aloe may bloom, sending up a tall spike of tubular flowers.
If you need to move it into a brighter, sunnier spot, ease it into stronger sunlight gradually. This is especially important for a plant brought home from a retail shelf, where it may have been grown or displayed in softer light.
Placement matters, too. Window glass can act as a magnifying lens, intensifying the sun’s rays. So, you’ll want to think twice about how much light comes in through any window (and how close your plant should sit).
How to Get the Light Right
- Give aloe plants a bright spot with several hours of direct sun.
- Place near a south- or west-facing window; an unobstructed east-facing window works, too.
- A dim north-facing room usually won’t offer enough light.
- When moving a plant outdoors for summer, do so gradually over a week or two so it doesn’t sunburn.
- Pale, stretched, or leaning growth means a plant needs more light.
- Brown or bleached patches are the result of too much direct sun too fast, so pull plants away from windows.
Choose a Quick-Drying Soil and Container
Aloe naturally grows in sandy deserts, so this plant wants soil that drains quickly and holds plenty of air. The roots need to breathe between waterings, so if you put aloe vera in heavy, rich soil that stays wet, it’ll suffocate and rot from the bottom up.
Similarly, choosing a container that holds water for weeks works against everything the plant is built for.
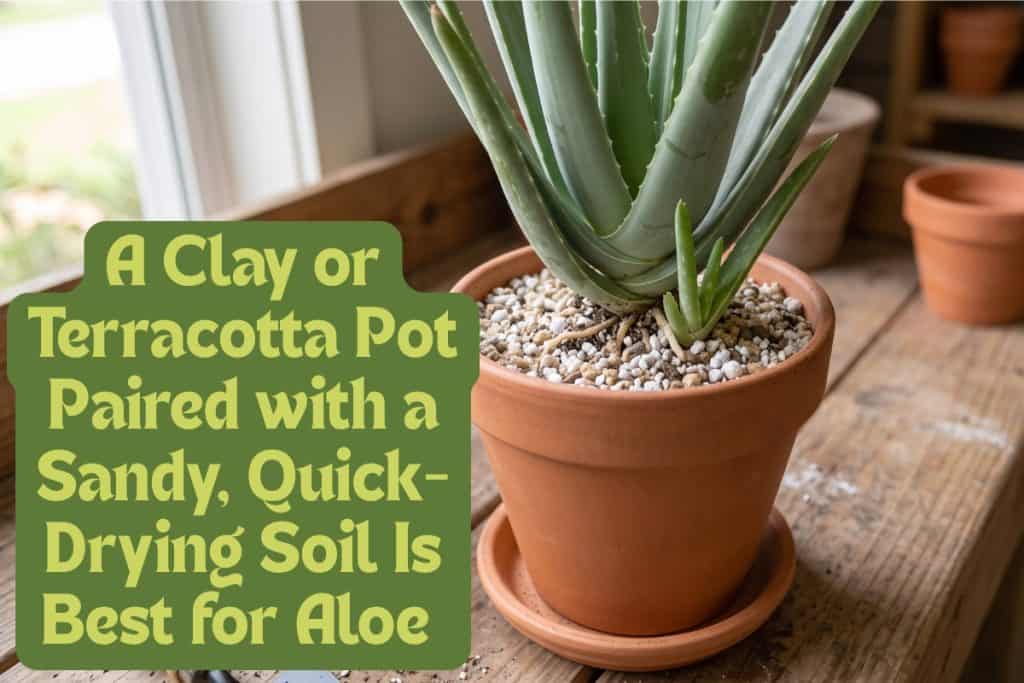
Aloe also grows in sandy, nutrient-poor ground in nature, which is another reason a dense, moisture-holding potting mix works against it: it stays wet and feeds soft, weak growth.
Many store-bought aloe vera plants come potted in exactly that kind of soil, which is chosen to help them survive shipping and weeks spent sitting on a shelf.
5 Steps to the Perfect Soil and Pot
- Use a cactus or succulent mix for aloe vera plants. Alternatively, use a 50-50 mix of regular potting soil and coarse sand or perlite.
- Choose a pot with several drainage holes, not just one.
- Opt for clay or terracotta pots, which wick moisture out of the soil for faster root zone drying.
- Don’t fuss over pH; aloe can handle acidic, neutral, and alkaline soil.
- If your plant came in a dense, wet soil mix, move it into a fast-draining blend right away.
How to Water Aloe Vera Plants
Overwatering is the main cause of death for aloe vera plants, because constant moisture rots the roots and then the base. Once rot sets in, it can move fast, and it usually can’t be reversed.
Underwatering is the better mistake to make. A thirsty aloe puckers and its leaves go thin, soft, and a little yellow, but it’ll plump right back up after being watered. Dry aloe forgives you, but wet aloe does not.
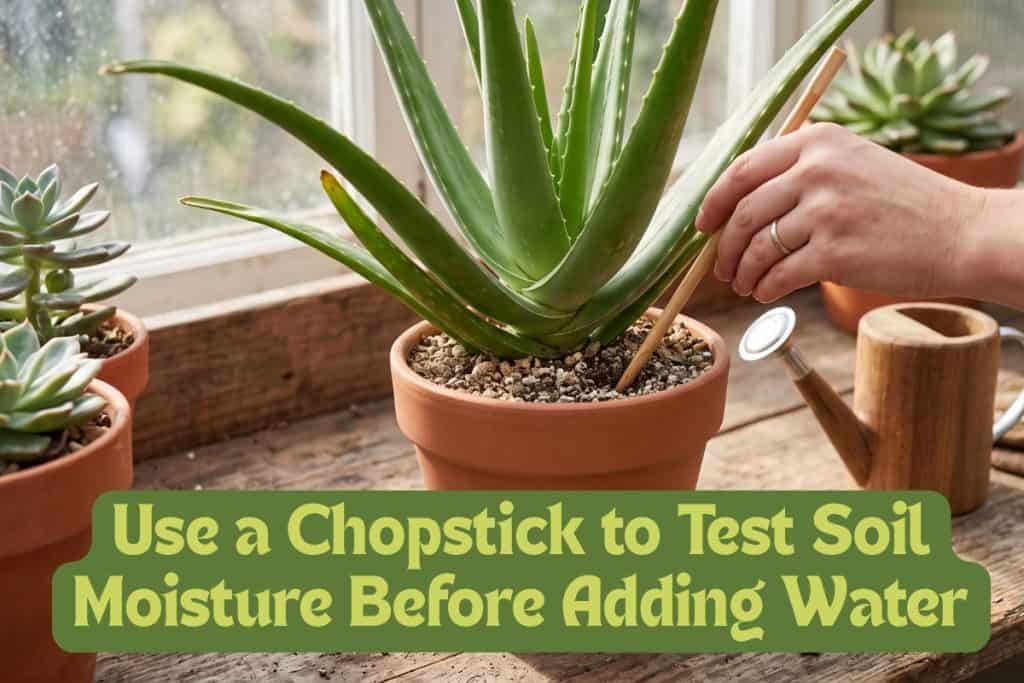
It’s also important to remember that in winter, aloe plants slow down and rest. As a result, this plant needs less water in the cold months than in summer.
Check the soil before you reach for the watering can and let the plant itself set the pace.
How to Water Aloe: 6 Steps
- Water only when the soil feels dry.
- Push a chopstick or wooden skewer into the soil. If it comes out dry with no soil clinging, it’s time to water.
- Water thoroughly, then let it drain completely.
- Never let the pot sit in a saucer of water.
- Water moderately through spring, summer, and fall.
- Cut back to the bare minimum in winter, when the plant is semi-dormant.
Master watering for other hands-off plants like snake plants in our growing and care guide here.
Consider Temperature and Humidity
Aloe vera doesn’t tolerate cold temperatures, and it cannot handle frost. A hard chill will damage the leaves, and a freeze will kill the plant. So, if you move it outside permanently, you’ll need to guard against cold above all else.
Humidity is the opposite, though. Aloe doesn’t want or need extra moisture in the air; it prefers dryness. The average home’s humidity, even during dry winter months, is ideal. You can skip the misting and pebble trays that fussier houseplants need.
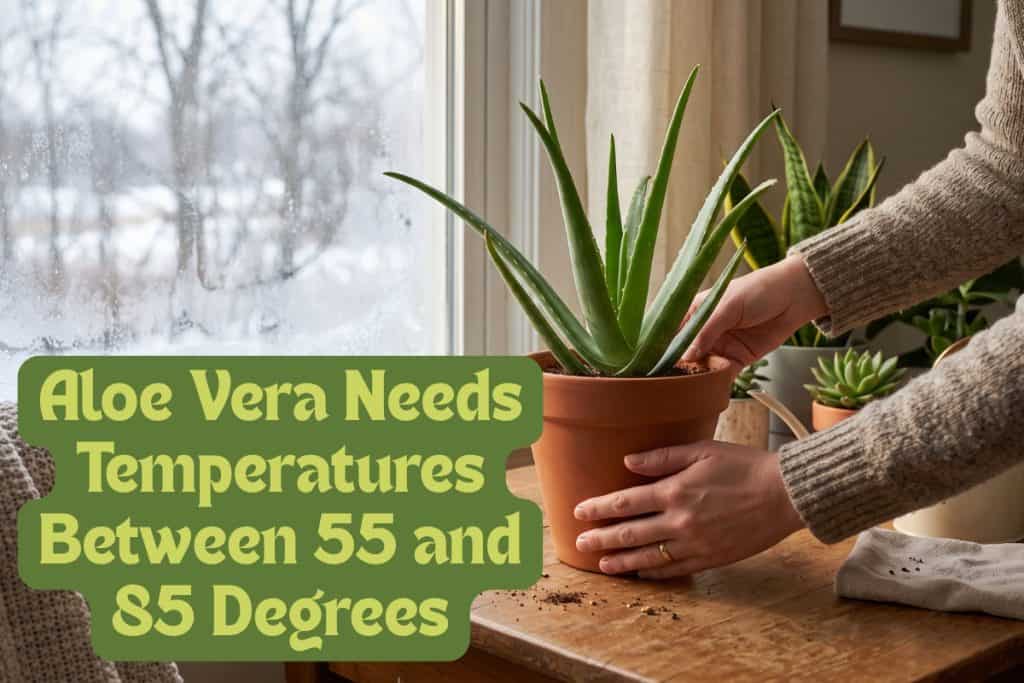
Keep Aloe in its Comfort Zone
- Aim for room temperatures between 55 and 85 degrees Fahrenheit.
- Don’t let the room drop below 50 degrees; that’s too cold for aloe.
- Bring summered plants indoors before fall nights drop below 50 degrees.
- Skip misting and grouping it with other plants.
Fertilizing Aloe Vera
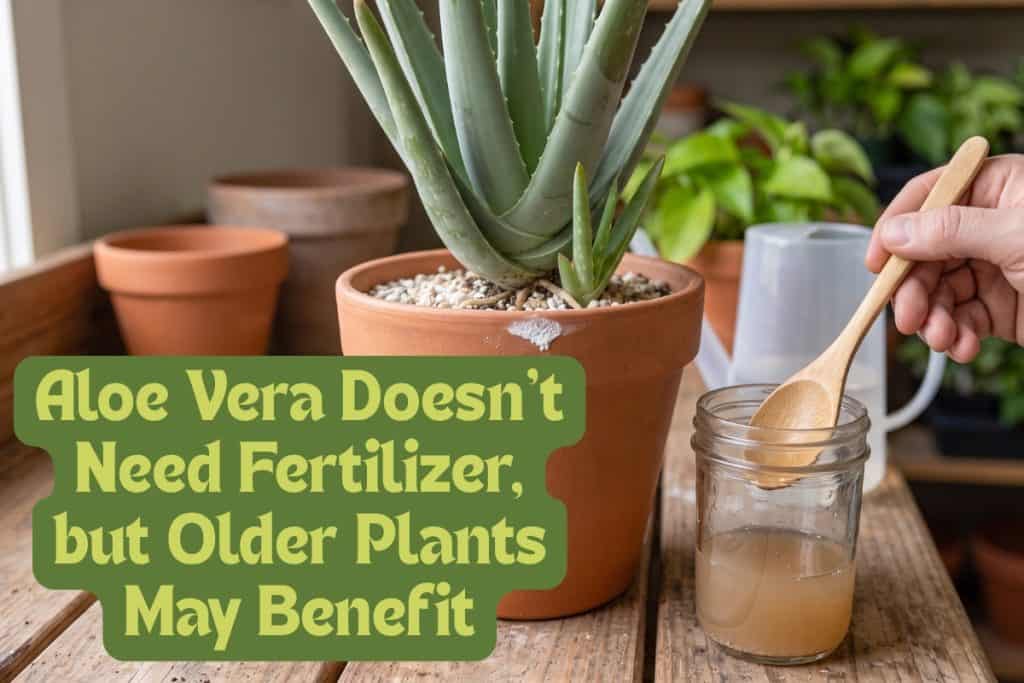
Aloe originated in poor, hungry soil, so it can stay healthy on very little. Feeding with fertilizer is optional, not required.
In fact, if you do add fertilizer, a heavy hand will do more harm than skipping it completely. Too much fertilizer promotes soft, weak growth and can burn the roots, which is the worst thing that can happen to a drought-tolerant plant.
Does Fertilizer Help Aloe Vera Plants?
There’s one specific use case where a light feed with fertilizer actually helps. A potted aloe slowly uses up the nutrients in its mix, and every watering rinses a little more out the drainage holes.
So, a plant that’s been sitting in the same pot for a year or two has fewer nutrients to draw on than a freshly repotted one. An older, never-repotted aloe is the one most likely to benefit from a weak seasonal feeding.
When in doubt, you should feed aloe vera less than you think.
If You Choose to Feed, Follow These Steps
- Use a balanced (8-8-8) or succulent liquid fertilizer at half the label strength. Fish emulsion is a great natural choice.
- Water the plant first, then feed, so the diluted fertilizer never lands on dry roots.
- Feed no more than once a month in spring and summer.
- Stop feeding completely in fall and winter.
- Wait to feed until 4 to 6 weeks after repotting or until you see new growth.
- Stop at the first sign of overfeeding: Soft, floppy leaves, stretched growth, or a white crust of fertilizer salts on the soil or pot rim.
Do Aloe Vera Plants Need Repotting?
Aloe vera doesn’t need to be repotted often.
However, there are a few reasons to repot your aloe; one is to encourage it to grow larger. The size of the pot helps set the size of the plant. If you keep it in a snug container, it will stay compact. Move it to a bigger one, and it’ll grow to fill the space.
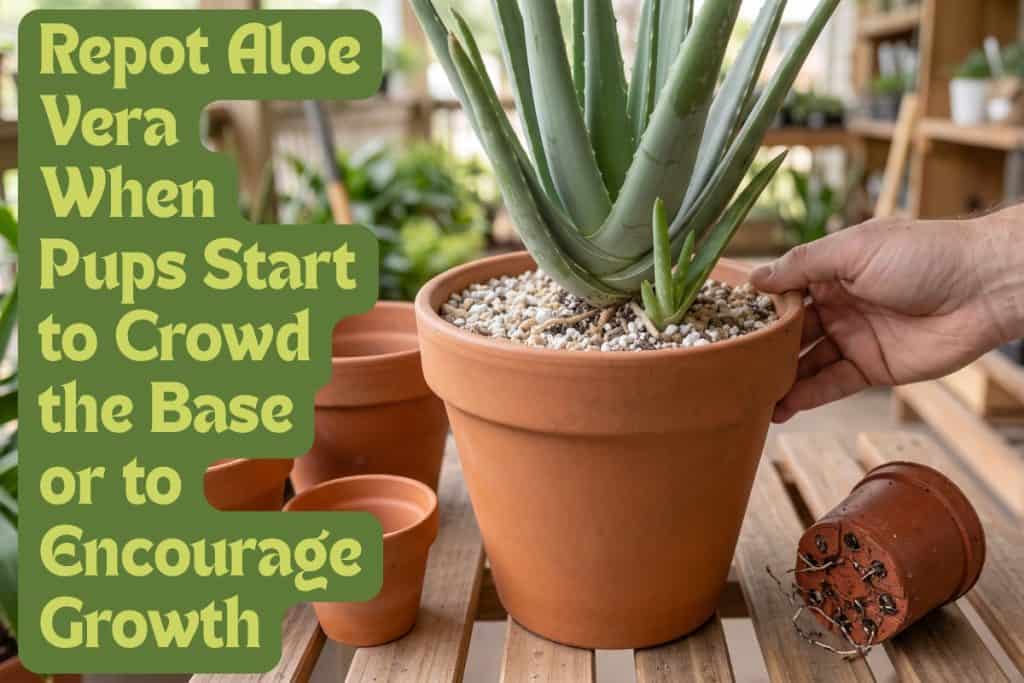
Repotting is a lever you can pull depending on how large you want your plant to get. The only risk is going too big too fast. A pot that’s much larger than the plant will hold a reservoir of soggy soil the roots can’t use, and that lingering moisture invites rot.
Pups crowding the base is another reason you’ll want to repot. When offsets fill the pot and roots start creeping out of the drainage holes, it’s time to give the plant fresh mix and a little more room.
How to Repot Aloe
- Move up no more than two pot sizes at a time.
- Use a pot with several drainage holes.
- Repot during the warm growing season so the plant settles in quickly.
- Set the plant shallow with the crown above the new soil line.
Propagating Aloe Vera
Turning one aloe vera plant into multiple plants is easy once you know the one rule that determines success. The new plant has to include tissue from the original plant’s base, where the root-forming cells live.
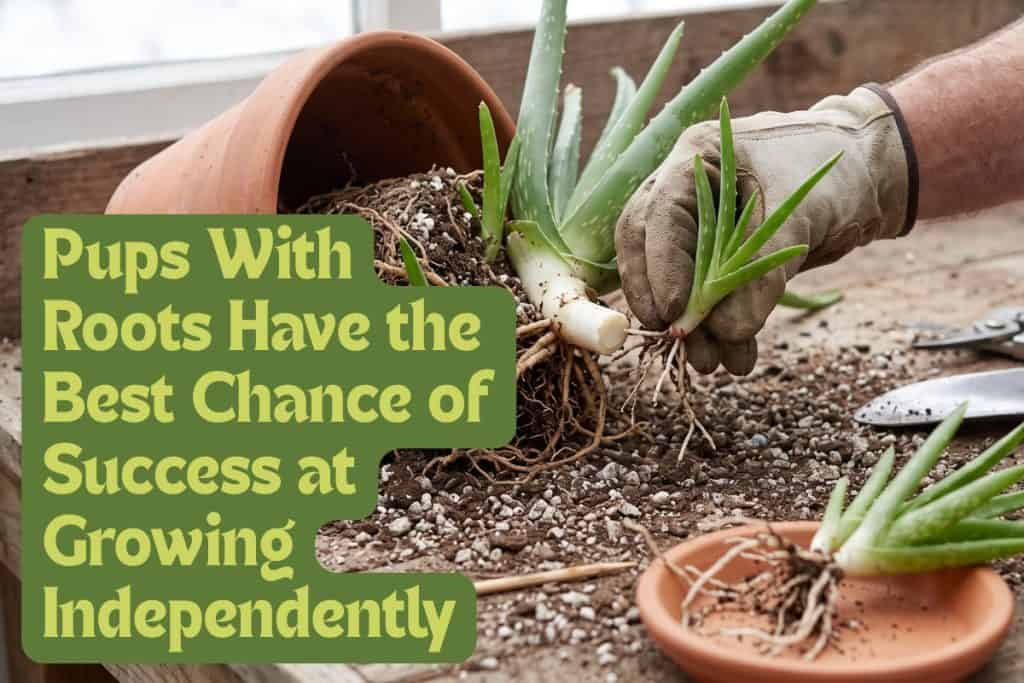
That’s why pups, the little offsets that sprout around the parent, work so well. A pup is already a small plant, often with roots of its own, so you aren’t starting from scratch. You’re just helping a baby move out on its own.
3 Ways to Propagate Aloe Vera
There are three ways to propagate aloe, but they aren’t equally effective:
- Pups: The most reliable by far, especially when the offset already has roots.
- Leaf Cuttings: Only works if you take some of the plant’s white basal tissue along with the leaf.
- Seed: The slowest and least certain method, and most home growers never bother with it.
It’s also worth noting that plant age matters, too. An aloe vera plant usually needs to be 2 or 3 years old before it makes pups. For a dependable result at home, pups win every time.
How to Separate and Pot a Pup
- Slide the aloe vera plant out of its pot.
- Brush the soil off the base so you can see where each pup joins the parent.
- Pick a pup that has its own roots and a few leaves 2 to 3 inches long.
- Ease it away from the parent with as little tearing as you can, exposing more of the base first if the roots are tangled.
- Let the torn or cut spot dry and callus for about 5 to 7 days.
- Pot it in a fast-draining mix, firming the soil just enough to hold it upright.
- Prop it up with a chopstick or wooden skewer if it won’t stand on its own.
- Water lightly at first. A little dryness pushes the pup to send out new roots.
If You Have No Pups: Rooting a Leaf
A leaf cutting is the fallback when an aloe vera plant doesn’t have offsets yet. The odds of success are low even when done correctly, so use a leaf you can spare.
Additionally, many leaves shrivel before they root. Expect misses and aim to try a few at once.
- Cut a whole outer leaf right at the base, taking a sliver of the white basal tissue with it.
- Let the cut end dry and callus for 5 to 7 days.
- Set the callused end in a fast-draining soil mix.
- Water only lightly.
Growing Aloe Vera from Seed
Aloe vera seeds are sold, and you can raise a plant from them, but you’ll wind up taking the long road.
Seedlings grow slowly and take far longer to reach a usable size than a pup does in a single season. They also require more care and steadier warmth along the way.
Most people only go this route to grow a variety they can’t find as a plant — or for the fun of it. If you want to try it, fresh seed and steady warmth give you the best shot.
How to Get Aloe Plants to Make More Pups
If your aloe vera is healthy but not producing pups, the fix is usually giving it the conditions it prefers. Bright light, a snug pot, and soil that dries between waterings all encourage pup production.
Soggy soil will block offshoots. However, two extra tweaks can help:
- A light monthly feeding in the growing season.
- A natural 10- to 15-degree drop from day to night.
Spider plants, are also easy to propagate if you follow the steps in our guide here.
Keep an Eye Out for Pests and Problems
A healthy aloe vera plant rarely develops diseases, but when it does, the cause is almost always one of two things: soil that stayed wet too long or a pest that went unnoticed until it spread.
Both of these problems are far easier to prevent than to cure. Rot is the most serious one. When the plant base or roots turn black or reddish-brown and go soft, cold and soggy soil is usually the cause. If caught late, the plant may not recover.
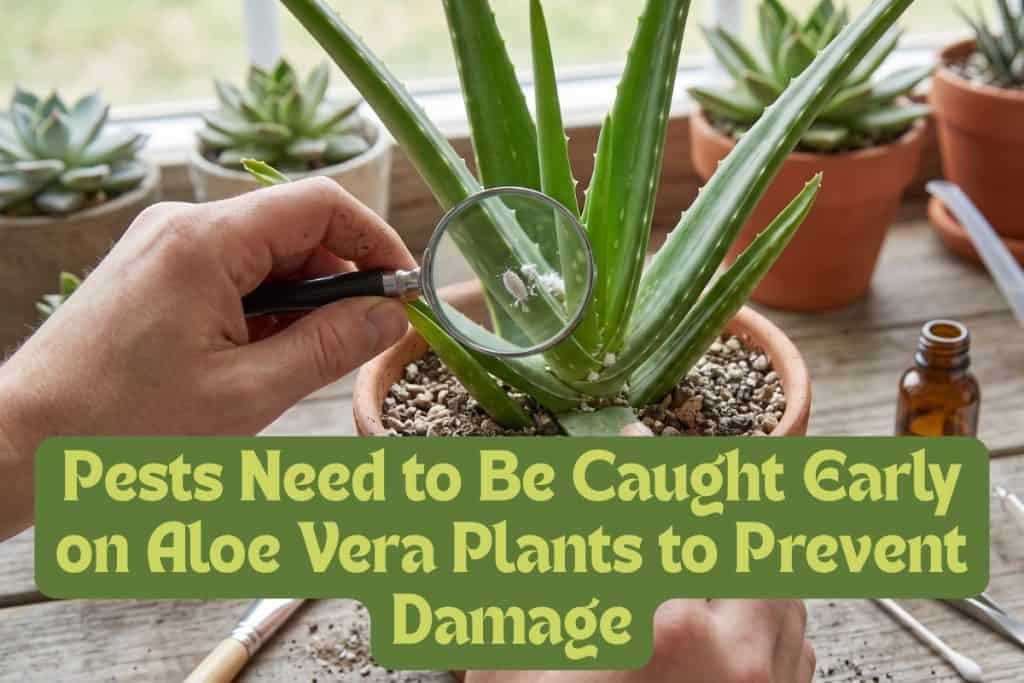
The bugs that bother aloe are the usual houseplant suspects, and they show themselves if you look. A pest caught in its first week is a quick fix; the same pest spotted a month later will have multiplied across the plant and stalled its growth.
Making a habit of glancing at your aloe now and then is more valuable than any pest-targeting spray.
How to Spot and Treat Common Problems
- Mealybugs form white, cottony clumps at the base and in the leaf joints.
- Scale appears as small brown bumps with sticky residue.
- Dab either pest with alcohol, or treat using insecticidal soap or neem oil.
- Look for aphids and spider mites too; mites leave a fine, pale speckling and thin webbing.
- Rinse off sticky honeydew so it can’t turn into black sooty mold.
- At the first sign of rot, unpot the plant and cut away the black, mushy tissue. Repot what’s left in fresh, dry mix.
- Let the soil dry out to discourage fungus gnats.
Outdoor Aloe Vera Pests
If you grow your aloe outdoors in a warm zone, two pests deserve a closer watch. The aloe snout beetle is the worst. It wedges into the center of the rosette to drink sap, leaving pea-sized dry puncture marks, and its larvae bore into the stem and rot it from the inside.
If you spot signs of this pest, remove the beetles. If the stem is already rotting, cut the stalk above the clean tissue and re-root it.
The other pest is gall mites. They cause frilly, twisted flower stalks and lumpy growths on old leaf bases. Cut off the affected parts and treat the plant so the problem doesn’t spread.
Christmas cactus faces some of the very same pests; learn how to protect this plant in our guide here.
Harvesting Aloe Vera Gel
The gel is the reason many people keep aloe vera plants in the first place. If that’s your primary goal, it’s simple to harvest once the plant is mature.
But before you get ready to harvest, know that cutting into a small or struggling aloe plant will set it back. Wait until yours is healthy and carrying plenty of thick leaves to spare.
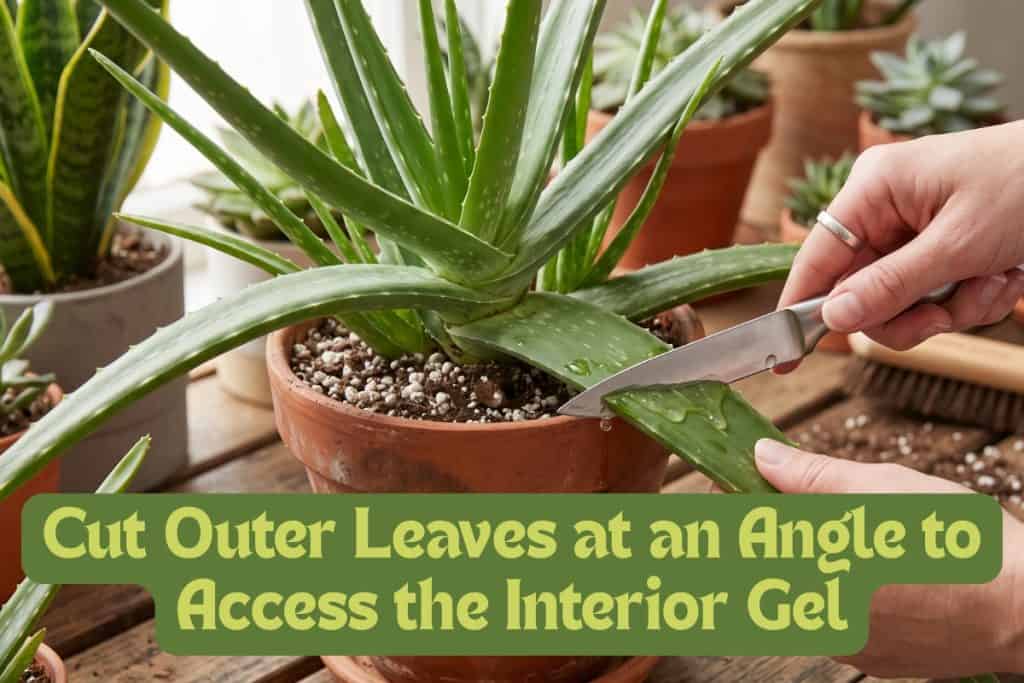
The oldest leaves sit on the outside, since aloe grows from the center out, and those older leaves hold the most gel. The clear gel comes from the leaves’ innermost pulp, and you’ll need a sharp knife and patience to get it out.
Make sure to always skip the yellow sap, or aloin, just under the skin. It’s bitter, it drains off easily, and it’s the part you rinse away before using the gel. That sap is the irritant covered in the safety note below.
How to Harvest and Clean Aloe Vera Gel
- Choose a healthy plant with at least 5 or 6 thick leaves.
- Never take more than a third of its leaves.
- Cut an outer, lower leaf close to the base at an angle (to help the sap run off the end) with a sharp, clean blade.
- Stand the cut leaf upright for 10 to 15 minutes to let the yellow aloin drain out.
- Trim off the spiny edges, then slice the flat skin off one side.
- Scoop out the clear inner pulp.
- Discard the skin and any yellow residue.
- Rinse the pulp under cool water to wash off any clinging sap.
- Store leftover gel in a clean, airtight jar in the fridge for about a week. Or, freeze the gel for up to a year.
- Toss any gel that changes color or smells off.
A Note on Safety
Aloe is a toxic plant for dogs, cats, and horses according to the American Society for the Prevention of Cruelty to Animals (ASPCA). The plant includes saponins and anthraquinone, compounds that can cause vomiting, diarrhea, or sluggishness for a curious pet that chews a leaf.
For people, the risk is much lower, but that yellow aloin under the leaf skin can irritate your skin and upset your stomach if swallowed. That’s the whole reason to drain the leaf and rinse the pulp before using any of the aloe gel.
Final Advice
If you’re interested in growing aloe vera, know that this plant wants less from you, not more. Those who lose an aloe plant are almost always the ones who loved it a little too hard — but it’ll reward you for that hands-off treatment.
Keep your plant happy, and it will have cool aloe vera gel ready the next time you grab a hot pan, plus a cluster of pups to pot up, pass to a friend, or crowd a sunny sill. Not many houseplants thrive so well with so little attention.