
Once you pick up a succulent, odds are you’ll start collecting these plants. Succulents can be habit-forming, and they are forgiving, fascinating plants. However, they do have a few rules.
But before you can learn those rules, you’ll need to choose a plant and determine what it needs to thrive. In this guide, you’ll learn:
- Key rules for potting succulents.
- Why succulents’ color can fade.
- How to use a chopstick to water correctly.
- Why misting isn’t ideal for succulents.
If you can master succulents’ light and water needs, you’ll have healthy, happy, and easy-to-maintain plants.
Step #1: Choose the Right Succulent for Your Space
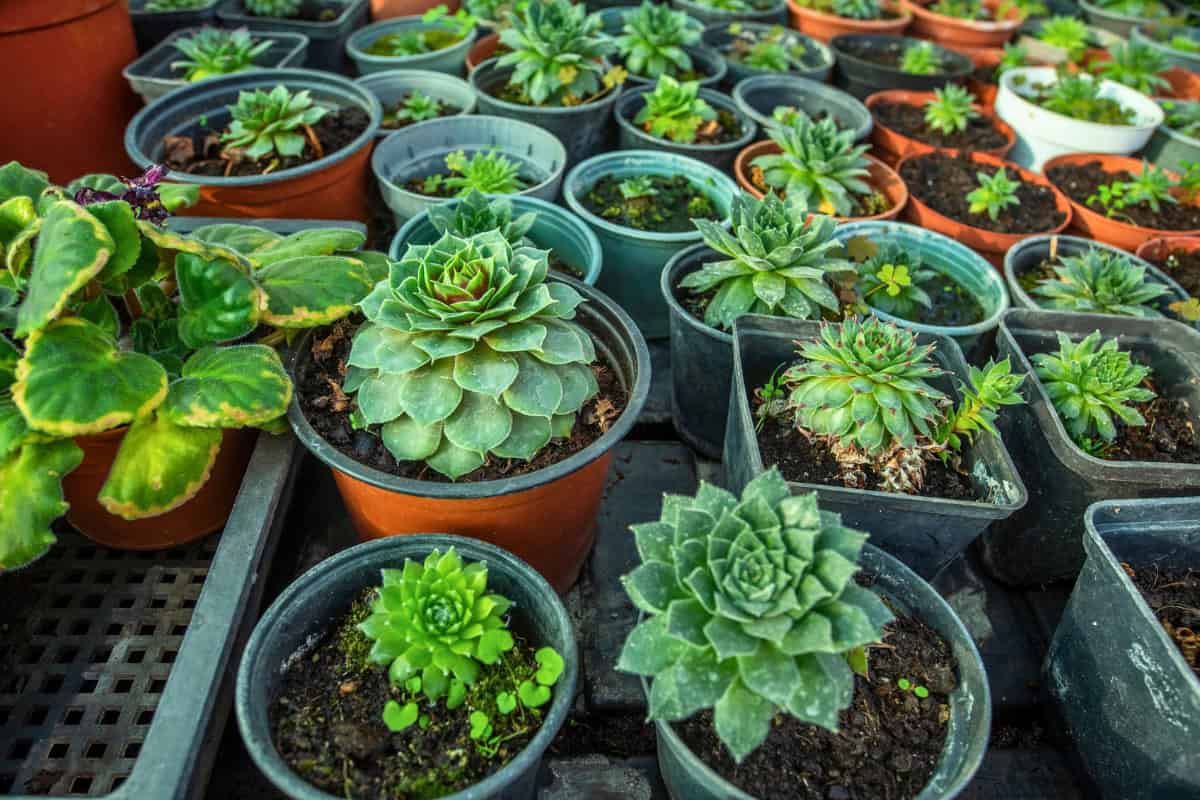
Succulents store water in their leaves, stems, or roots, which is why they have a thick, fleshy appearance. This also makes them more forgiving than many houseplants.
So, instead of worrying about watering needs, you should consider the amount of light you can provide and choose a variety that matches that. Most long-term succulent problems start with a lighting mismatch.
Popular Succulent Picks
There are thousands of succulent species, but garden centers and nurseries tend to carry only a few beginner-friendly varieties that are easy to keep alive indoors.
Stick to one or two of these well-documented types before branching out into rarer varieties:
- Echeveria: Features tight rosettes; needs the strongest indoor light.
- Haworthia: Has striped rosettes; tolerates lower light.
- Sedum (Stonecrop): Features small leaves and is fast-growing.
- Aloe: Grows 1 to 2 feet tall and upright.
- Crassula (Jade plant): A sturdy pick that can live for decades.
- Aeonium: Active in winter, not summer.
Bonsai trees, too, come in many different varieties; discover how to grow bonsai trees in our guide here.
Start with a Healthy Plant
- Choose succulents with firm, plump leaves.
- Avoid plants with mushy spots, blackened areas, or off-color leaves.
- Avoid dark, wet-looking stems or swollen, collapsing bases.
- Skip leggy plants with long bare stems and large gaps between leaves.
- Choose plants with multiple heads or offsets at the base for a fuller pot.
- If roots are coming out of the drainage holes, it may need repotting soon.
Step #2: Select the Right Soil and Pot
Many succulent failures are caused by containers and soil that hold water too long.
Your goal is to choose soil and a pot that let water pass through quickly and offer roots plenty of air. Drainage and airflow prevent succulent roots from staying wet, which in turn helps prevent diseases.
What is the Best Succulent Soil?
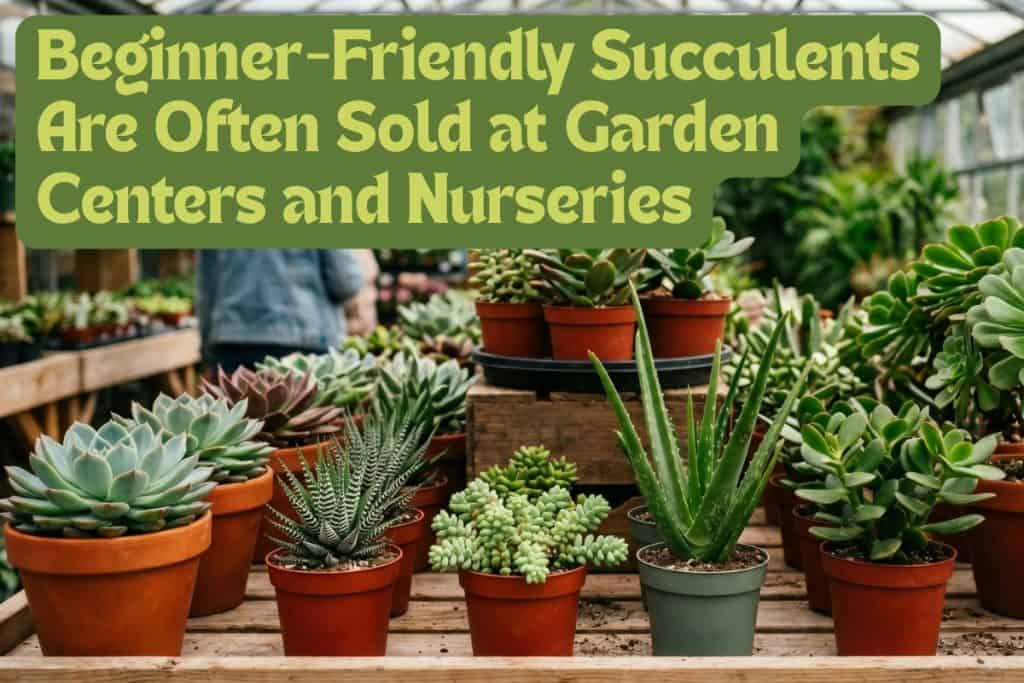
You can create the perfect succulent soil at home. Use a commercial succulent or cactus mix, then add a coarse amendment, if needed, for faster drying.
Or, try one of these two soil ratios:
- 2 parts succulent mix to 1 part coarse perlite.
- 1 part potting mix to 1 part coarse perlite.
4 Rules for Succulent Pots
- Choose a pot with at least one drainage hole.
- Avoid glass bowls, terrariums, and any container that can’t drain.
- Terracotta is ideal; it’s porous and fast-drying.
- Skip decorative pots unless you keep the plant in a nursery pot with holes inside with a saucer.
Skip This Succulent Myth
If you’ve heard that adding rocks to the bottom of a succulent pot helps drainage, that’s just a myth.
This does not replace a pot’s drainage holes. In fact, it actually tends to keep water sitting higher in the pot (an effect called a “perched water table”), increasing humidity and rot risk.
Step #3: Plant Succulents Properly
How you handle a succulent during planting has a direct impact on how fast it settles in and starts growing. Care in planting can make a difference in how the plant performs over the initial weeks.
Succulent roots are delicate, so rough handling can stress the plant before it even gets started. If you’re repotting and you disturb or break roots, let the plant sit dry for a few hours (up to a day) so minor nicks begin to callus.

5-Step Succulent Planting Protocol
- Add soil so the plant’s stem base will sit at or above the soil line.
- If the plant is tightly root-bound, gently loosen the outer roots.
- Backfill with soil and firm just enough to hold the plant upright.
- Leave a small gap between the soil and the pot rim.
- Optional: Place a thin layer of small, coarse gravel around the base to help keep the stem base drier.
Expert Tip: After planting, hold off on watering for 1 to 2 days so disturbed roots can recover and small breaks can seal. This lessens decay in newly planted succulents.
Step #4: Find Your Succulent a Home
Choosing where you’ll place your succulent indoors is an important step. It shapes almost every other part of the plant’s care.
Put a succulent in the wrong spot, and it will struggle no matter how you water or fertilize it. Light is critical, but most homes have less usable light than people realize.
The Right Spot for Succulents
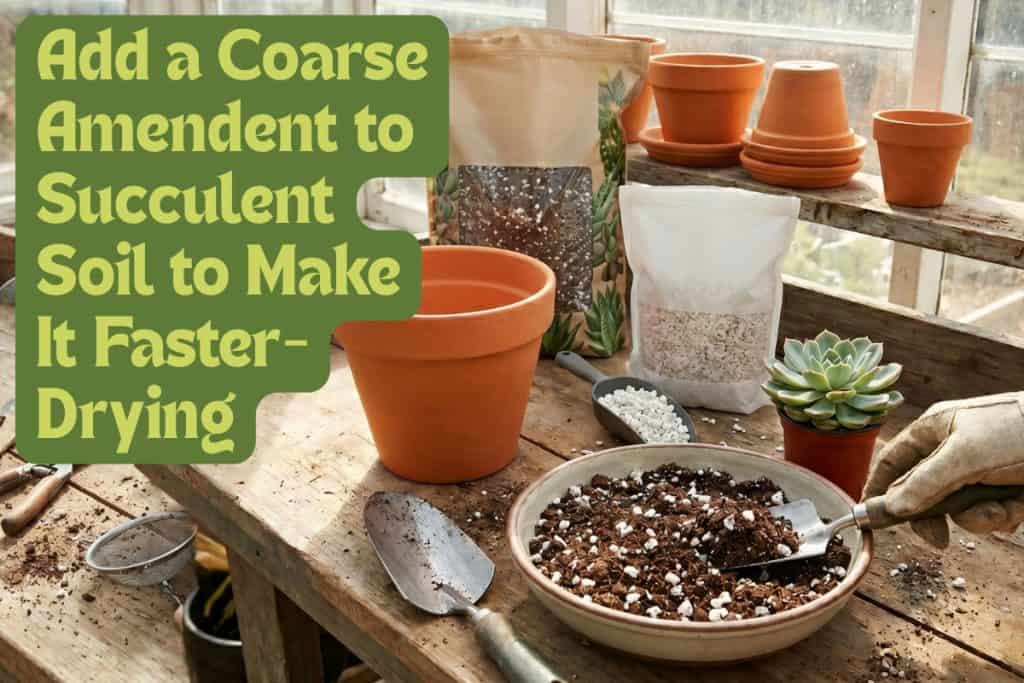
A south-facing or east-facing windowsill is the best home for most indoor succulents, as this will give them the strongest, most consistent light.
North-facing windows are often too dim for many succulent varieties, and they often lead to stretching.
Haworthia and Gasteria varieties are exceptions. These two succulent types handle lower light better than others and are a good choice if light is limited in your home.
What Temperature Do Succulents Need?
As a general rule, succulents prefer temperatures around 60 to 80 degrees Fahrenheit. Many can tolerate warmer days and cooler nights, but freezing temperatures can damage or kill common indoor varieties.
There are exceptions. Sempervivum, often called hens and chicks, are more cold-tolerant than many other succulents. If you aren’t sure what kind you have, it’s safest to protect it from frost.
Extreme heat can also cause stress. In very hot weather above 90 degrees Fahrenheit, some succulents may scorch, yellow, or show heat damage. If that happens, move plants to a more sheltered spot or provide filtered light during the hottest part of the day.
5 Steps for Smart Succulent Placement
- Put succulents close to the brightest window, ideally within 6 inches of the glass.
- Rotate the pot regularly: a quarter turn every 1 to 2 weeks.
- Use a grow light positioned about 4 to 6 inches above the plant for 12 to 14 hours per day if natural light is weak.
- Keep plants away from extremes, including cold drafts and direct blasts from heating or air conditioning.
Once you find a spot that works, keep the plant there. If you need to change locations, do so gradually so the plant can adjust without shock.
Step #5: Give Succulents Plenty of Sunlight
Sunlight is an important factor in keeping succulent plants healthy, compact, and vibrant. Succulents come from very sunny places, so they need strong light to maintain their shape.
If they don’t get enough light, these plants will slowly weaken and become harder to correct.

How Much Light Do Succulents Need?
Most indoor succulents need at least 4 to 6 hours of bright light daily, and many sun-loving types do best with 6 to 8 hours.
The safest approach is to provide strong, consistent light while avoiding sudden increases in intensity.
Light affects shape first, then color. Compact growth is the best sign your plant is getting the right amount of light. Color shifts can be normal if the plant stays tight and healthy.
Learn about another plant that thrives with bright light in our snake plant growing guide here.
Common Succulent Light Woes
If your succulent plant isn’t getting enough light, you’ll likely see stretching (or etiolation), where the plant grows tall and weak as it searches for light. The stem elongates, leaves spread farther apart, and the plant looks “leggy.”
You can stop stretching by increasing light, but the stretched shape won’t reverse.
Direct sun is powerful through glass, so succulents may sunburn in intense window sun. Sunburn doesn’t reverse on affected leaves, but healthy new growth will reflect your improved setup.
How to Manage and Troubleshoot Light
- Signs of weak light include leggy growth, wide leaf spacing, loosely-open rosettes, fading or greening in colorful varieties, or leaning.
- Signs of too much direct sun include bleached or yellowing patches, brown/black sunburn spots, or leaf drop during extreme heat.
- Increase light gradually over 1 to 2 weeks when correcting.
- Prioritize plant form over its color; a greener plant staying compact is healthier than a colorful plant that’s stretching.
Step #6: Watering Succulents Correctly
Succulent watering woes usually happen due to too-frequent watering or using a soil mix that stays wet. Succulents store water to survive long dry periods, so their roots are adapted to cycles of wet and dry rather than constant moisture.
Soil that stays damp is the fastest path to root rot, the number-one succulent killer.
Other indoor plants require careful watering; read how to grow Christmas cacti in our guide here.
Signs Succulents Need Water
- Leaves are wrinkled or shriveled.
- Leaves feel less firm than usual.
- Lower leaves dry up or fall off.
- Plant looks deflated, not plump.
Signs You’re Overwatering
- Leaves are turning soft or squishy.
- Leaves fall off easily.
- Stem base is becoming mushy.
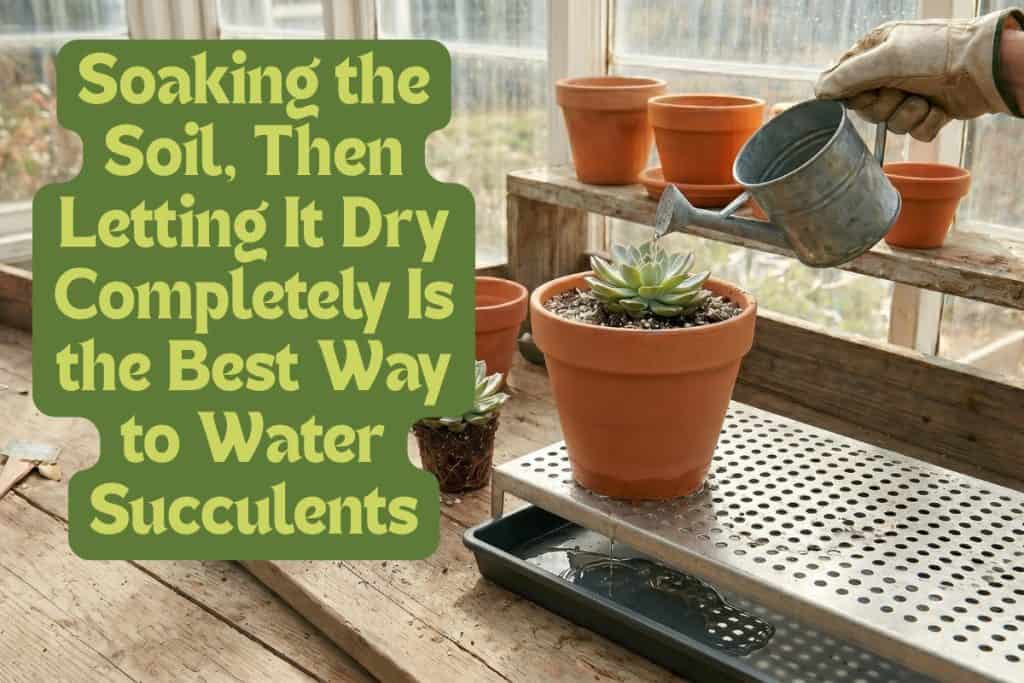
Soak-and-Dry: The Best Watering Method
The soak-and-dry method is a succulent watering approach that works the way it sounds: Water deeply and thoroughly, then wait until the soil is completely dry before watering again.
This is a great approach because it mimics natural rainfall patterns and encourages roots to grow properly.
5 Succulent Watering Rules
- Always check the soil before watering. Insert a finger or wooden chopstick to check for moisture below the surface (the chopstick should come out clean).
- Misting is not a substitute for watering. It only wets the surface and leaves, which encourages fungal problems.
- There is no fixed watering schedule; water needs depend on pot size, season, soil, and environment.
- Small pots dry fast; large pots dry slow.
- Water until the potting mix is fully soaked, then let excess water drain completely. Dump any water in the pot’s saucer after 30 minutes.
Learn about another plant with similar specific watering needs in our orchid growing and care guide here.
Step #7: Adjust Care Over Time
Just like other indoor plants, succulents don’t grow at the same pace year-round. They alternate between periods of active growth and rest (or dormancy), which means your care routine should shift with the seasons.
The seasonal goal is simple: You should match water and fertilizer to your succulent’s growth speed. Faster growth means faster-drying soil and increased water demand. Slower growth means slower soil drying and lower demand.
Understanding Succulent Dormancy
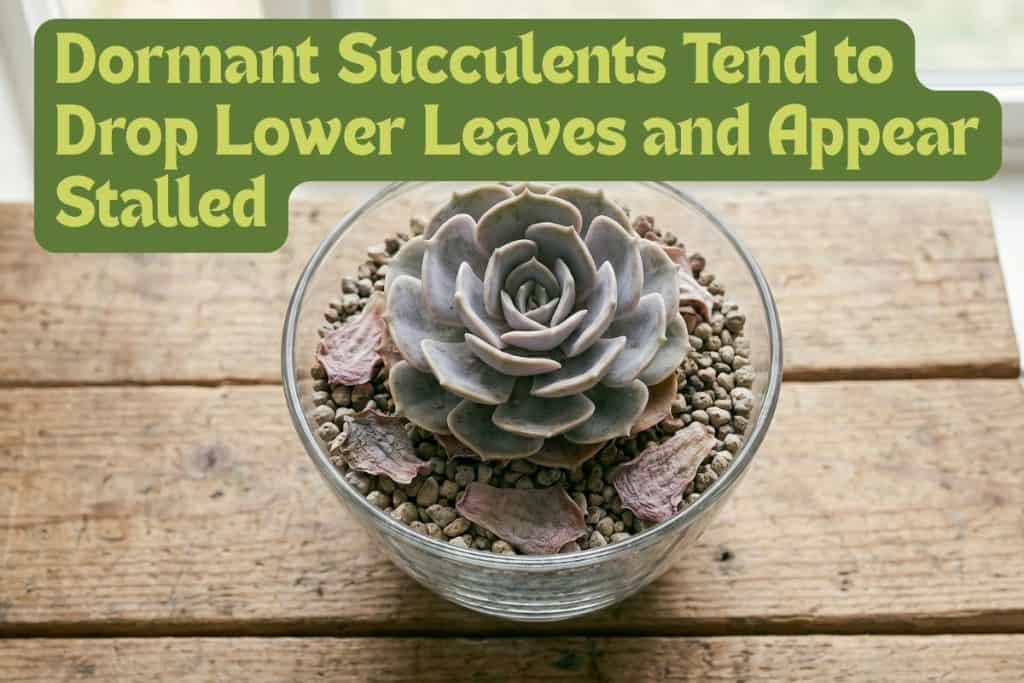
While dormant, succulents can slow down, stop growing, or shed lower leaves. The exact timing of this rest period depends on the genus. For example, Aeonium varieties often go dormant in summer, not winter.
During dormancy, a succulent may:
- Look less full.
- Drop lower leaves.
- Curl inward.
- Appear stalled.
This can look alarming, but it’s not necessarily a sign something is wrong.
During dormancy, your job is mostly to avoid trying to “fix” your plant with extra water or fertilizer. If your plant stops growing at a certain time of year, look up its seasonal growth habit before assuming the worst.
3 Seasonal Adjustments
- Spring and Summer (Active Growth): Water using the soak-and-dry method and feed balanced liquid fertilizer (diluted to half strength) monthly. Keep light strong and consistent.
- Fall (Transition): As daylight shortens, lengthen the time between waterings.
- Winter (Dormancy): Water only when the plant shows clear signs of dryness such as wrinkling or slightly softened leaves. Stop fertilizing.
If any of your succulents are outside, you should also move plants inside before the first frost. Give them a short transition period so they adjust to lower indoor light.
Troubleshooting and Preventing Pests
Long-term succulent health comes from monitoring, not big rescues. Most issues trace back to a short list of conditions: Pots staying wet too long, light that’s too weak, or lack of airflow.
Common Succulent Diseases
For most indoor succulents, rot is the biggest “disease” that you’ll encounter.
If you do encounter rot, follow these steps:
- Unpot the plant.
- Remove damaged roots.
- Let the plant dry.
- Repot in fresh, dry mix.
Common Succulent Pests
The following insects are attracted to succulents:
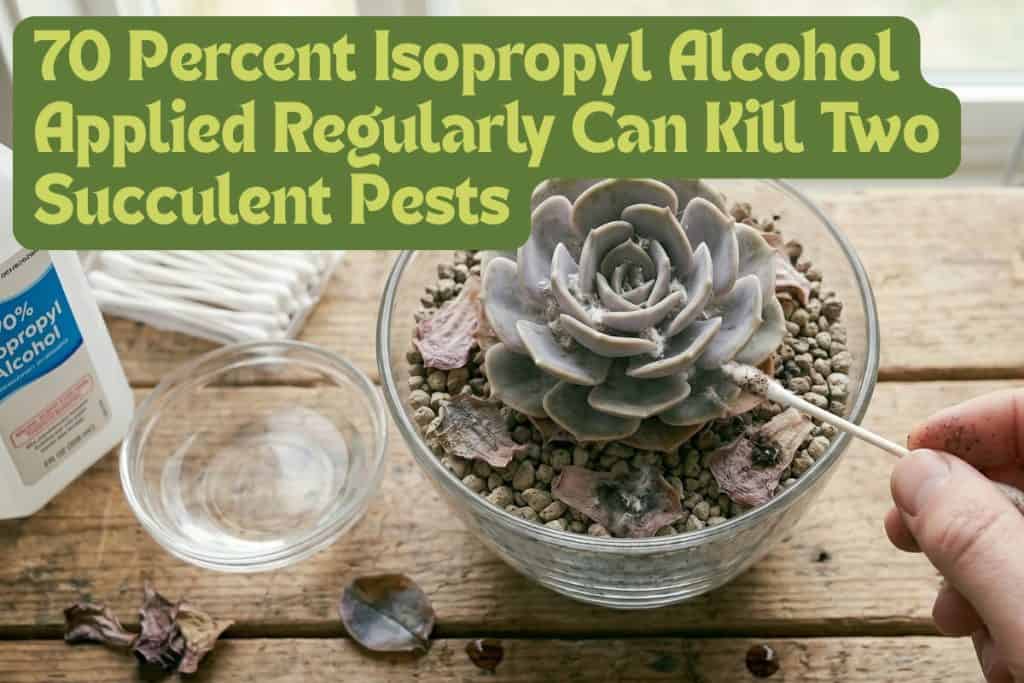
- Mealybugs, which look like white fuzz.
- Scale, which appears as brown bumps on the stems.
- Spider mites, which cause speckling or webs on the leaves.
Stressed plants attract pests and have a harder time recovering. When you improve the growing conditions, you won’t need as much treatment, and the problem is less likely to come back.
5 Steps: Treat Succulent Pests
- Isolate the plant immediately.
- For mealybugs and scale: Dab insects with 70 percent isopropyl alcohol using a cotton ball or swab.
- For mites: Wipe down leaves and improve airflow while you treat.
- For fungus gnats: Apply a 1:4 mix of 3 percent hydrogen peroxide to kill larvae and eggs on contact.
- Repeat treatment every few days for 2 to 3 weeks.
- Improve airflow or spacing and remove dead leaf debris.
Weekly Maintenance Check
- Check the leaves for signs of problems: wrinkling, yellowing or translucence, or distorted new growth.
- Check the base and soil line for a dark, wet-looking stem base or leaves dropping from the bottom.
- Watch for tiny fungus gnats around the plant, which means the mix is staying moist too long.
- Inspect leaf axils, tight rosettes, and stem joints for mealybugs or scale.
- Assess airflow and spacing: If leaves are touching pot-to-pot or the center stays shaded and still, increase spacing.
Grooming Your Succulents
As succulents mature, they shed older, lower leaves. That’s normal and not a “failure” in care.
However, you don’t want to leave dead leaves around the base. They can trap moisture, block airflow, and create perfect pest hiding spots.
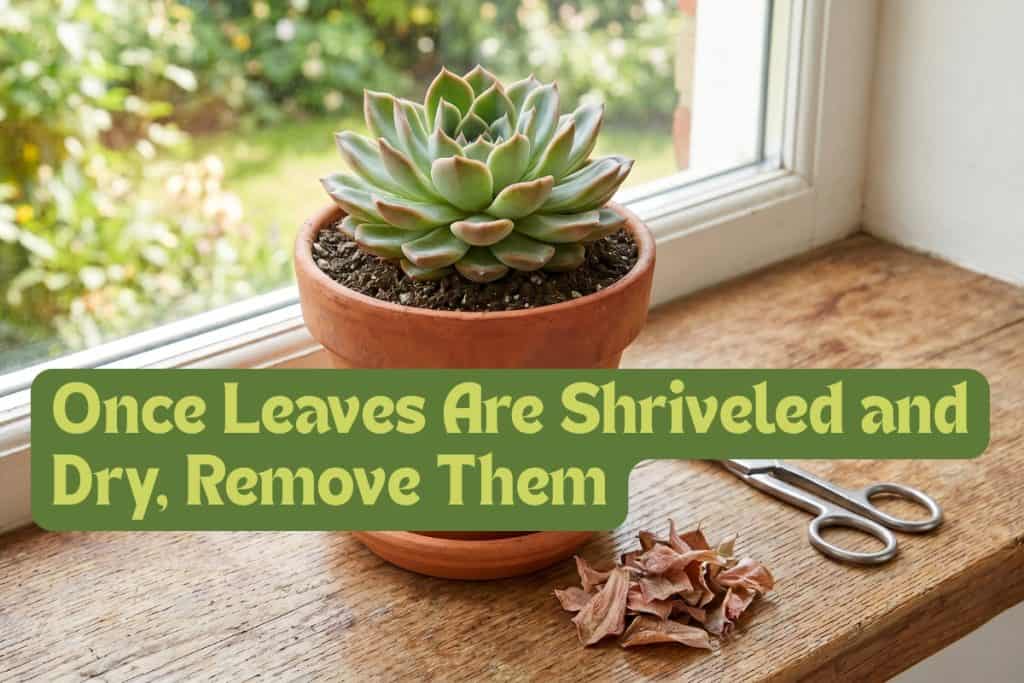
3-Step Grooming Routine
- Remove Dry Leaves Only: Once a leaf is shriveled and papery, gently wiggle it side to side at the base until it releases cleanly.
- Trim Damage: Use clean scissors to trim brown tips, cutting just inside the dead edge so you remove without tearing healthy tissue.
- Clear the Soil Surface: Remove all fallen leaves and flowers from the soil.
How to Propagate Succulents
Propagation is one of the most rewarding parts of growing succulents, and it doesn’t require special equipment. It’s also a great way to multiply your favorite succulents, rescue leaves that fell off during repotting, or refresh too-tall plants.
There’s more than one way to propagate succulents, and the best choice often depends on what plant material you’re working with. Leaves are the easiest to use, but stems will also work.

Common Propagation Methods
- Dry Tray Method: Place leaves in a dry tray and wait for roots and pups to form.
- Soil Method: Lay leaves on top of dry or barely-damp succulent soil.
- Stem-in-Soil Method: Replant callused stem cuttings directly into soil.
- Water Method: Suspend leaves or stem above water.
Which Succulent Propagation Method is Best?
Your odds of successful propagation don’t depend on the exact setup you choose. Rather, you need to propagate in the right conditions:
- Warmth.
- Bright, indirect light.
- Good airflow.
- Protection from rot.
Not every leaf or stem cutting will successfully propagate, and that’s completely normal. Starting with 8 to 10 leaves gives you a good margin and ensures you’ll end up with several successful plants.
The most important factor is a clean leaf pull. A torn leaf usually won’t root well, so take your time and start with multiple leaves for better odds.
Propagation Protocol
- Select healthy, plump leaves from the middle of the plant.
- Hold the leaf near its base and wiggle the leaf gently from side to side with a downward motion until it pops free cleanly from the stem.
- Set the leaves aside in a dry location out of direct sun for two to three days.
- Lay the callused leaves on top of a tray of dry succulent mix.
- Place the tray in bright, indirect light.
- Once you see tiny roots emerging from the base of the leaf (within 1 to 2 weeks), lightly mist the soil surface occasionally to keep the roots from drying out.
- Once small rosettes have developed and the mother leaf has shriveled and dried, transplant the babies into small pots with fresh succulent mix.
- After the baby plant is potted and showing new growth, begin gentle watering using the soak-and-dry method.
Propagating with Water
If you’re starting with water, follow this process instead:
- Use a small glass and fill it with clean water, leaving a little space at the top.
- Cover with plastic wrap, secure it, and poke a small hole.
- Place a stem or leaf in the hole so the cut end sits just above the water, not in it.
- The humidity rising from the water encourages roots to grow down.
Propagating with Stem Cuttings
For stem cuttings, use this approach:
- Cut just below a healthy rosette with clean scissors, leaving at least 1 inch of stem attached.
- Allow the cut end to callus for 2 to 3 days before planting in dry soil.
- Begin watering once the roots have started to establish.
Final Advice
If you don’t have time to babysit plants, succulents are a great choice. Anyone who can resist the urge to water, fertilize, and fuss over plants should see success growing succulents.
Start simple, make sure you know what type of succulent you have, and stay observant; let the plant tell you what it needs. From there, everything gets easier. Just be warned: Succulents might become an obsession!
Happy growing!


10 thoughts on “The Complete Guide to Succulent Care: Soil, Sun, and Propagation”
Thank you for all this info! I’m just starting out in the succulent growing faze and am already fascinated and going crazy! I don’t have the southern and eastern exposures but I do have grow lights that I’m hoping will suffice!!
Any suggestions as to how long to keep lights on? Is it OK to keep them on all time especially in winter which will be here before you know it!?
Grow lights work great for succulents! Aim for 12–16 hours a day rather than leaving them on 24/7 — succulents need a dark period for healthy growth, and constant light can actually stress them out over time. A cheap outlet timer makes this easy.
Keep the light close enough to be effective (check your light’s recommended distance, often 6–12 inches) — intensity matters more than duration. Watch for stretching/pale growth (needs more light) or bleaching (too close/intense), and adjust from there.
For winter: lights are a great solution when daylight is short — no need to do anything special, just stick with that 12–16 hour range.
Thank you soooo much!!!!
Thanks for visiting the site!!!
Can I trim a Succulent plant? Thank you.
Yes, you can trim a succulent. Just use a clean knife or scissors and cut just above a node (where the leave is attached to the stem). This will help if they are leggy or just getting out of control. You can use the cut pieces to start new plants – just re-read the propagation part of the article. Diane
Thank you for clear, concise instructions, descriptions, suggestions and encouragement.
Thank you for the comment and thank you for visiting the site!
Thank you so very much! You just gave me a plethora of information. I appreciate you!
Thank you for visiting. I am glad it helped. We appreciate you too!