
Growing ginger can seem a little like magic. Set a rhizome into a pot of soil, put it in a sunny window (or out in the garden), and before long you’ll have a lush, tropical-looking plant, plus the bonus of fresh ginger.
Ginger is easy to grow, but it does require a little patience.
In this guide, we’ll cover:
- Choosing quality rhizomes
- The best pre-sprouting technique
- Container and garden planting tips
- The right time to harvest
Let’s get started!
Step #1: Source Ginger Rhizomes
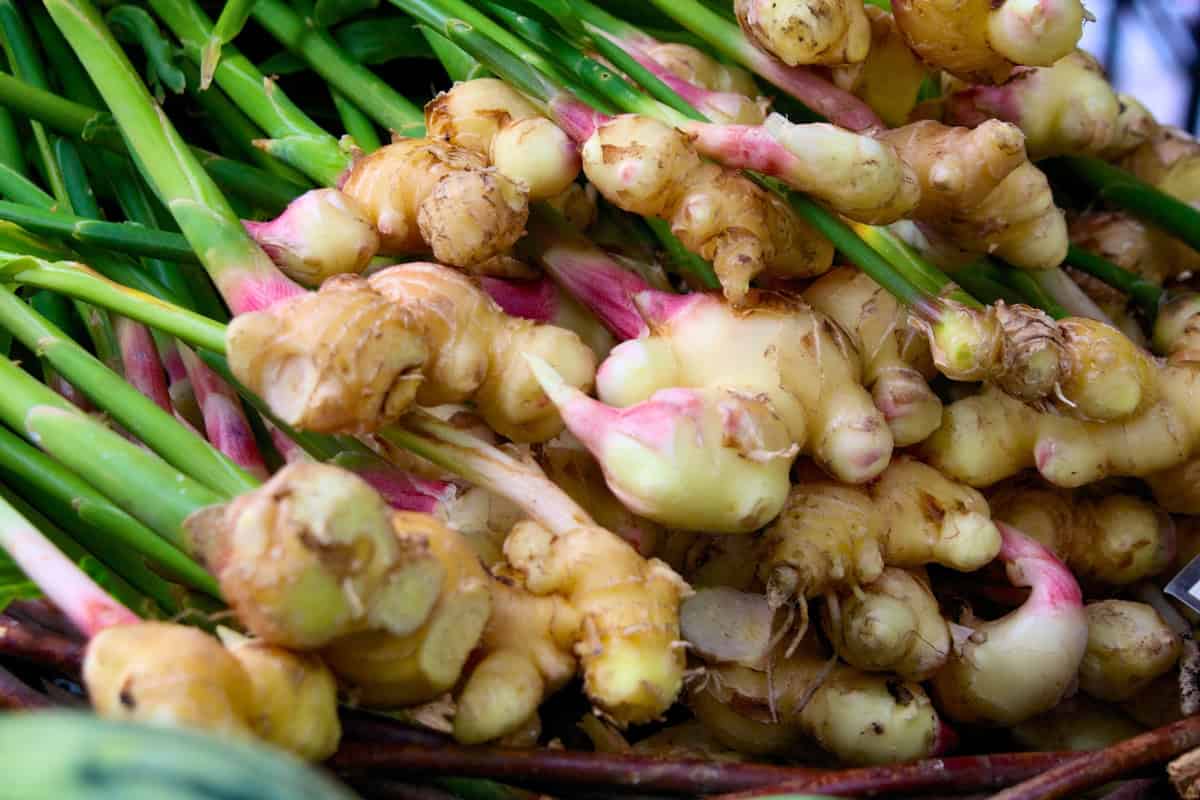
Ginger grows in rhizome clumps, which look like thick, chunky roots (if you’ve ever seen ginger root, that’s the rhizome). Rhizome selection impacts how quickly your plants sprout, how vigorously they grow, and ultimately how large your harvest will be.

Most first-time ginger failures come down to poor rhizome selection. Being picky here is important, as it can be the difference between a successful and a disappointing crop.
Where to Find Ginger Rhizomes
Organically-grown rhizomes are a better choice for starters than conventional grocery-store ginger.
Commercially grown ginger sold in supermarkets is normally treated with sprout inhibitors, or chemicals that prevent the rhizomes from budding during storage. These inhibitors will also keep your rhizomes from thriving once planted.
The best option is to buy rhizomes from a garden center or a specialty online supplier. These sources carry untreated rhizomes selected specifically for planting; they may even already show signs of bud development.
What to Look for in Rhizomes
- Plump, firm surfaces with no soft spots, shriveling, or sponginess
- Multiple “eyes” (growth buds)
- An earthy, gingery smell
- 1 to 2 inches in size each (larger is better!)
- Certified organic, when possible
- No mold, excessive drying, or skin damage
When to Buy Ginger Rhizomes
Buy rhizomes in late winter to early spring, typically late February through April in temperate climates, so planting lines up with warming soil.
If you purchase rhizomes before you’re ready to plant, they can be stored short-term in a paper bag in a cool, dry location.
Just don’t put them in the refrigerator: Cold temperatures can damage the developing buds and stall sprouting.
Step #2: Pre-Sprout Your Ginger Before Planting
Pre-sprouting, or “chitting”, is the process of encouraging your ginger rhizomes to activate buds before they are planted.
Pre-sprouting isn’t required, especially in warm climates, where rhizomes should sprout when planted directly. But in cooler regions, pre-sprouting is the best way to get faster growth and a stronger start.
The Benefits of Pre-Sprouting
- Faster, more reliable sprouting
- Visual confirmation of sprouting before planting
- Stronger plants can emerge
7-Step Pre-Sprouting Process
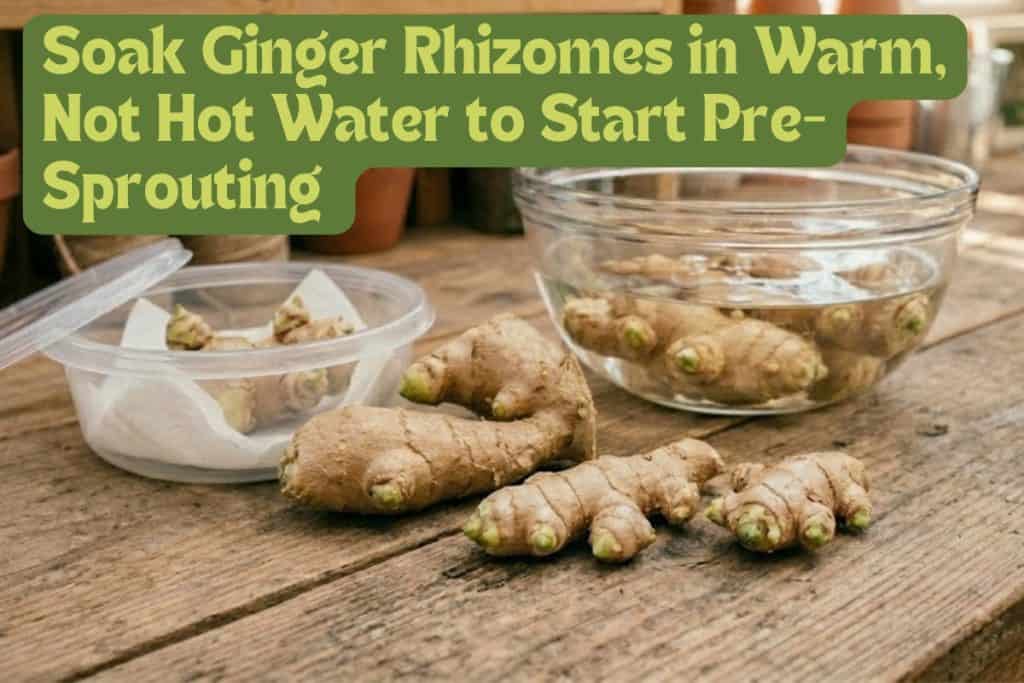
- Soak rhizomes in warm water (70 to 80 degrees Fahrenheit) overnight.
- Allow the rhizomes to drain for a few minutes.
- Place each rhizome in a sealed plastic bag or lidded container with a damp paper towel.
- Store the bag in a consistently warm location (70 to 85 degrees Fahrenheit).
- Check daily; ensure the paper towel stays moist.
- Wait until buds are clearly visible and at least ¼-inch long before cutting.
- Once buds appear, handle gently to prevent buds from breaking off.
Expert Pre-Sprouting Tips
Soaking ginger rhizomes overnight in water not only rehydrates them, but it also rinses off any residual growth inhibitors. During the soak, you can add a small amount of hydrogen peroxide or diluted liquid soap to sanitize the surface and reduce fungal or bacterial risk.
Just make sure you never use hot water, which can damage the buds’ delicate tissue.
Temperature is the number one factor in how quickly ginger will bud. Cool conditions will slow its growth. At 60 degrees Fahrenheit, buds may take three to four weeks to appear; at 80 degrees Fahrenheit, you may see strong bud development in five to seven days.
If your home is cool, you can place a seedling heat mat set to 75 to 80 degrees Fahrenheit under the bag or container.
Step #3: Cutting and Curing the Rhizomes
After pre-sprouting your ginger, when buds are visible, it’s time to cut the rhizomes into planting pieces. Then, you’ll need to let those cut surfaces heal with curing before planting.
How to Cut Ginger Rhizomes
- Cut the rhizome into pieces, each with at least one visible eye (bud).
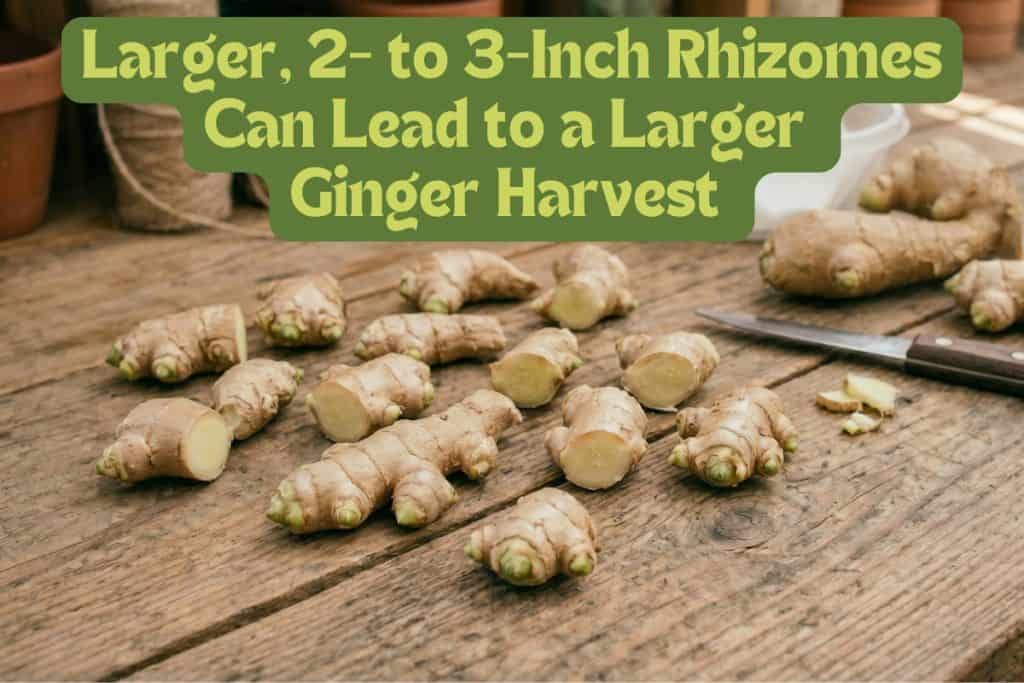
- Aim for 1- to 2-inch pieces that are big enough to fuel early growth, but small enough to space out in a pot or bed.
- Cut into larger sections of 2 to 3 inches when possible for a noticeably more vigorous plant and larger harvest.
Curing Ginger Rhizomes
After cutting, the rhizome pieces should sit at room temperature in a dry, well-ventilated location before planting. This allows the newly-exposed surfaces to dry out and form a protective callus layer that blocks pathogens and prevents rot.
This curing step is similar to cutting and healing seed potatoes, read our potato growing guide here.
Cure cut pieces for about 24 hours, or up to 48 hours in humid or wet conditions. An extra day won’t hurt; it only adds protection.
Tips and Tricks for Cutting and Curing
- Use a clean, sharp knife sterilized with 10 percent bleach.
- The best rhizomes are 2 to 3 inches long with multiple eyes.
- If rhizomes have developed significant pre-sprouted buds, cut with extra care to avoid snapping them.
- Discard any soft, off-smelling, or discolored sections.
- Lay rhizomes cut-side up when curing.
Step #4: Plant in Containers or Garden Beds
Next, you’ll need to decide where to plant your ginger: in a container or directly in your garden’s soil. The two require different considerations to achieve a fruitful harvest.
If you’re planting in a container, shape matters. Ginger grows outward, not downward, with rhizomes spreading through the top layer of soil, branching and thickening all season. As a result, wide and shallow containers beat narrow and deep ones. A narrow pot limits your harvest, even if everything else is perfect.
Choosing a Container
Before you put your ginger in any soil, you’ll need to choose your container or pot:
- For One Plant: Choose a pot at least 12 inches deep and 12 to 18 inches wide.
- For Multiple Plants: Choose a 15- to 20-gallon container or fabric grow bag.
Large pots tend to hold moisture more evenly and buffer temperature swings. Alternatively, if you’re growing a lot of ginger, fabric grow bags (15 to 25 gallons in size) work especially well because they drain excess water while keeping the roots well-aerated.
No matter the pot size, make sure to choose a container with unobstructed drainage holes.
Choosing Garden Soil
If you’ll be planting your ginger in the ground or in a raised garden bed, make sure the soil meets these standards:
- Loose and well-draining
- Contains plenty of organic matter
- Doesn’t encourage standing water
In general, raised beds are best for drainage and soil control.
Heavy clay soil or wet winters can rot ginger. If these affect your garden, you’ll want to plant ginger in a raised bed, or amend your soil heavily with compost and coarse perlite (plus coarse sand if needed) to improve drainage.
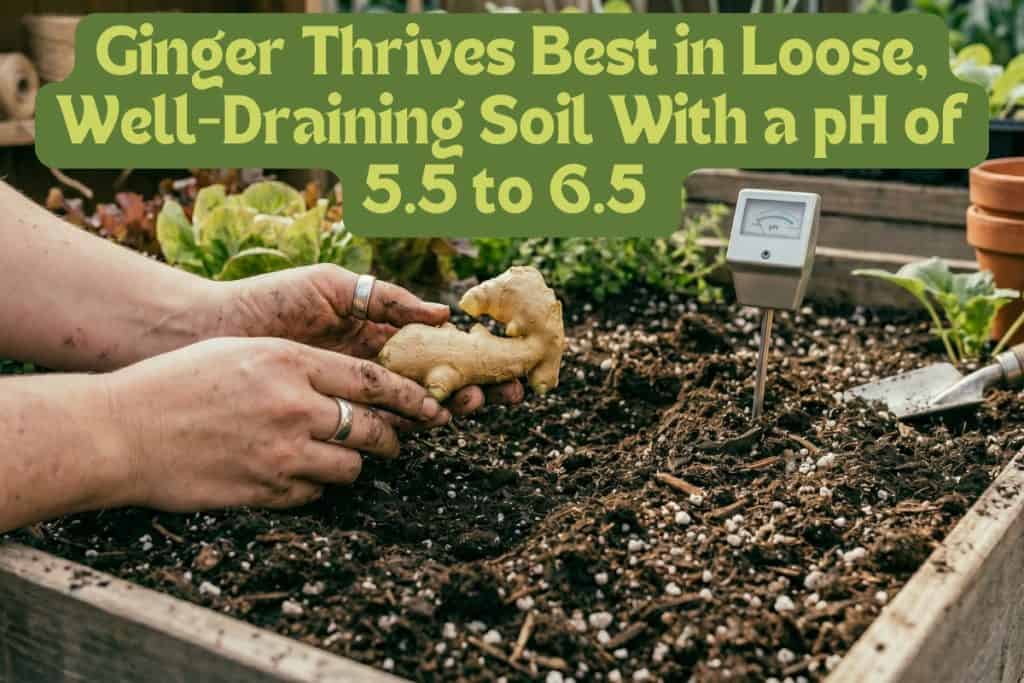
Aim for a soil pH of 5.5 to 6.5. Do a quick pH test before planting and adjust to 5.5 to 6.5 if possible; you can use sulfur to lower pH and lime to raise pH.
4 Steps for Preparing Containers or Beds
- Test soil pH and adjust to the 5.5 to 6.5 range, if needed.
- Fill your container or garden bed to within 3 to 4 inches of the top.
- Moisten soil with water.
- Allow soil to drain completely.
Step #5: Plant Your Ginger
Once your planting location and soil are ready, it’s time to plant those ginger rhizomes. It’s important to get the depth, spacing, and mulch right from day one to help ginger root well, stay moist, keep soil temperatures steady, and protect tender shoots as they emerge.
Soil depth matters because ginger needs moisture and oxygen underground but also needs to be close enough to the surface for shoots to reach light quickly.
Plant ginger too shallow, and the rhizome can dry out before it roots. Plant too deep, and energy will be wasted pushing shoots.
The best move? Plant ginger shallower in cool soil since it warms faster near the surface. In warm weather, you can plant it deeper to help retain moisture.
Planting Ginger in 6 Steps
- Plant pre-sprouted rhizomes 2 to 4 inches deep with the eyes up.
- Space rhizomes a minimum of 6 to 8 inches apart in containers and 8 to 12 inches in garden beds.
- Cover firmly with soil, pressing gently around each rhizome to eliminate air pockets.
- Water thoroughly.
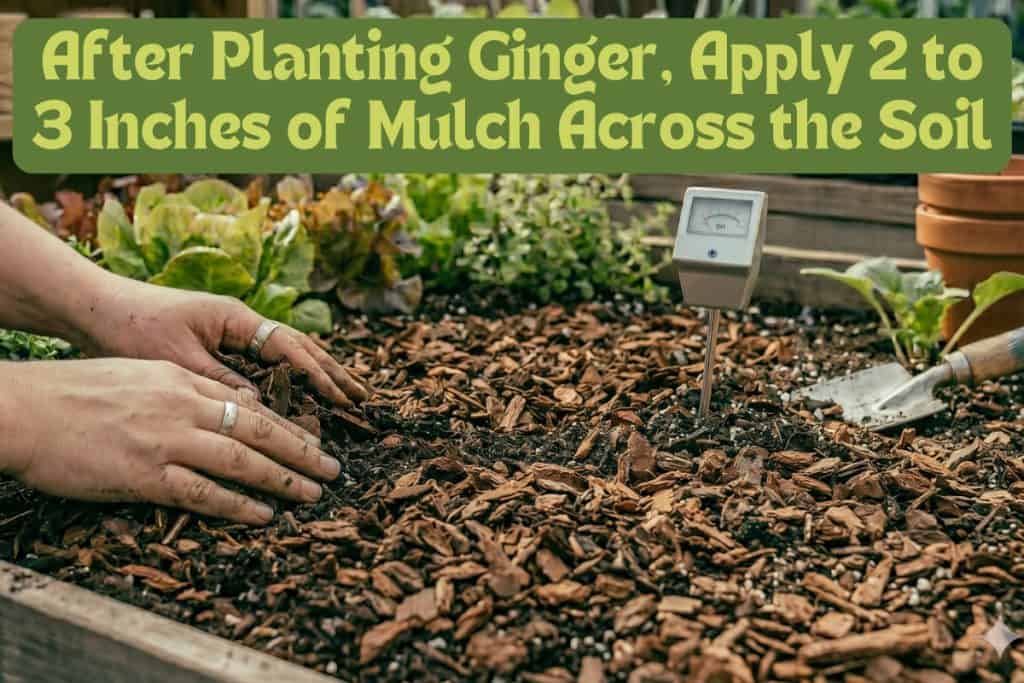
- Apply 2 to 3 inches of organic mulch across the entire surface.
- Water lightly until shoots emerge.
How Quickly Does Ginger Grow?
Once planted, ginger sprouts slowly. When planted in warm soil with steady moisture and cured rhizomes, shoots often appear in two to four weeks. In cooler conditions, up to six weeks (or more) is normal.
The biggest mistake gardeners make at this stage is digging up rhizomes to check on them. Roots are forming out of sight, so disturbing the rhizomes can snap new roots and set growth back for weeks.
Does Ginger Need Mulch?
Adding mulch to newly-planted ginger will do several jobs at once:
- Reduce surface evaporation
- Buffer temperature swings
- Suppress weeds
As shoots break the surface, just remember that constant contact with wet organic material can encourage rotting at the base of young stems. As you apply mulch, keep it slightly pulled back from any emerging shoot bases.
Like ginger, another must-have cooking ingredient also benefits from mulch applied right after planting: Learn how to grow garlic in our guide here.
Step #6: Adjust Light, Temperature, Water, and Humidity
Minor adjustments to the environment can make a big difference in your ginger plant’s health. Ginger is a tropical plant and adapts well to temperate growing conditions, so it grows best when light, temperature, and humidity are managed together.
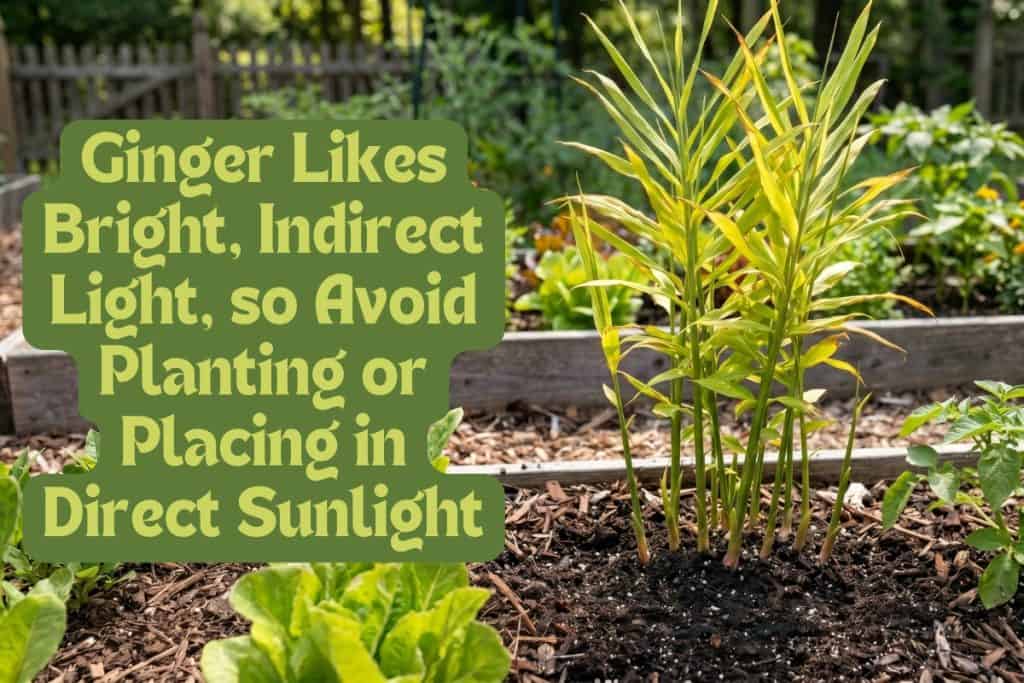
Light
Ginger prefers bright, indirect light and does best with roughly 5 to 7 hours of sun daily. Avoid harsh midday or afternoon sun, which can scorch leaves. Instead, plant ginger on the east side of your house where it will receive morning light and afternoon shade.
Watch for pale or crispy leaf edges, which are a sign your plant is getting too much direct sun. Alternatively, slow and leggy growth usually means it needs more light.
Temperature
Ginger is not cold-tolerant, and it grows best in temperatures above 50 degrees Fahrenheit. The warmer the environment, the better it will grow.
Temperatures below 40°F are not suitable for growth. In fact, they can damage or deteriorate rhizomes. Avoid frost entirely and bring pots indoors in the fall.
Water
The amount of water your ginger needs depends on by its growth stage. Right after planting, aim to keep the soil slightly moist. Once shoots emerge and growth begins, keep the soil evenly damp, but never completely soaked.
Ginger Watering Schedule
- Containers: Water every two to three days or daily in hot weather
- Raised Beds: Water at least once per week, more often in heat
- Indoor Containers: Set the bottom of the pot in water for 20 to 30 minutes, then remove and let drain
Humidity
Ginger benefits from high humidity. If your ginger is planted outdoors, low humidity is rarely a problem. Indoor and overwintering ginger plants need extra attention, though, because heated air is often very dry.
The simplest fix is a humidity tray. Set the pot on a shallow tray of pebbles and keep water in the tray sitting just below the pot’s base.
Fertilizing Ginger and Preventing Pests and Diseases
To achieve a great, not just good, ginger harvest, you’ll need to consistently fertilize your plants and monitor for pests and disease. Because ginger grows slowly and stays warm and moist, minor problems can escalate quickly.
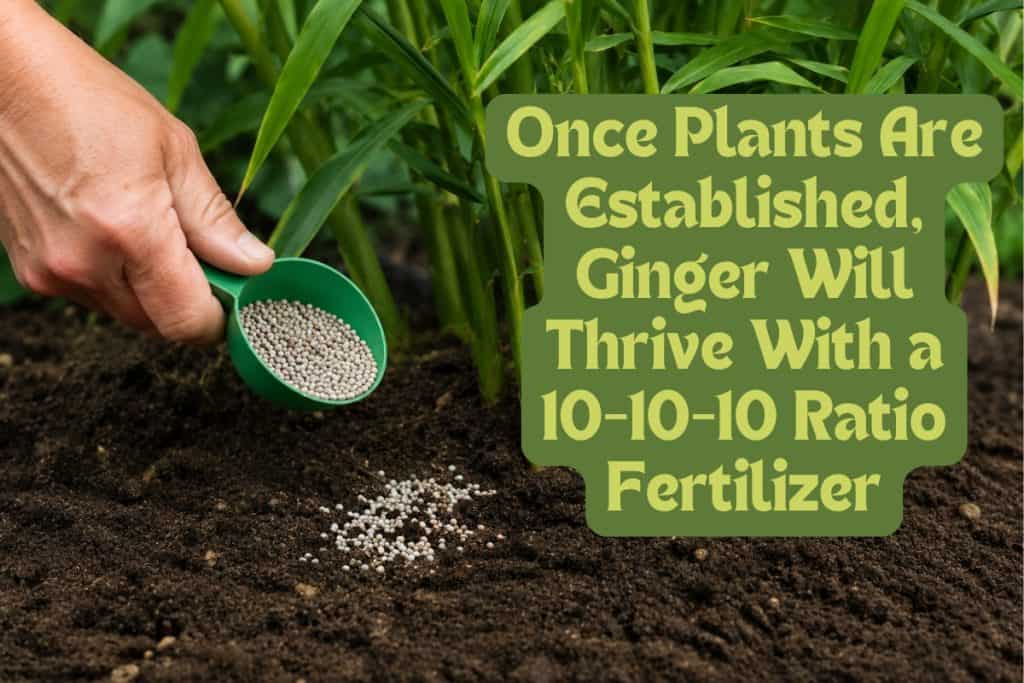
How to Fertilize Ginger
Ginger is a heavy feeder, and fertilizing correctly can make a vast difference in rhizome size at harvest. In the first few weeks of active growth, ginger needs a slightly higher nitrogen formula to support top growth.
Once the plant is established, you should switch to a balanced fertilizer (10-10-10) for even foliage and rhizome development.
For organic growers, there are alternatives to traditional fertilizer. You can work bone meal into the soil at planting, then feed every two to three weeks with compost tea or liquid seaweed feed.
As leaves yellow naturally toward the end of the season, taper off feeding and watering so remaining energy can funnel into the rhizomes before harvest.
Luckily, if you keep plants strong with fertilizer, you may be able to avoid issues with pests and disease.
Controlling Pests and Disease
Regularly monitoring your ginger plants will allow you to catch issues early, before insects weaken growth and damage attracts disease. Taking action early also means you can choose gentle, natural solutions instead of harsher options.
Common Ginger Plant Pests
- Aphids and Spider Mites: Treat with neem oil or insecticidal soap
- Fungus Gnats: Reduce watering and use BTI dunk drench
- Slugs and Snails: Apply diatomaceous earth or use beer traps
Common Diseases
The biggest health risks for ginger plants usually start in the soil. The major disease threats are root rot, rhizome rot, and bacterial wilt.
All of these problems are linked to excess moisture and poor drainage. You can prevent them with these good watering habits:
- Ensure containers or beds have excellent drainage before planting.
- Follow the proper curing protocol.
- Never let pots sit in standing water.
- Reduce watering at the first sign of yellowing or wilting.
How to Harvest Your Ginger
Harvest timing affects the texture and flavor of ginger. Freshly broken ginger has softer, thin skin, which is characteristic of baby or young ginger. Ginger that has been left to cure naturally develops a drier, leathery skin. This is the typical “store-bought” texture most people are familiar with.
If you want fresh, younger ginger, a partial harvest is possible after four to five months, once plants are well-established.
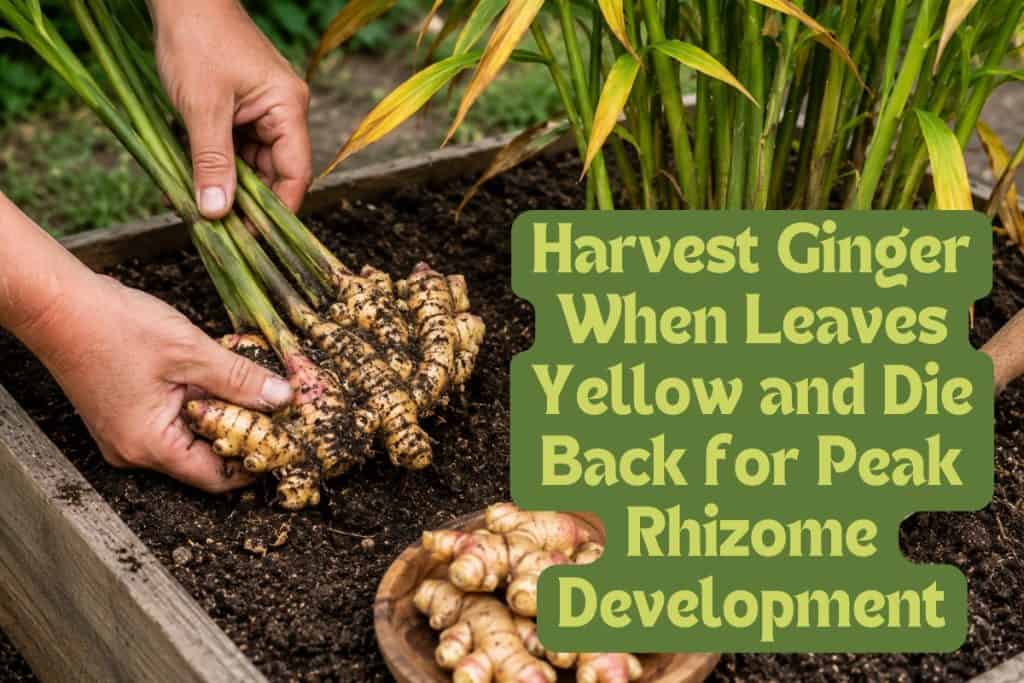
When Should Ginger Be Harvested?
Ginger is typically ready to harvest eight to 10 months after planting, depending on climate and growing conditions.
When leaves turn yellow and die back, the plant is telling you it has finished its above-ground growth and redirected its energy into the rhizomes.
Partial Harvest: Best for a Continuous Supply
If you planted ginger so you’d have a steady supply on hand to use, good news: You don’t have to wait until the end of the season to harvest ginger. Once the plant is established, you can take small amounts as needed.
Here’s how to perform a partial harvest without disrupting the main plant:
- Gently brush away soil at the outer edge of the container.
- Find young rhizomes near the surface.
- Using your hands, reach in and snap or cut off a small section.
- Cover the remaining roots back up with soil.
Full Harvest: Best for Seasonal Growing
A full harvest involves pulling up the entire ginger plant at the end of the growing season and collecting all the rhizomes.
Since the rhizomes are only planted a couple of inches deep, you can use a trowel or your hands to dig. Here’s how to do so:
- Dig up the whole plant.
- Separate the rhizome sections.
- Brush off soil and rinse rhizomes gently.
- Air-dry for about one day, then move to storage.
After Harvest: Curing, Storing, and Replanting
Once your ginger is partially or fully harvested, it’s time to cure it. To do this, simply leave it at room temperature in a shaded, dry, and well-ventilated spot.
Over the course of three to four weeks, the skin should toughen and become leathery at room temperature.
Cured ginger, like onions, lasts longer and is better for re-sprouting as planting stock. See our onion-growing guide here.
Short-Term Ginger Storage
If you plan to cook with your ginger, freshly-harvested ginger stores well in the refrigerator for several weeks. Keep it wrapped loosely to allow airflow and prevent moisture buildup.
Long-Term Ginger Storage
Freezing is one of the best long-term storage options. You can store ginger for up to six months in your freezer.
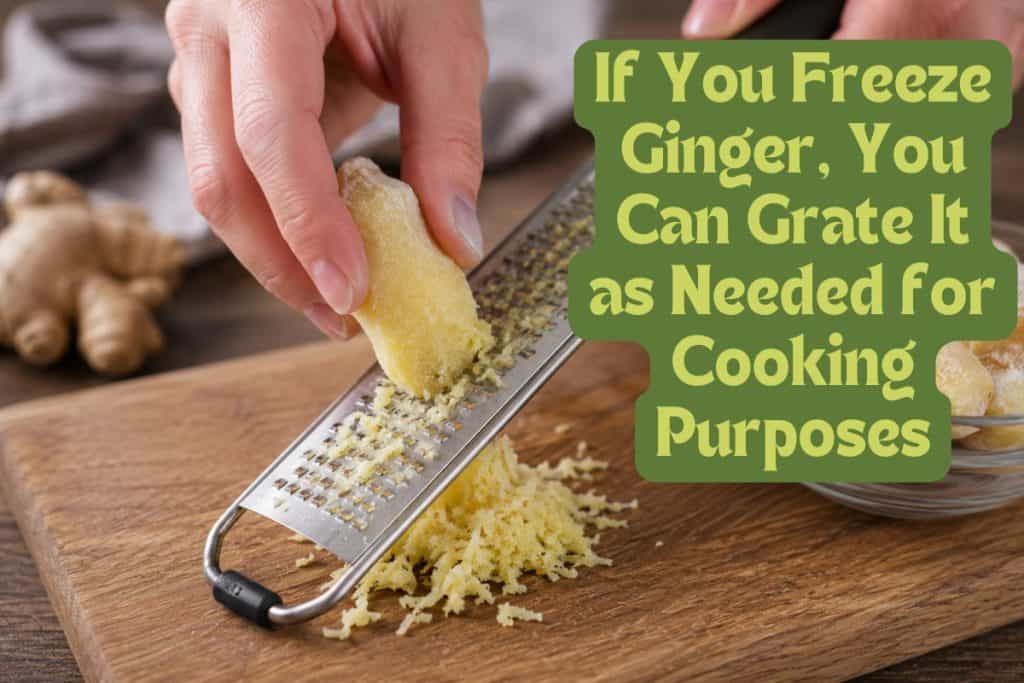
You can freeze ginger whole, which makes it easier to grate because of its firmer texture. Just grate what you need and return the rest to the freezer immediately.
Replanting Rhizomes
If you want a “plant once, harvest forever” system, you can simply save some of your ginger harvest each year.
When your full harvest is done, set aside your best rhizomes for next season’s planting stock:
- The biggest, firmest rhizomes
- Rhizomes with multiple eyes
- Plump, heavy-feeling rhizomes
Store your saved pieces in a cool, dry place over winter. They will cure naturally in storage and be ready to plant in early spring when the growing cycle begins again.
Repotting and Division
Because ginger rhizomes spread outward, containers can fill up pretty fast, which limits further development. When plants have reached the edges of their pot and growth slows, it’s time to divide and transplant them.
Many experienced container growers treat repotting and dividing as an annual part of their maintenance routine, and use it to refresh the soil and use the divisions in more pots.
Final Advice
Growing ginger at home is a rewarding project. It gives you a great-looking tropical plant, and its rhizomes will add flavor to your dishes.
Think of ginger as a long-term investment. The “plant once, harvest forever” system is simple, and over time it can save you money while improving your harvest quality through the years. Even after just one harvest, the rhizomes you grow will be far more impressive than anything you’d find in a grocery store.
Happy growing!


8 thoughts on “How to Grow Ginger at Home from Rhizome to Harvest”
If people on the Reservation can learn to grow ginger at the Garden School it could open doors into supplying to restaurant’s.
Do you have information on various mushroom’s.
I don’t have mushroom information handy. I have some books and have grown mushrooms, but not recently. There are some great mushroom grower companies with great videos and starter kits that would probably be good for teaching and learning.
Thank you. I have some grocery store ginger that has buds. Will give it a shot this year to get a good harvest next year.
Great. If you have buds you should be good. For the most part, that product can be washed off, you just have to be careful. Best wishes with the ginger! Diane
That’s they way I started. Now I got 4 tall stems with more starting. I just broke small amounts of the ginger, put rest back in frig.
Great! Ginger is fun. If you like tumeric, you can do it about the same way.
Hey there,
Are you on Instagram? If so I would love to follow up. I just started my first contain garden
Hi, sorry I am not on Instagram, but thank you asking. Be sure to favorite this website.
Thank you, Diane