

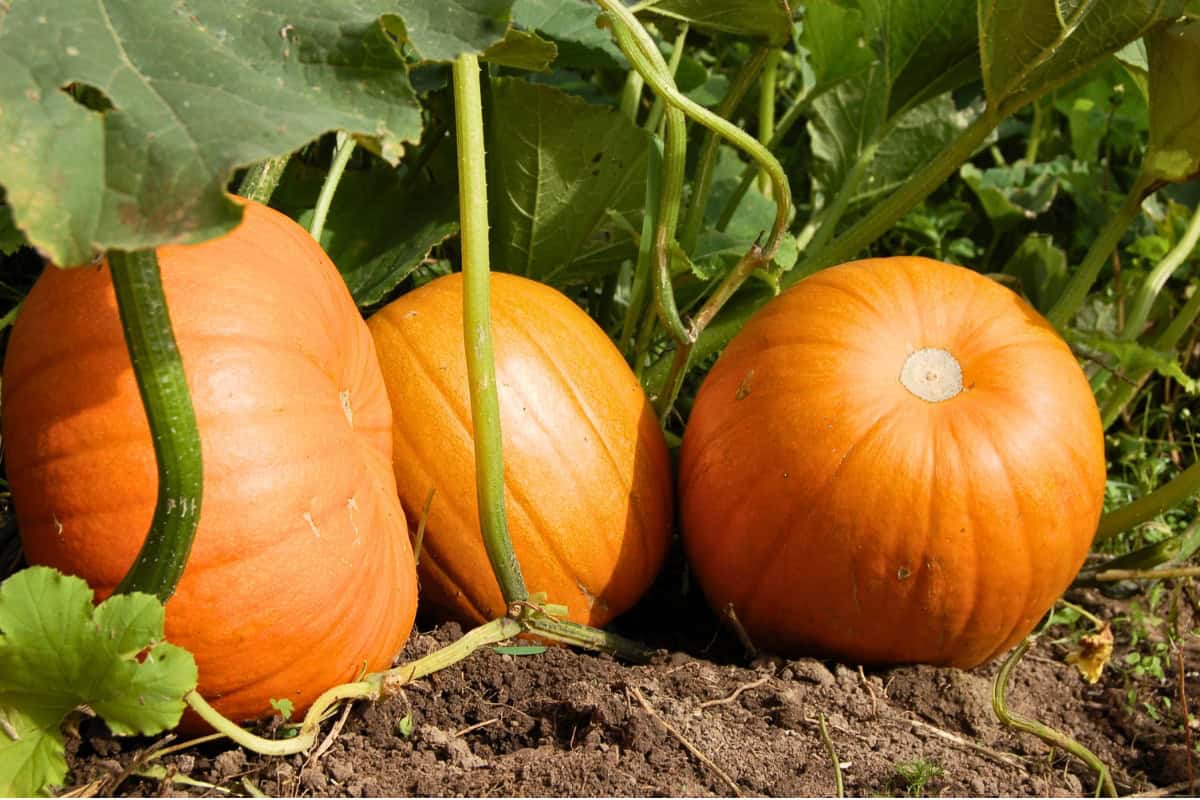
Pumpkins have been growing in North American gardens for over 5,000 years, and they offer a lot of value. These gourds are more than food; they’re a symbol of fall and upcoming holidays.
To get pumpkins growing in your backyard, you simply need to give them what they need. Then, they’ll reward you with more fruit than you know what to do with. In this guide, you’ll learn how to:
- Find the best planting date for pumpkins.
- Fine-tune fertilizer, pollination, and pruning.
- Turn your first pumpkins into a large harvest.
- Tell when a pumpkin is ready to pick.
Whether you want a front porch full of jack-o’-lanterns, plenty of pumpkins for holiday pies, or squash you can cook with, this guide walks you through every step.
Step #1: Choose the Right Pumpkins
Not all pumpkins are grown for the same purpose; some are better suited for your porch than baking pies. Plus, the variety you choose determines how much space and time you need to invest in your garden.
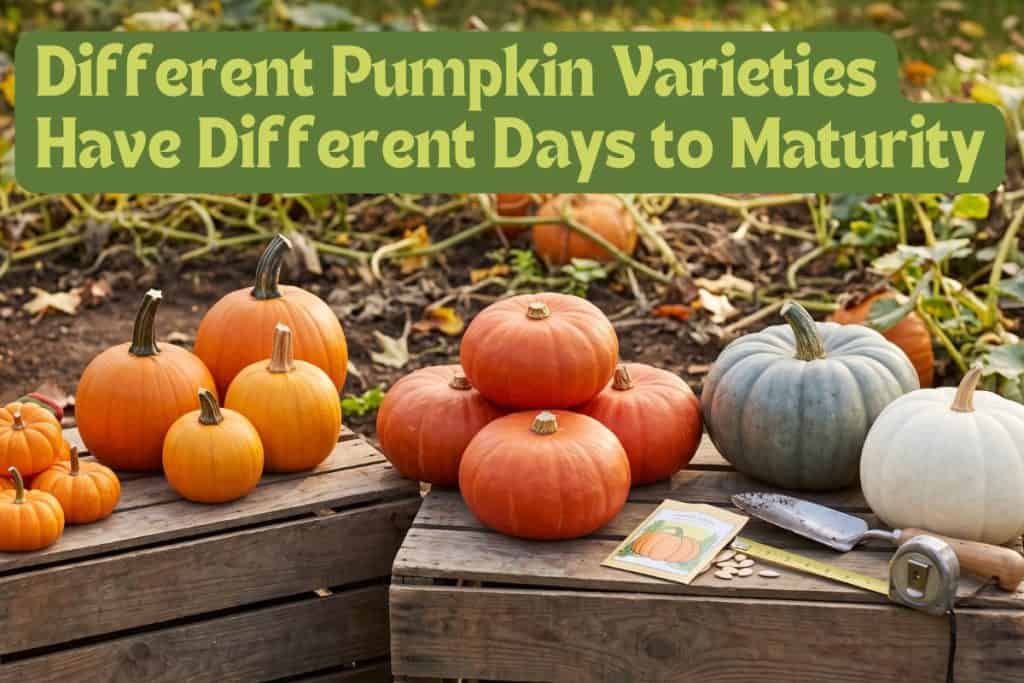
You’ll want to consider two key factors as you choose your pumpkin variety:
- Days to maturity, which determines whether you’ll need to start them inside.
- Disease resistance, as powdery mildew often appears late in the season, and non-resistant varieties can suffer fast.
Popular Pumpkin Varieties
- Miniature Pumpkins: Mature in 90 to 100 days and produce up to 12 fruits per plant. Includes options like Jack Be Little and Wee-B-Little.
- Carving and Jack-o’-Lantern Pumpkins: Mature in 100 days; look for All-American Selection (AAS) winners. Includes options like Spirit and Autumn Gold.
- Pie and Cooking Pumpkins: Mature in 100 days and feature sweet, dense flesh for baking. Includes options like Baby Pam and Sugar Treat.
- Specialty and Colorful Pumpkins: Share growing needs but have very different looks. Includes options like Jarrahdale, Cinderella, and Casper.
- Extra Large Pumpkins: Mature in 110 days with fruit weighing 40-plus pounds. Options like Big Moose and Large Marge have strong handles and are disease-resistant.
4 Steps to Choosing the Right Variety
Follow these four steps to narrow down which pumpkin variety is best for your needs:
- Decide Your Purpose: Will you use your pumpkins for Halloween displays, cooking, or other purposes?
- Determine Days to Maturity: Read your seed packet and match the days to maturity to your planting date.
- Know Your Climate: If you live in a humid climate, look for F1 hybrid or PMR (powdery mildew resistant) labeled varieties.
- Match Variety to Available Space: Miniature pumpkins need 15 to 36 square feet; standard vines need 50 to 100 square feet per hill.
What About Giant Pumpkins?
Growing a giant pumpkin requires care that’s completely different from what’s covered in this guide. It’s more like a competitive sport than a garden crop.
The steps covered here will help you grow a great crop for Halloween or Thanksgiving pie, but giant pumpkins have one goal: Achieve maximum weight in a single fruit. Everything else comes second.
Variety matters for other vegetables, too; read how to choose the best onions in our onion growing guide here.
Step #2: Select a Planting Site
Pumpkins need two things above all else: sun and space.
Sunlight provides the energy pumpkins need at all stages of growth. Without enough sunlight, plants produce weak vines and poor fruit.
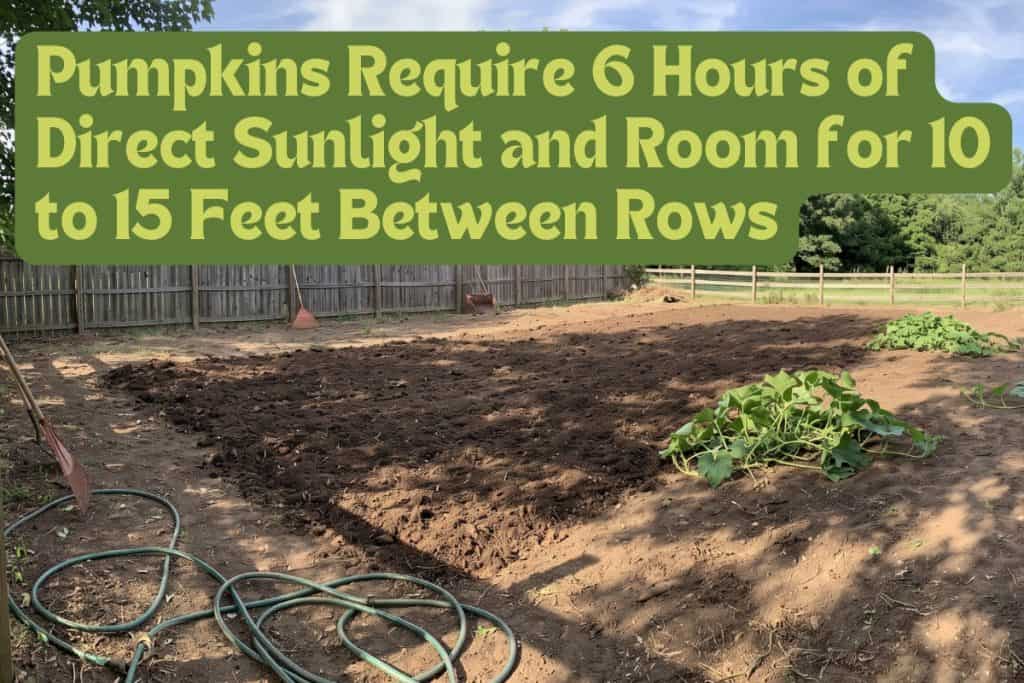
Pumpkins are big, sprawling plants that require more room than most garden crops, and crowded vines quickly impact airflow. Providing enough space from the start helps prevent trapped humidity and lowers the risk of disease.
4 Steps to Pumpkin Patch Setup
- Pick a spot with at least 6 hours of direct sun.
- Do not plant pumpkins where squash, cucumbers, or melons grew the year before to prevent soil-borne diseases.
- Plan where vines and hoses will run before planting.
- Allow 10 to 15 feet between rows for standard vine types or 6 to 8 feet for miniatures.
Step #3: Check and Prep Your Soil
Pumpkins are heavy feeders, so the work you do before planting pays off all season. First, check your soil pH. If the pH is too high or too low, pumpkin roots may not be able to use certain nutrients even if they are present.
If the soil pH is outside the ideal range of 5.8 to 6.8, apply agricultural lime to raise it or sulfur to lower it. It’s best to make adjustments in the fall after harvest; you can also amend the soil 2 to 3 weeks before planting.
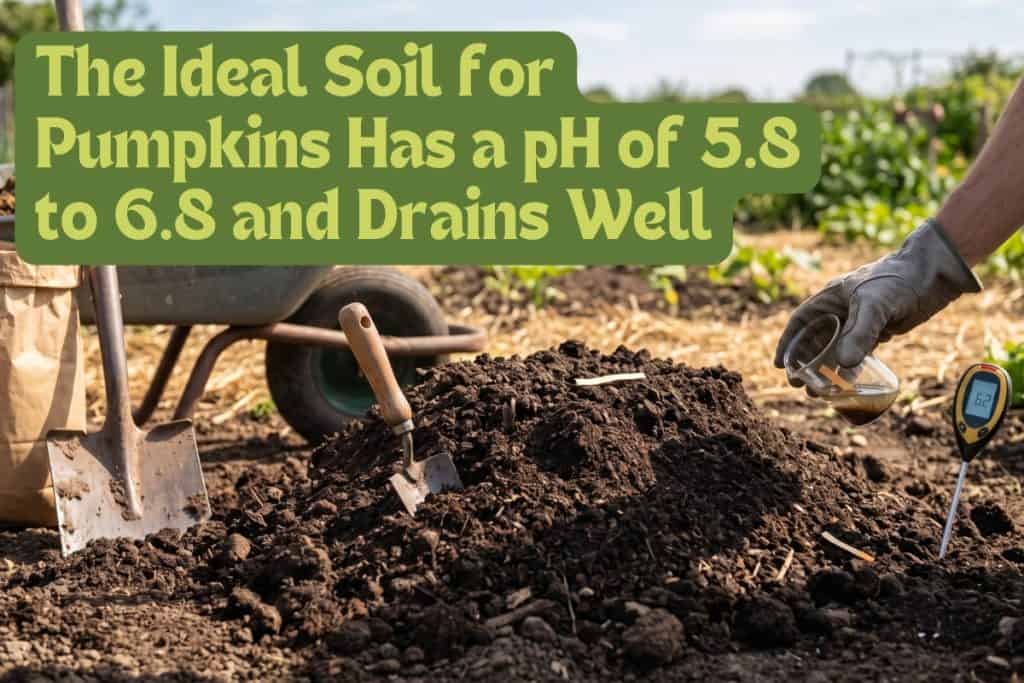
Well-draining soil is just as important. Pumpkins can begin to die within 48 hours in standing water, so low spots and heavy clay are a serious problem. Sandy loam is ideal for drainage, but any soil type can be improved.
If you need to amend your soil for better drainage, compost is the best option since it improves drainage in clay, holds moisture in sand, feeds plants slowly, and builds healthy soil life. Plan to add compost at planting and as a mid-season side-dressing, too.
3 Soil Preparation Steps
- Test soil pH and adjust as early as possible.
- Work 2 to 4 inches of compost or aged manure into the top 12 inches of soil.
- In clay soil or low areas, build raised mounds.
Step #4: Time Your Planting
Determining when to plant pumpkins is a balancing act. Plant too early, and seeds may not sprout in cold soil; seedlings can also die if caught by a late frost. If early seedlings do survive, pumpkins can mature so early that they soften or rot before Halloween.
Wait too long, and the fruit may not have enough time to ripen.
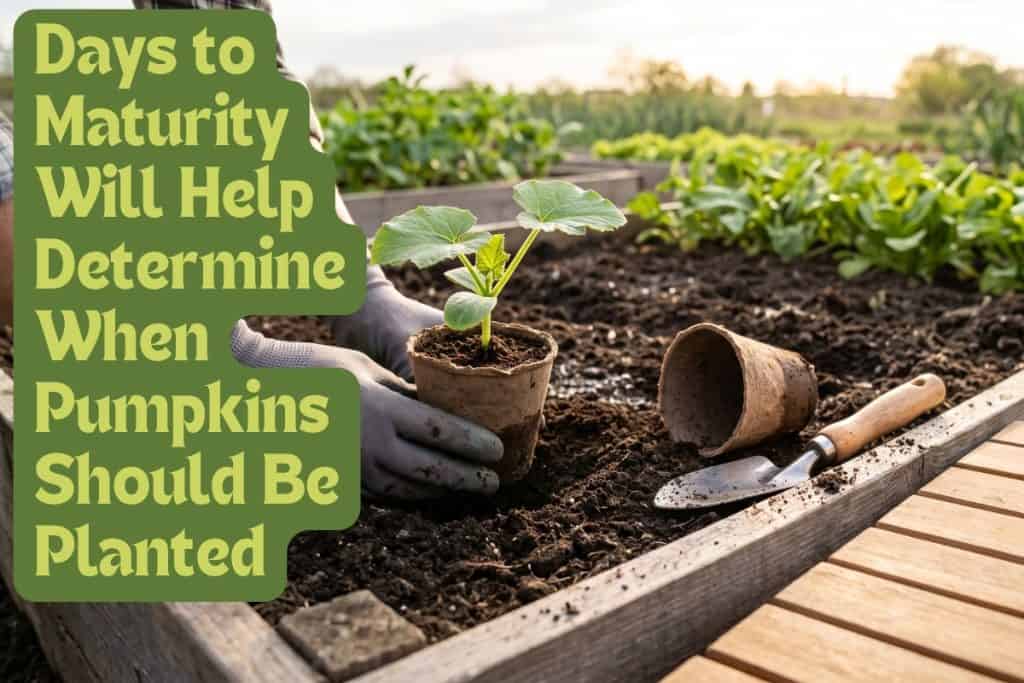
To time your planting perfectly, determine how many days your pumpkin variety needs to grow and your ideal harvest date. You may also need to consider the last spring frost date in your area.
How to Determine the Perfect Planting Time
- Find the days-to-maturity number on your seed packet.
- Pick the date you want ripe pumpkins by, then subtract how long your variety takes to grow to find your planting day. (Example: You want to harvest on October 17 and are planting a 100-day variety. Plant on July 9.)
- Check your seed company’s website, the Green Cast Soil Temperature map, or state extension office for local soil temperature information.
Should You Plant Pumpkins Indoors?
In regions with shorter growing seasons, starting seeds indoors in peat pots gives plants a head start. This will allow you to transplant the whole container without disturbing the pumpkins’ roots.
To reduce transplant shock, after getting plants growing indoors, you should start hardening off outside when the first true leaf appears.
Step #5: Plant Seeds in Mounds
Pumpkins are planted in mounds (or hills), a term that refers to a cluster of seeds, not a raised mound of dirt.
Building an actual mound does give seeds a stronger start, since soil warms faster in spring and mounds drain better after rain. However, planting several seeds per hill guarantees you have options when it’s time to thin down to the strongest plants.
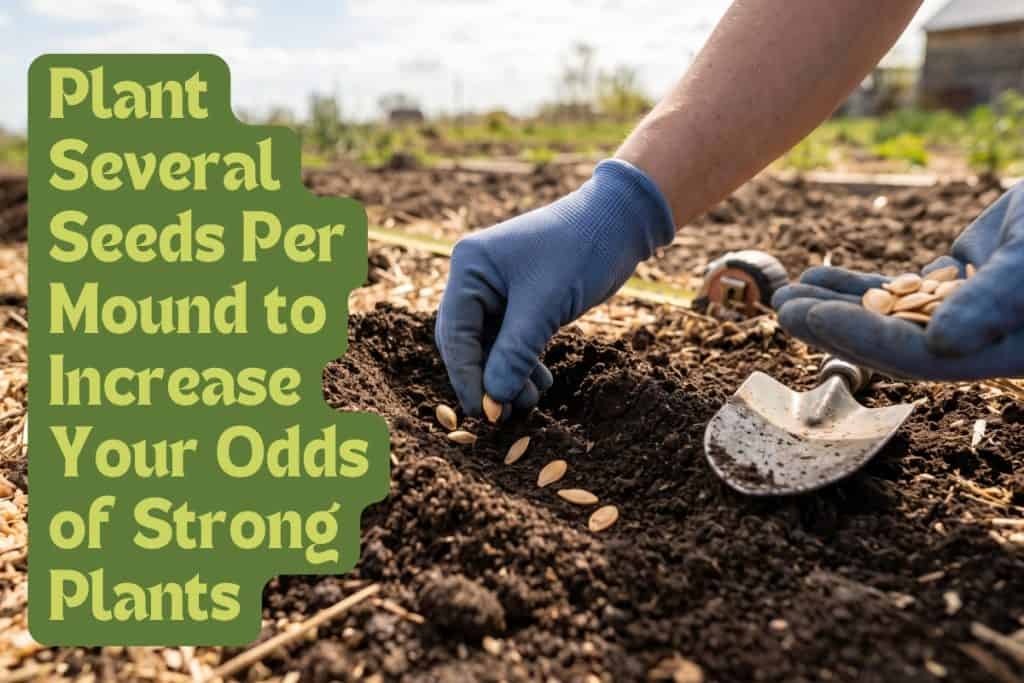
Planting depth and spacing matter, too. Pumpkin seeds planted too shallowly dry out before germinating, while those planted too deeply are slow to emerge.
Spacing varies depending on the type of pumpkin you’re growing, and getting it right prevents problems like crowding and disease once the vines begin to run.
Apply Mulch
Adding mulch during planting offers plenty of benefits for pumpkins. It helps soil hold moisture between waterings, keeps weeds from competing for nutrients, steadies soil temperature during summer heat, and reduces moisture loss.
As vines spread, the mulch coverage also needs to spread. Add more mid-season if it thins below 2 inches.
Planting Hills in 6 Steps
- Build mounds 6 to 8 inches high and 18 to 24 inches wide, or plant flat hills.
- For each planting hill, dig 12 to 15 inches deep.
- Plant 4 to 5 seeds per hill at a depth of 1 to 1.5 inches, spacing hills by type.
- Backfill with amended soil and water well.
- Apply 2 to 3 inches of organic matter right after planting.
- Keep soil moist until seeds sprout (usually 7 to 10 days).
For other garden-grown vegetables that require specific planting steps, read our carrot growing guide here.
Step #6: Thin Seedlings
Thinning pumpkin seedlings is a step most home growers skip. It might feel like a waste, but it’s one of the most important things you can do.
If too many seedlings grow in the same hill, they start competing right away. Roots get crowded, airflow drops, and the plants end up weaker.
Keeping more seedlings doesn’t mean you’ll grow more pumpkins.
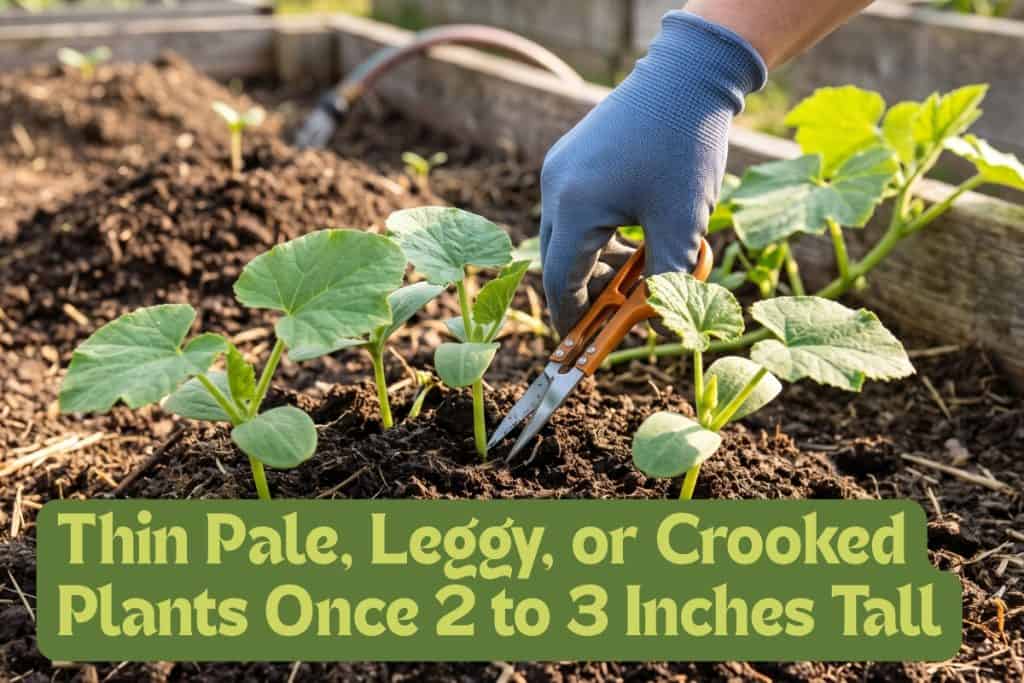
Let the seedlings get established, then keep the strongest ones. Cut unwanted seedlings at soil level with scissors; don’t pull, or you’ll disturb the roots of the plants you want to keep.
How to Thin Pumpkin Seedlings
- Wait until seedlings reach 2 to 3 inches tall with two true leaves (not round seed leaves).
- Remove any that look pale, leggy, or crooked.
- Save two to three plants per hill for vining types or one to two for semi-bush types.
- Aim for one plant every 2 feet for miniature row planting.
- Water gently to settle remaining roots.
Step #7: Water Pumpkins Deeply
When you water pumpkins, water at the base and try to keep the leaves as dry as possible. Wet leaves make it easier for powdery mildew and other fungal problems to spread.
Watering at the base of the plant, on the other hand, delivers moisture to the roots without causing disease.
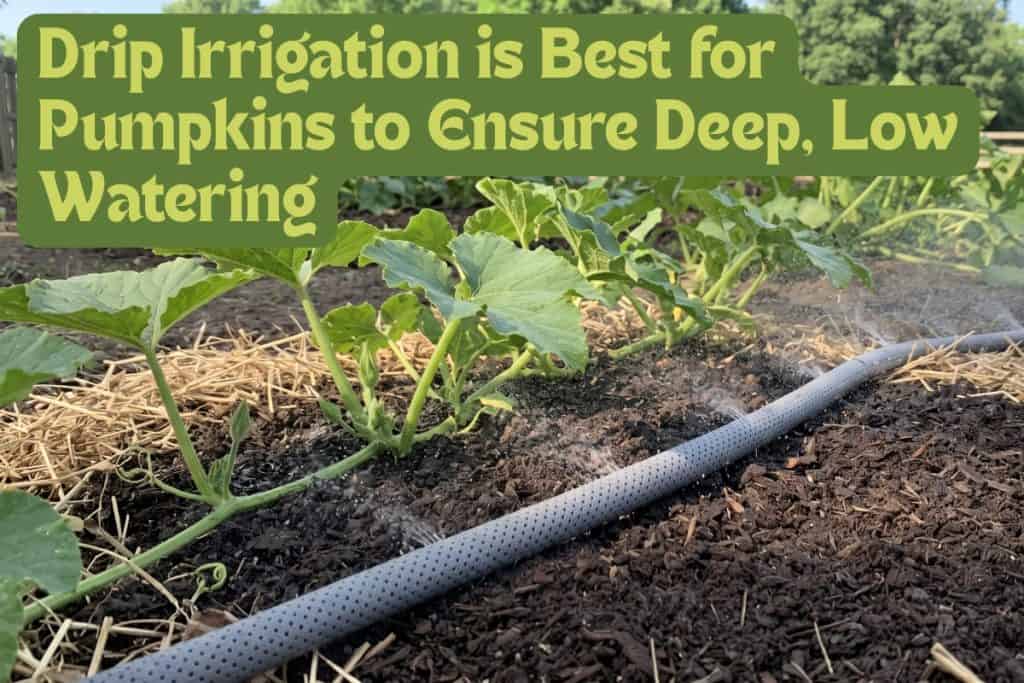
Drip irrigation and soaker hoses are the best choices for watering pumpkins. If you use a garden hose, lay it along the base of the plant or at the edge of the hill and let it run slowly.
As vines spread, the root zone spreads with them. For example, an 8-foot vine has active roots all along that same length. So, make sure you’re not only watering the original planting spot.
How to Water Pumpkins
- Water 1 inch per week.
- Water in the morning so leaves dry before evening.
- Use drip irrigation or soaker hoses when possible.
- Move irrigation outward as vines spread.
- Increase watering to 2 inches per week 30 days before harvest, then reduce slightly in the last two weeks to help tighten the rind and build flavor.
Drip irrigation can benefit other crops, too; read about using it in our potato growing guide here.
Step #8: Fertilize Based on Growth Stage
Pumpkins need different fertilizer applications at different stages of development. Think of it like helping the plant with one job at a time.
When the plant is young, nitrogen helps grow strong vines, roots, and healthy leaves. As flowers form, phosphorus supports blooming. Once pumpkins begin growing, potassium increases size, builds strong skins, and develops flavor.
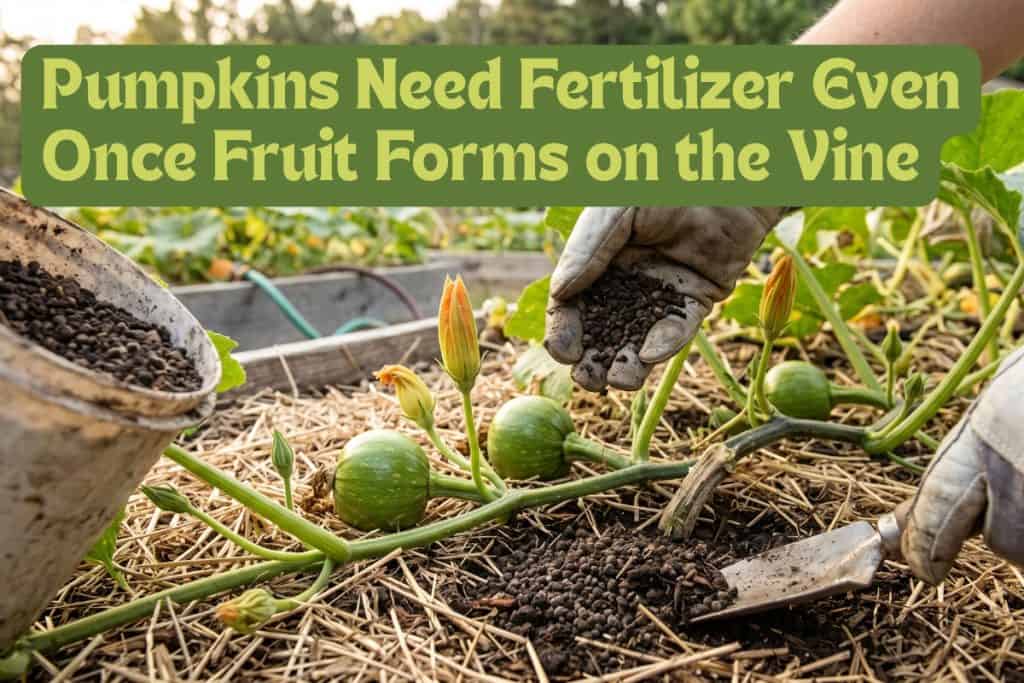
It’s common for home growers to give pumpkins too much nitrogen for too long. This can result in leafy vines in July but few pumpkins by October. Miniature varieties are especially sensitive to too much nitrogen.
5 Steps to Fertilize Pumpkins
- At planting, work compost or aged manure plus a balanced fertilizer (e.g., 8N-8P-8K) into each planting hill.
- When plants reach about 10 to 12 inches, before vines begin to run, apply a high-nitrogen fertilizer (e.g., 15N-8P-8K).
- When you see the first male flower buds forming (before blooming begins), switch to a formula with higher phosphorus (e.g., 5N-10P-10K).
- Once small pumpkins have formed, apply a water-soluble fertilizer (e.g., 5N-8P-10K) across the full rooting zone.
- Side-dress with aged manure or compost throughout the season as a slow, steady supplement.
Step #9: Manage Pumpkin Pollination
Pumpkins grow both male and female flowers on the same plant. Female flowers look different from males. Female flowers have a small swelling at the base of the bloom; males do not.
Male flowers always come first, and they will open, release pollen, and drop without fruit forming. When a bee moves pollen from a male to a female, the fruit begins to develop. If female flowers don’t get pollinated, they will form a small fruit that yellows and falls off.
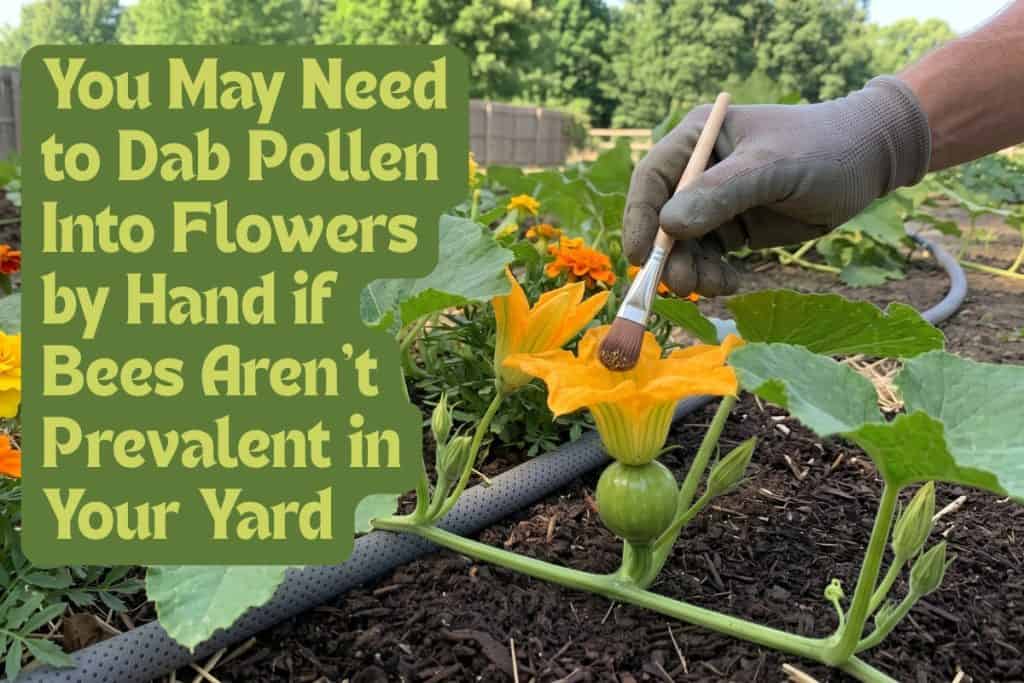
Bee pollination can fail if row covers are left on too long or pesticides are applied during the day. To entice more bees, plant flowering companions near pumpkins, such as marigolds or zinnias.
Pumpkin Pollination in 4 Steps
- Let the first flowers drop on their own; don’t remove them.
- Take off row covers before flowers open to allow bees in.
- If bee traffic is low, hand-pollinate: Dab pollen from a male flower onto the center of a female using a small brush or your fingertip.
- Apply insecticides only in late afternoon or evening, after flowers have closed for the day.
Pruning Vines and Pumpkins
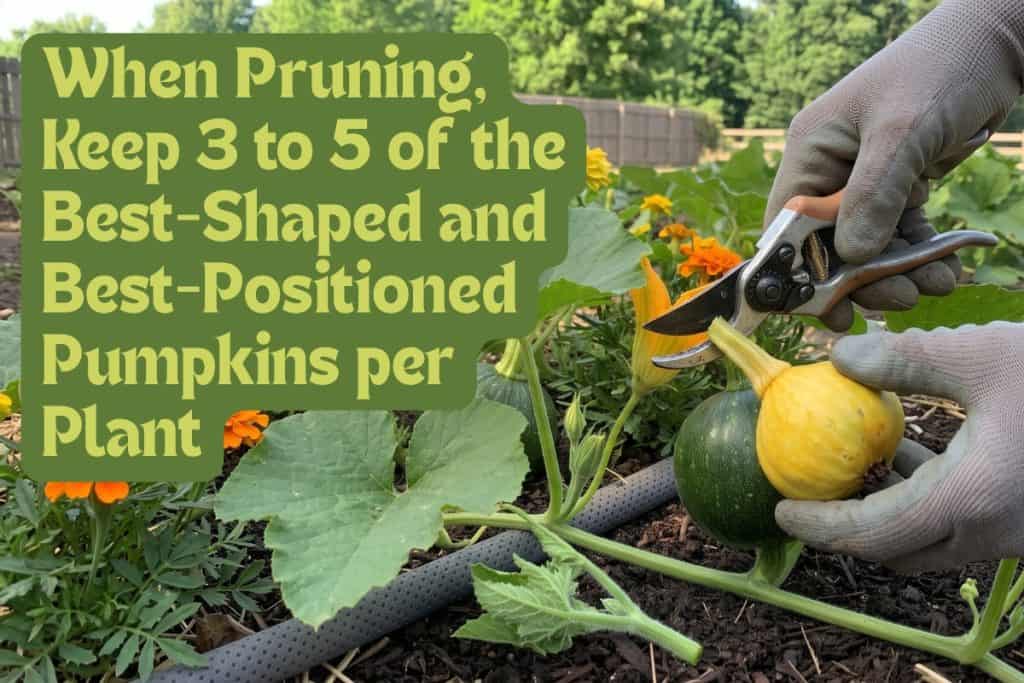
If you let a pumpkin vine grow on its own, it may try to make more pumpkins than it can support. It’s better to keep the best two or three pumpkins and prune the rest.
The same thing happens with the vines. If they’re still growing fast in late summer, the plant is using energy to produce more vines rather than pumpkins — so you’ll need to prune these, too.
How to Prune and Manage Pumpkins
- Aim for three to five pumpkins per plant.
- Once pumpkins are baseball-sized, pick the two to three best-shaped and best-positioned. Cut off the rest.
- Pinch the fuzzy growing tip off the end of each main vine to stop further spread.
- Cut main vines back to 10 to 15 feet to reduce overall length.
- Trim back secondary vines and remove all side shoots.
- Cut off any new fruit that sets after mid-August (it won’t ripen before frost).
Protect Developing Pumpkins
Once pumpkins start getting bigger, they shouldn’t sit directly on wet soil. Wet ground can cause rot, uneven color changes, or oddly-shaped growth.
The easiest fix is to slide something flat under each pumpkin early, like a board or a piece of tile.
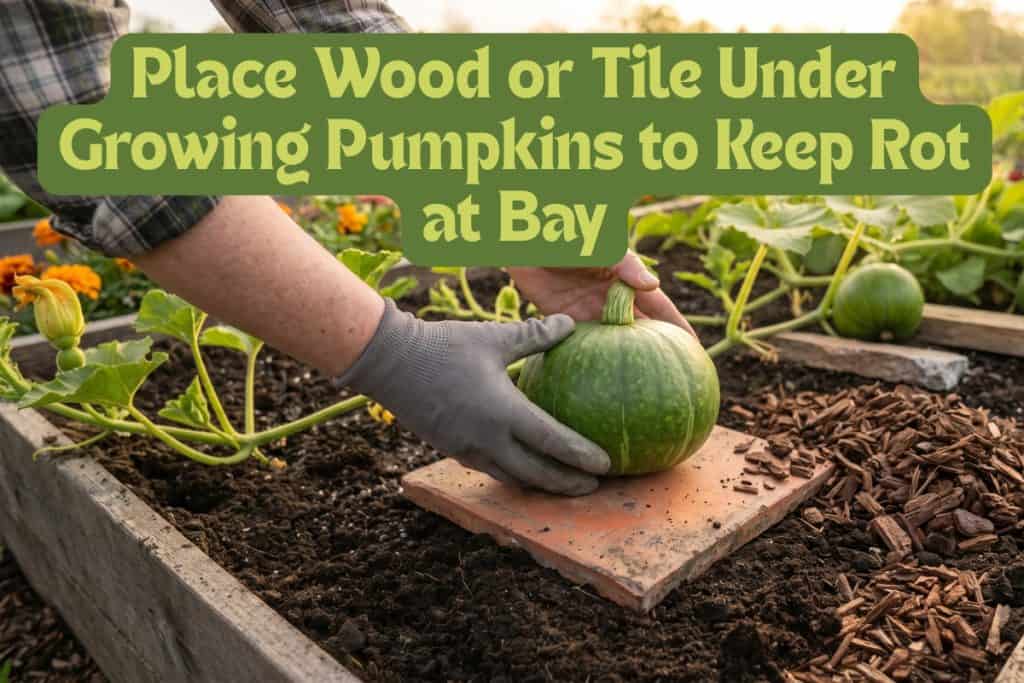
You can also turn the pumpkins so they color and shape more evenly, but you’ll need to do this gently. Pumpkins get heavy, and the stem can break if you twist or pull too hard, which will stop growth.
4 Steps to Improve Pumpkin Development
- Once pumpkins are softball-sized, put a barrier underneath each.
- Turn pumpkins gently once a week.
- When turning, support the fruit with both hands; don’t pull the vine or twist the stem.
- Add mulch around the fruit to reduce splashing from rain.
Monitor for Pests and Diseases
Pumpkins are often threatened by pests and diseases. You may see the occasional aphid or thrip, but luckily there are few serious threats that will kill your plants.
All common pumpkin pests and diseases are easier to manage when you catch them early. So, walk through your patch once a week and inspect plants closely.
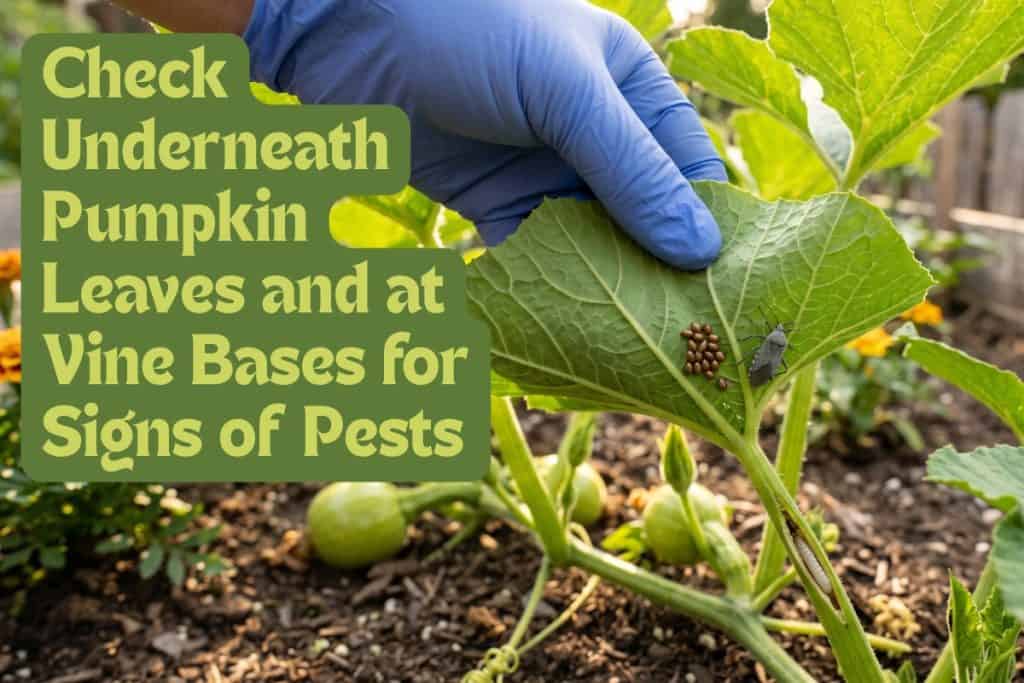
Keep an eye out for the following types of pests and diseases.
Squash Bugs: Lay eggs on the undersides of leaves, which hatch and feed on the plant. Populations increase quickly and can cause vines to collapse before fruit matures.
Squash Vine Borers: Damage happens inside the vine. Adults lay eggs at the stem’s base; larvae hatch and tunnel in, and once the vine starts to wilt, it can be too late. Look for a mushy stem or fine sawdust-like tissue at the base.
Powdery Mildew: Common in August and September when the plant still needs healthy leaves to finish sizing the pumpkins. Certain varieties, like F1 hybrids and PMR, hold up much longer into the season.
Cucumber Beetles: Small, yellow-green insects with black spots or stripes that cause feeding damage and carry bacterial wilt, which blocks the flow of water and nutrients.
Bacterial Wilt: If you suspect wilt, cut a stem and press the cut ends together for 10 seconds, then pull them apart slowly. If the sap strings between the two ends, the plant has bacterial wilt. Pull it out immediately and throw it away.
4 Steps for Managing Pests and Disease
- Check underneath leaves for squash bug egg clusters, which are bronze, keg-shaped, and laid in rows.
- Crush egg clusters when you find them. Lay flat boards on the soil overnight so adults gather underneath; then, you can kill them in the morning.
- Check vine bases for squash vine borer holes. If caught early, slit the stem lengthwise, pull out the larva, and bury in moist soil to encourage re-rooting.
- Apply a preventive copper-based fungicide or baking soda spray during warm days and cool, humid nights.
Test the Fruit for Maturity
The most common harvesting mistake is picking pumpkins too early. A pumpkin that looks orange from a distance may still need days or even weeks on the vine.
If picked before fully ripe, a pumpkin won’t store as well, hold its color as long, or carve as cleanly. Since no single sign tells the whole story, use the five checks below together before cutting anything off the vine.
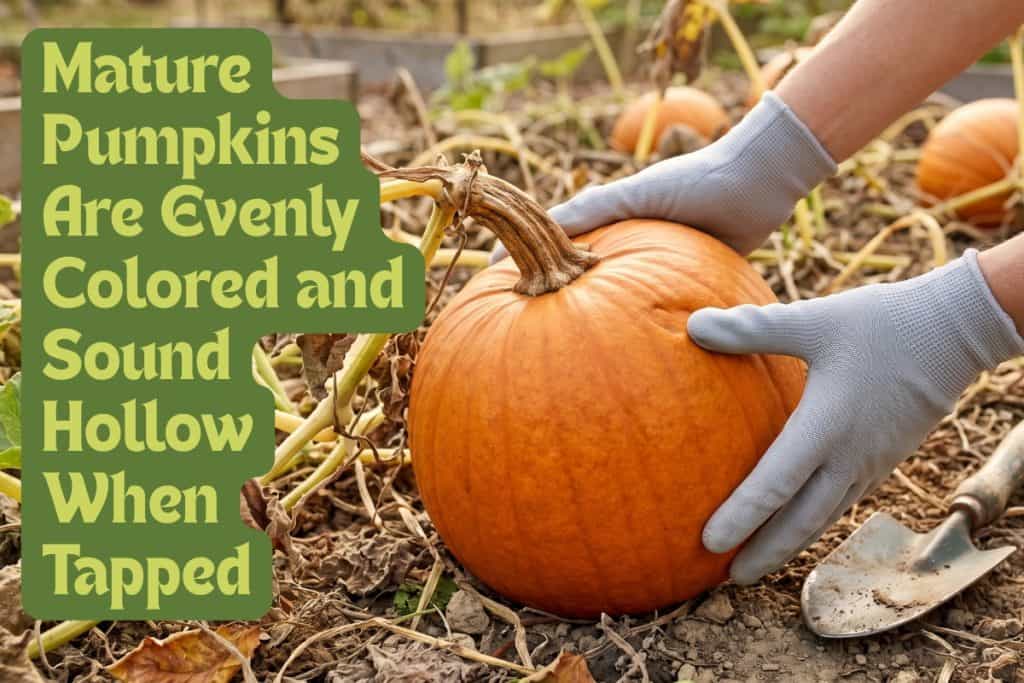
The 5-Point Pumpkin Maturity Check
- Skin Color: Deep and even, with no green patches.
- Thump Test: When tapped with your knuckle, a ripe pumpkin sounds hollow.
- Nail Test: Press your thumbnail firmly into the rind; it shouldn’t go in at all.
- Stem: Hard, dry, and rough like cork, not green and soft.
- Vine: Those closest to the fruit are naturally dying.
Harvesting Pumpkins
How you harvest affects how long your pumpkins will last. A stem snapped off by hand leaves an open wound that shortens shelf life by weeks. A clean cut with sharp pruners, with several inches of stem left on, allows for long-term storage.
Most home growers skip curing, but it makes a difference. Warm, humid conditions in the days right after harvest tighten the skin, heal small surface cuts, and deepen the color.
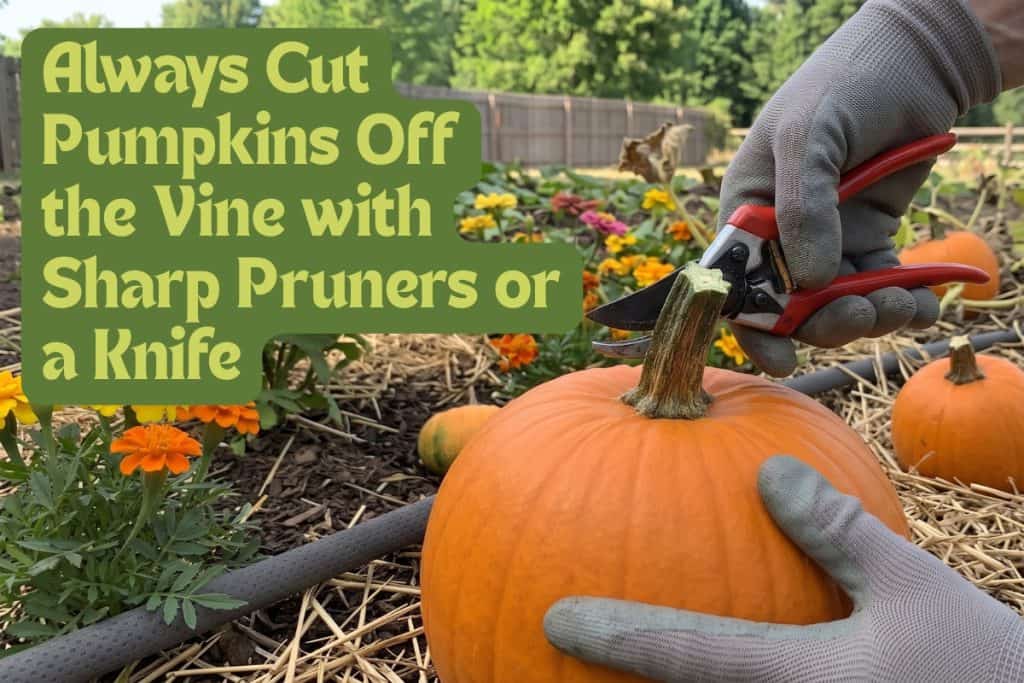
Harvest and Cure Pumpkins in 7 Steps
- Harvest on a dry day after vine die-back.
- Use sharp pruners or a knife; never snap the stem.
- Leave 3 to 4 inches of stem attached.
- Wear gloves; many pumpkin stems have small, sharp barbs.
- Handle with care; never carry a pumpkin by its stem or drop or stack them.
- Cure for about 10 days in a warm spot (80 to 85 degrees Fahrenheit with high humidity).
- Store cured pumpkins in a cool, dry spot (50 to 55 degrees Fahrenheit) for up to 3 months.
Sweet potatoes also require curing post-harvest; learn about the process in our sweet potato growing guide here.
Final Advice
Pumpkins reward you in the fall for proper spring planting. Your chosen variety, timing, and soil preparation set the stage for the entire season. Mid-season mistakes, such as skipping pest checks, watering over the leaves, and letting too much fruit set, will show up at harvest.
Every season will teach you something, but if you master these basics, you’ll find there’s nothing quite like a homegrown pumpkin sitting on your porch or served as pie.
Happy growing!
10 thoughts on “How to Grow Pumpkins and Get the Ultimate Backyard Harvest”
Thank you for the information!
I’m giving it another try and learned
a lot more from you.
Thank you for visiting the site!
I have an accidental pumpkin vine by my porch, in clay soil at that. I haven’t done a thing to it but it has 4 females so far. I fertilized three of them. An immature male had the tiniest lightening bug I’ve ever seen! I’m happy to have read this today before I made mistakes later. Thank you so much!!
Thank you for visiting. I use to make a lot of compost and always had volenteer surprises coming up. I am glad you got them pollinated. It will be fun for you to watch them and harvest later. Best wishes.
This article is so informative and well written! I wish I could screen shot the whole thing! I will look for more gardening help by Diane! Experienced gardeners are such a treasure! Thank you
Thank you so much for the compliment! Also, thanks for visiting the site.
First time planting pumpkins. Your article included issues I did not consider. Next year will be much better. For now I will enjoy taking care of each plant as I watch them grow.
I hope your pumpkins do great. Watch for those vine borers! Thanks for visiting the site.
I really enjoyed your article. Very thorough and I learned a few more things about growing pumpkins! Thank you!
Thank you for the compliment and for visiting the site.