
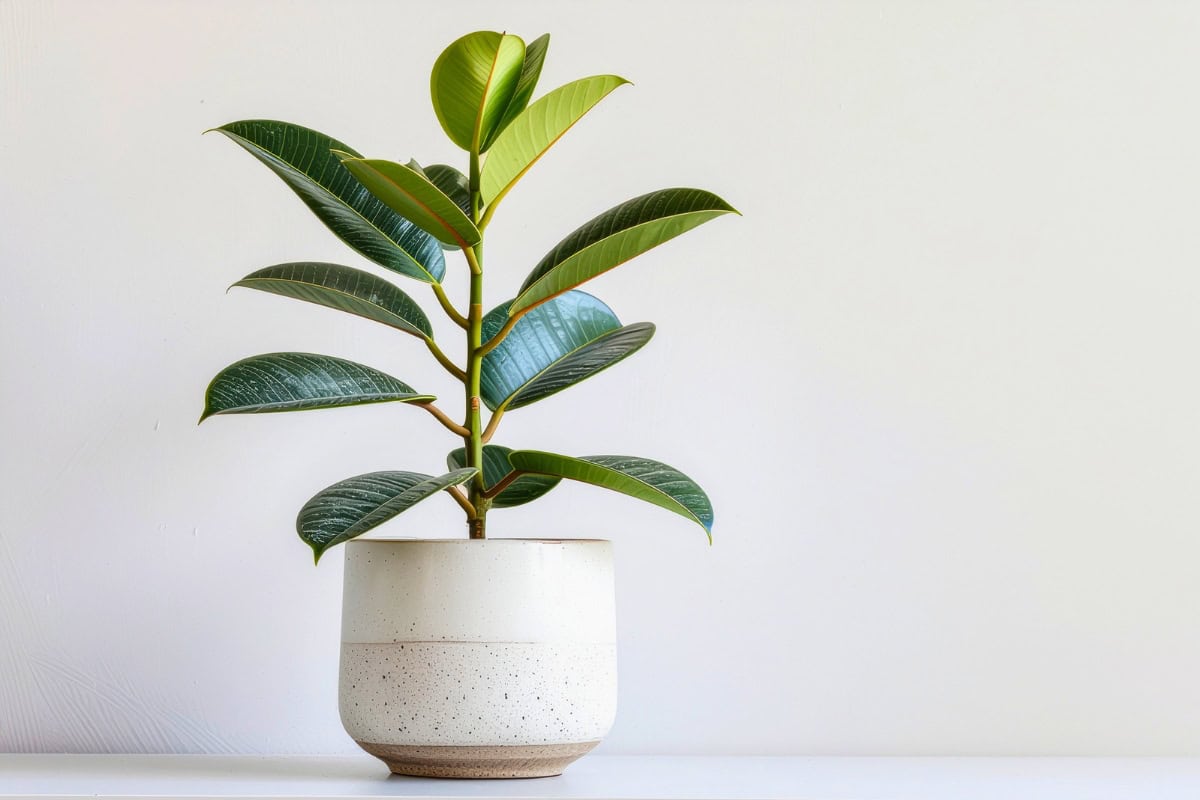
Rubber trees are often sold as easy-care houseplants, and they can be.
But Ficus elastica is kind of a drama queen when its routine is disrupted. It may quickly start dropping leaves when light is too low, roots stay wet, or the temperature changes. Even moving from a retail store to your house is enough to set it off.
This guide will cover all the care and propagation basics and answer key questions about rubber trees, like:
- Prevent drama-queen leaf drop
- Match plant variety to your light
- Spot red flags before buying
- Avoid deadly root rot
- Prune for a fuller, bushier shape
The good news is that rubber trees usually recover, and most problems are preventable.
How a Rubber Tree Grows
Rubber trees grow 50 to 100 feet (about 7 stories) tall in the wild but stay around 6 to 10 feet indoors. Size is limited by their pot, light, and your pruning.
What surprises many growers is its shape. A young rubber tree is not naturally bushy. It puts most of its energy into the top growing point, so an unpruned plant often becomes one tall stem with leaves grouped near the top.
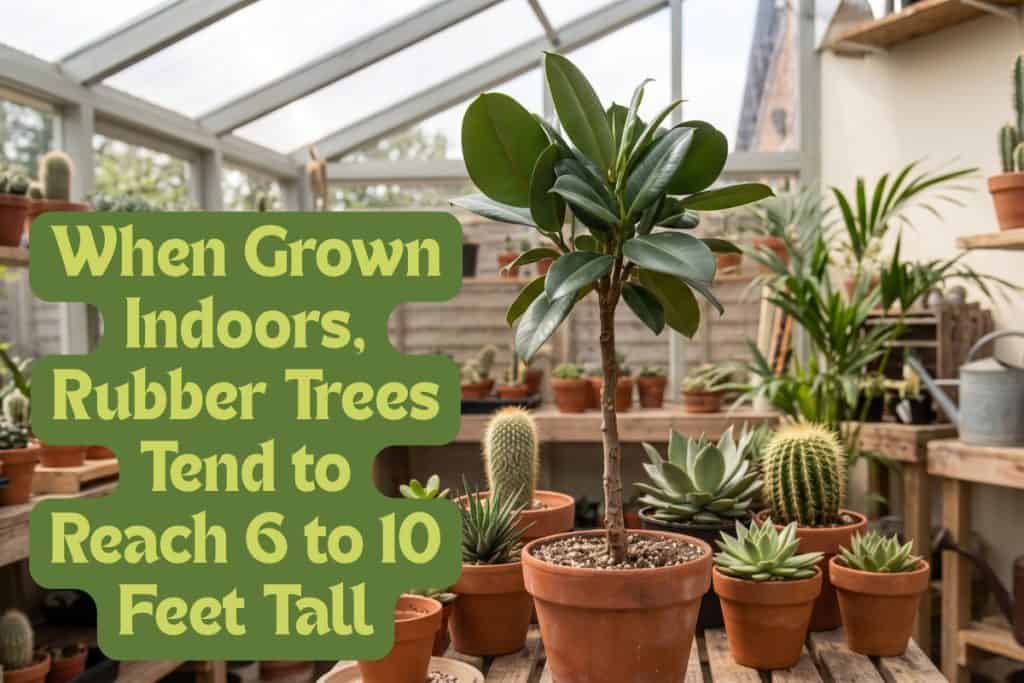
This upright habit is called apical dominance. The growing tip produces hormones that keep the plant pushing upward, which is why a fuller rubber tree is usually created through pruning.
Types of Rubber Trees
Not every rubber tree performs the same way in the same light, and leaf color is the reason. Green tissue contains chlorophyll, which turns light into food.
Cream, white, and pink variegated tissues contain little or no chlorophyll, so heavily variegated rubber trees make less food from the same light. That’s the cost of those beautiful leaves.

So, you have to match the type of rubber tree you’ll grow to the light you actually have. If your brightest usable window is limited, choose your variety carefully (or plan to supplement with a grow light).
Popular Rubber Tree Varieties
- Burgundy: Fast-growing with near-black leaves.
- Tineke: Cream and green leaf variegation; grows slowly and is fussy about steady conditions.
- Ruby: Pink-blushed leaves that only stay pink in strong light.
- ‘Decora’: Classic glossy dark green leaves with a pale midrib.
- ‘Robusta’: Very large leaves; the best choice for lower light.
- ‘Tricolor’: Green, cream, and pink leaves; needs bright light.
- Ficus shivereana: A close cousin species featuring speckled variegation.
Different types of spider plants also have different leaf variegations, and you can learn about their needs in our guide here.
What to Look for When Buying a Rubber Tree
The plant you choose to buy affects how easy the next month will be. Rubber trees, like most ficus plants, dislike sudden change. So, a plant already stressed by low light, cold transport, or soggy soil may keep dropping leaves after it gets home.
A healthy rubber tree has firm, glossy leaves, decently-sized new growth, and a thick, sturdy stem.

It pays to slow down and look a rubber tree over before bringing it home. A hidden pest is much easier to avoid than to cure.
Once you bring your new plant home, make sure to keep it away from your other plants for about two weeks.
5 Details to Check Before Buying a Rubber Tree
- Leaves should have good color and no crispy edges or spots.
- Choose a plant with compact growth, not long gaps between leaves.
- Pass on any plant that’s already shedding its lower leaves.
- Make sure the pot has multiple drainage holes.
- Turn a few leaves over and scan the stems for pests.
Know How Much Light Rubber Trees Need
Light drives almost everything in rubber tree care, from your tree’s potential growth to its health.
In strong light, the plant stays compact, holds its leaves, keeps its color, and makes large new foliage. In weak light, decline is gradual enough that it is easy to miss until the plant has already been struggling.

If you think light will be an issue, look for the almost-black variety ‘Burgundy’; it’s the most low-light-tolerant.
Signs Your Rubber Tree Needs More Light
- There are long gaps between leaves.
- New leaves are small.
- Leaves’ cream, pink, or red variegation is fading.
- Your plant is top-heavy and tips over easily.
Keep an eye out for a plant leaning toward the window, too. This isn’t a sign it needs to be rotated; it’s asking for more light. Rotation helps keep growth even, but it cannot make up for low light.
5 Steps to Get the Light Right
- Set your rubber tree near your brightest east-, west-, or south-facing window for 8 to 12 hours of bright light.
- In dark winter months, add a grow light for 8 to 12 hours a day.
- Turn the pot a quarter turn every 2 weeks for even growth.
- Filter intense midday sun with a sheer curtain to prevent scorched leaves.
- Keep dust off the leaves for full light penetration.
When and How to Water a Rubber Tree
More rubber trees are hurt by watering habits than by anything else. Usually, the issue is overwatering, not under-watering.
This plant’s roots need moisture, but they also need air. When a wet soil mix pushes the air out, roots begin to rot. A pot that feels unusually light and leaves that are less stiff than usual can indicate the plant is ready for water.
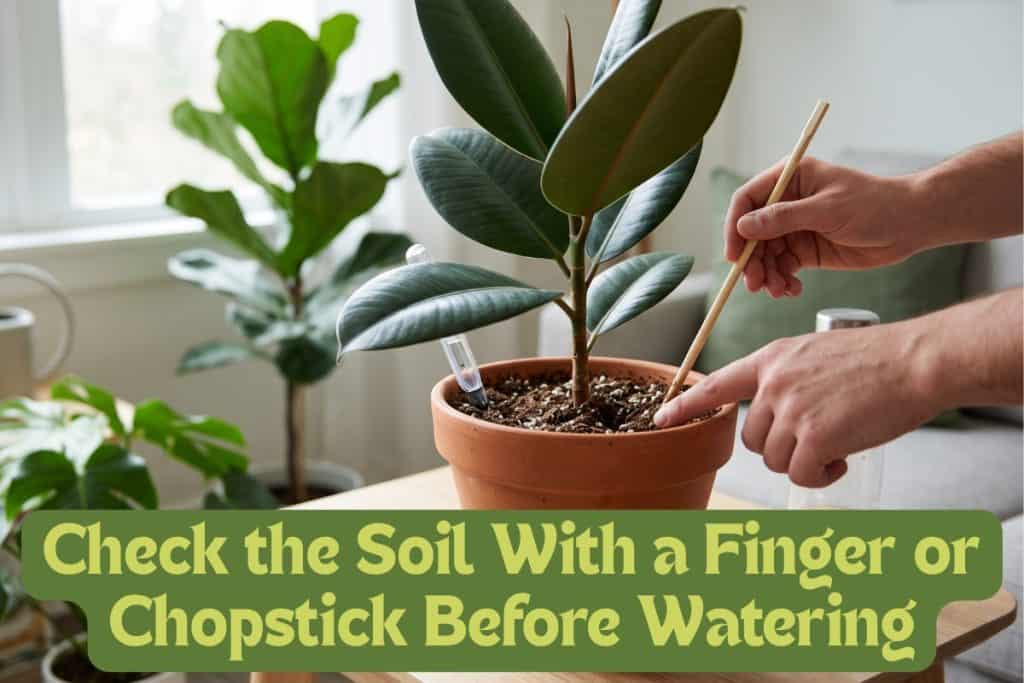
Is It Time to Water?
- Push a finger into the top 2 to 3 inches of the soil to feel for dryness.
- Alternatively, slide a wooden chopstick to test dampness deep in the pot.
- Lift the pot to learn its wet weight compared to its dry weight.
- Use a moisture meter as a backup.
A rubber tree placed in bright summer light uses water quickly, but it uses less water during fall and winter. Shorter days, lower light, and cooler indoor temperatures slow growth and lower water demand.
The soil, especially the root zone, tells the truth, so always check this first.
Water a Rubber Tree in 4 Steps
- Let water sit out overnight to reduce chlorine and reach room temperature.
- Water only when the soil mix feels dry.
- Soak soil from the top until water runs out the bottom, or bottom-water by standing the pot in water to soak up.
- Empty any water left sitting in an outer pot after 15 minutes.
Like rubber trees, jade plants need watering not on a schedule but when the plants show signs of dryness, which you can learn in our guide here.
The Best Soil Mix for Rubber Trees
Soil plays a major role in watering success. A good mix helps water move through the root ball while still leaving air around the roots.
If the soil stays wet for too long, however, even careful watering will not prevent problems. Additionally, you want to aim for a pH of 5.5 to 7.0 for rubber trees, which isn’t usually a problem since it is a wide range.

Signs Your Soil Mix Is No Longer Working
A good rubber tree soil mix should do three things at once: drain excess water, hold some moisture for the roots to use, and stay loose enough to keep air moving through the pot. If you notice the following signs, it’s time to fix the soil:
- Water pools on the surface.
- Water runs straight through without soaking the root ball.
- The root ball has gone stiff and repels water.
5-Step Homemade Rubber Tree Soil Mix
You can buy a chunky houseplant mix for your rubber tree, or make your own. Either way, look for a mix that feels light and airy in your hands.
- Start with 40 to 50 percent quality potting mix for moisture.
- Add perlite and pumice for drainage and air.
- Mix in 10 to 15 percent orchid bark for structure and open space.
- Optional: Add a little activated charcoal to create a slightly airier mix and absorb impurities or excess minerals.
- Optional: Add 1 percent worm castings to improve soil structure and add a slow-release nutrient source.
Repotting Rubber Trees
Rubber trees don’t like change, so they don’t enjoy having their roots disturbed. And when repotted, they can stall for several weeks — so only repot when the plant gives you a reason to do so.
For example, you’ll want to repot your rubber tree when your old soil mix breaks down over time, even if the plant is not severely root-bound.
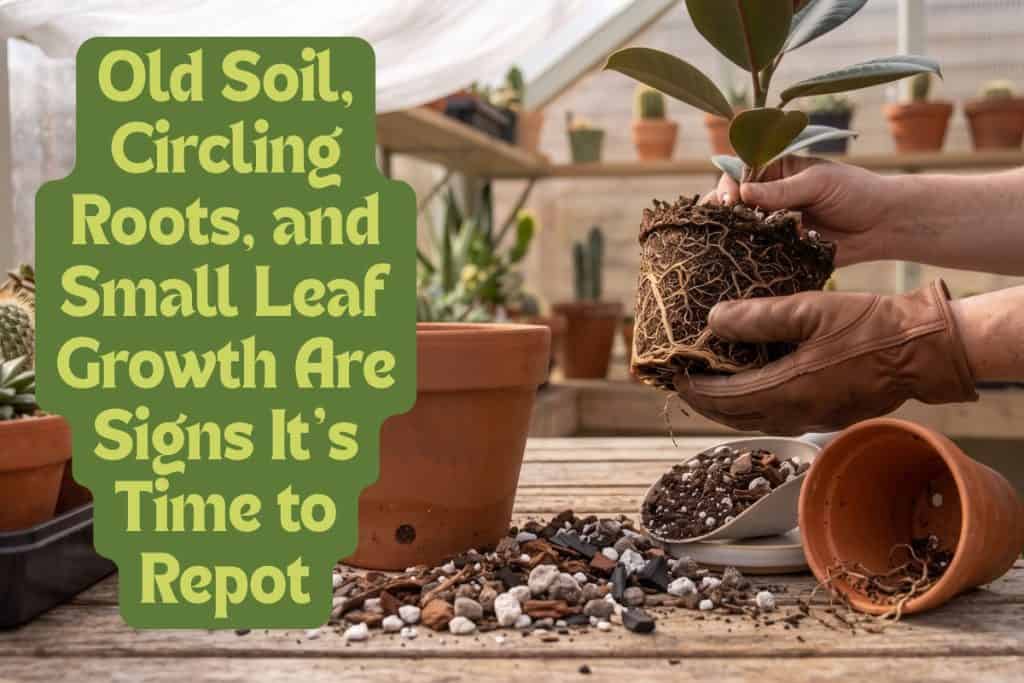
But, if you just brought your tree home, let it settle in before repotting. Ultimately, you should never do more than one thing to stress your plant at a time.
3 Signs It’s Time to Repot a Rubber Tree
- Roots are growing out of the pot’s drainage holes.
- Roots are circling around the top surface.
- Smaller new leaves are appearing, even when light is good.
Before you repot, make sure you choose your new pot size carefully. You want to increase size gradually. A pot that’s too large retains excess moisture in the soil, increasing the risk of rot.
How to Repot Without Stressing the Plant
- Choose a new pot that is 1 to 2 inches wider than the root ball.
- Repot in spring or summer, when the plant can bounce back.
- Add fresh, airy soil mix to the new pot to set the same planting depth.
- Ease the plant out, supporting the root ball (not the leaves).
- Check the roots and trim only clearly mushy or dead ones.
- Leave a healthy root ball intact; don’t pull it apart.
- Fill around it with mix.
- Water from the top, and let it drain fully.
Get Temperature and Humidity Right
When a rubber tree drops leaves, watering often gets blamed first. But sudden environmental change is just as often the real trigger.
A sharp shift in temperature, airflow, or humidity can also cause leaf loss even when watering has been fine.

Common Leaf Drop Triggers
Rubber tree plants drop leaves due to instability. The more your tree’s world changes, the more it reacts. The following factors can all result in leaf drop:
- Transport shock after the trip home.
- Moving to a new location indoors.
- Cold drafts from a window, door, or heat vent kicking on.
- Temperatures dip below 55 degrees Fahrenheit.
Keep a Rubber Tree Stable: 6 Steps
- Keep humidity around 40 to 60 percent.
- Use a pebble tray with water under the plant or a humidifier in arid environments.
- Keep rooms near 60 to 67 degrees Fahrenheit at night and 72 to 80 degrees Fahrenheit during the day.
- When leaves drop, review what changed in the last few weeks.
- If nothing has changed, slide the plant out of its pot and check the roots.
- Fix the most likely cause, then leave the plant alone to recover.
Remember, a rubber tree kept in consistent, middle-of-the-road conditions has less to react to, which is the whole goal.
Fertilizing Your Rubber Tree
A rubber tree needs a lot of energy to make large leaves. Fertilizer supports new growth, but it only helps when the plant is already healthy, well-lit, and putting out new leaves.
In dim winter light, it may not use the extra nutrients fertilizer adds. Unused fertilizer can leave mineral salts behind in the potting mix, and eventually, salt buildup can burn roots.
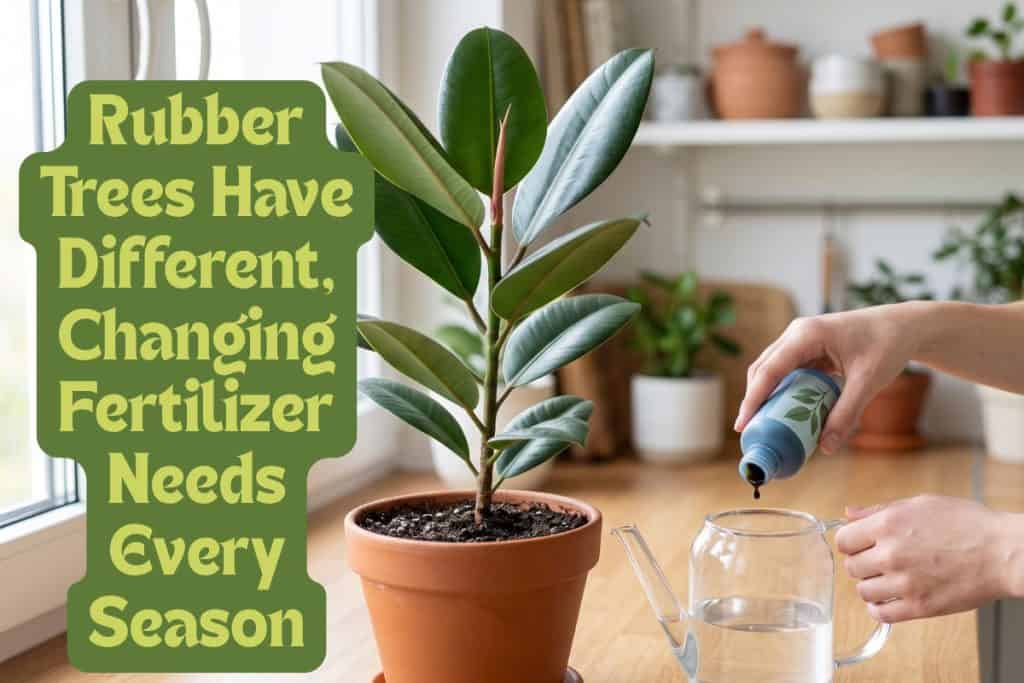
Fertilizer is not a rescue tool. Fertilizer will not fix low light, root rot, or other stresses, and overfeeding can make things worse by encouraging weak, stretched growth. Feed only a healthy rubber tree with new growth.
Rubber Tree Feeding Protocol
- Use a 3:1:2 NPK ratio liquid houseplant fertilizer in spring and summer.
- Start at half strength in spring as growth gets underway.
- Increase to full labeled strength in summer if the plant is growing well.
- Taper back to half strength in fall.
- Skip winter feeding unless the plant is still producing new leaves.
If you’re worried about overdoing it, organic fertilizers like fish emulsion are more forgiving.
Pruning and Branching
If your rubber tree is a tall stem with leaves, pruning will change its shape. As long as the top growing point stays intact, the plant will keep directing energy upward, and lower buds will stay dormant.
Remove that tip, and the hormone concentration is divided. It will go to the buds below the cut and become a new branch or branches.
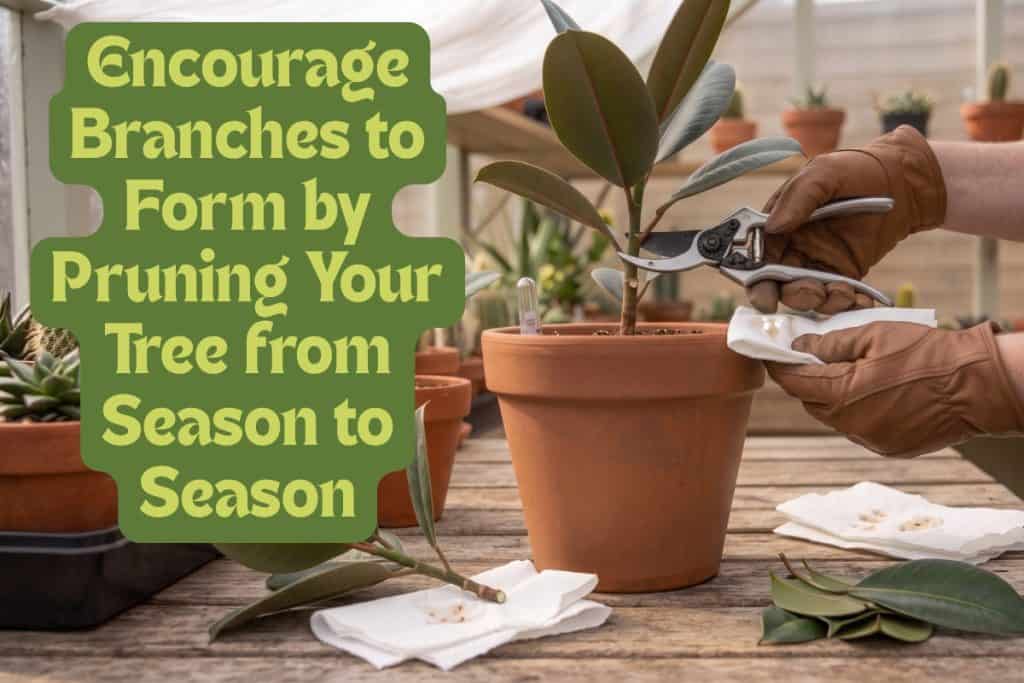
This is why the branching tricks people try, like bending or staking the stem sideways, don’t work. Pruning physically forces the plant to change.
Where you cut and when you cut matters, too. A lower cut creates a fuller, more compact plant. A higher cut preserves more height but leaves more bare trunk below. Give your tree strong light and a little time, and the new growth will come.
6 Steps to Prune a Rubber Tree for Branching
- Decide where you want branches to start (often around 8 inches high on a young plant).
- Find a node, the ringed point on the stem where leaves and buds sit.
- Make one clean cut in the gap between two nodes.
- Blot the white sap with a paper towel as it appears.
- Keep the plant in strong light so it has energy to push new shoots.
- Save the cut-off top if you want to propagate it.
Handling Rubber Tree Sap
The common name rubber tree and the Latin species name “elastica” come from the milky latex sap you see when you cut a stem.
That sap can irritate skin and stain floors, furniture, and clothes, so keep paper towels close. Wear gloves if your skin is sensitive, and avoid touching your face or eyes while you work.
Repeat Pruning for a Fuller Canopy
One cut gives you a fork, not a full canopy. So, if you stop there, the plant will have two stems, not one, which can make it lopsided and unsteady.
Fullness comes from repeating the pruning process many times. Each time you let a new shoot grow out and then pinch its tip, you add growing points below the cut. As a result, the plant gets denser and bushier over time.
Let a branch grow a bit, pinch it back, let the new shoots run, then pinch those, too. Work with the plant’s own pace, and shape it toward the look you want a little at a time.
Branches will grow in the direction the buds point. This is important to remember when creating a balanced plant. If it needs another branch on one side, pick a bud pointing that direction. If the plant is lopsided, prune the stronger side and let the weaker side catch up.
Pruning a Rubber Tree for a Bushier Plant
- Let each new shoot grow until it has about 6 or 7 leaves.
- Cut its tip in the gap between two nodes.
- Wait for fresh shoots to break below that cut.
- Repeat seasonally on the branches you want to thicken.
Pruning can also help fiddle leaf fig plants branch out and become fuller; learn how to master this in our guide here.
How to Propagate a Rubber Tree
Don’t toss the tops you remove while pruning! These are free plants.
Because the growing tip is still attached, a whole top cutting can root and continue growing upward, making it the fastest way to get a second sizable rubber tree. You can also divide that stem into smaller sections for multiple new plants.
Give cuttings bright, steady light while they root, and avoid starting them in the fall and winter. In these darker, colder weeks of the year, a rootless stem will take much longer to root.
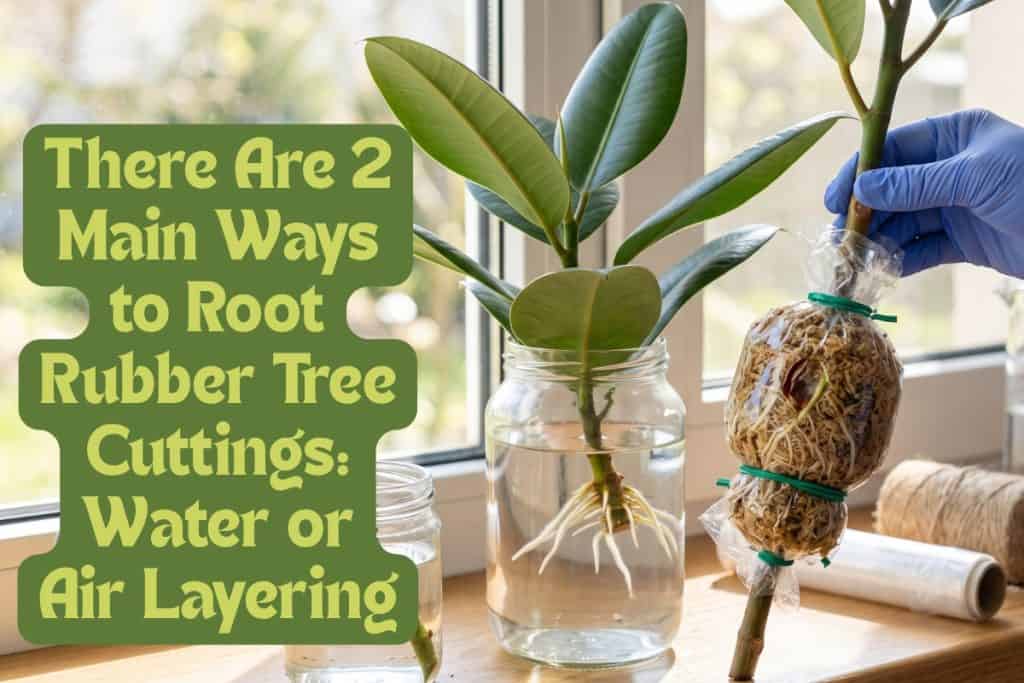
How to Root a Rubber Tree Cutting in Water
- Remove the lower leaves so they don’t get wet.
- Stand the stem in water, with the leaves above the surface.
- Change the water every 2 to 3 days.
- Wait a few weeks for roots to form.
- Pot the rooted cutting into an airy soil mix once roots appear.
Make Single-Node Cuttings for More Plants
If you want several new plants, cut the removed stem into sections between nodes. Each section needs one leaf and one node. Even a small piece can grow from that single point.
You can root single-node rubber tree cuttings in water or a light potting mix.
Single-node cuttings do produce more plants, but each one starts smaller and takes longer to grow than a whole-top cutting.
Air Layering a Rubber Tree
Air layering is a propagation method that allows you to grow a second rubber tree plant (and root it!) while it’s still attached to the parent plant.
This approach is a good option for a thick, woody rubber tree stem that may be slow to root as a standard cutting.
- Choose the spot carefully, usually just below a leaf node; this is where the new roots will form.
- Wound the stem, then pack the area with a handful of damp sphagnum moss.
- Wrap it in clear plastic.
- Secure the wrap at the top and bottom with ties or tape to hold the moss in place and keep it moist.
Once roots are clearly visible and fill much of the moss, it’s time to separate your new plant. Cut the stem off just below the rooted section, remove the wrap, and pot up the new plant.
Money trees can be propagated with a similar approach, which you can learn about in our guide here.
Common Rubber Tree Pests
Rubber trees aren’t usually pest-prone, but they can pick up common pests.
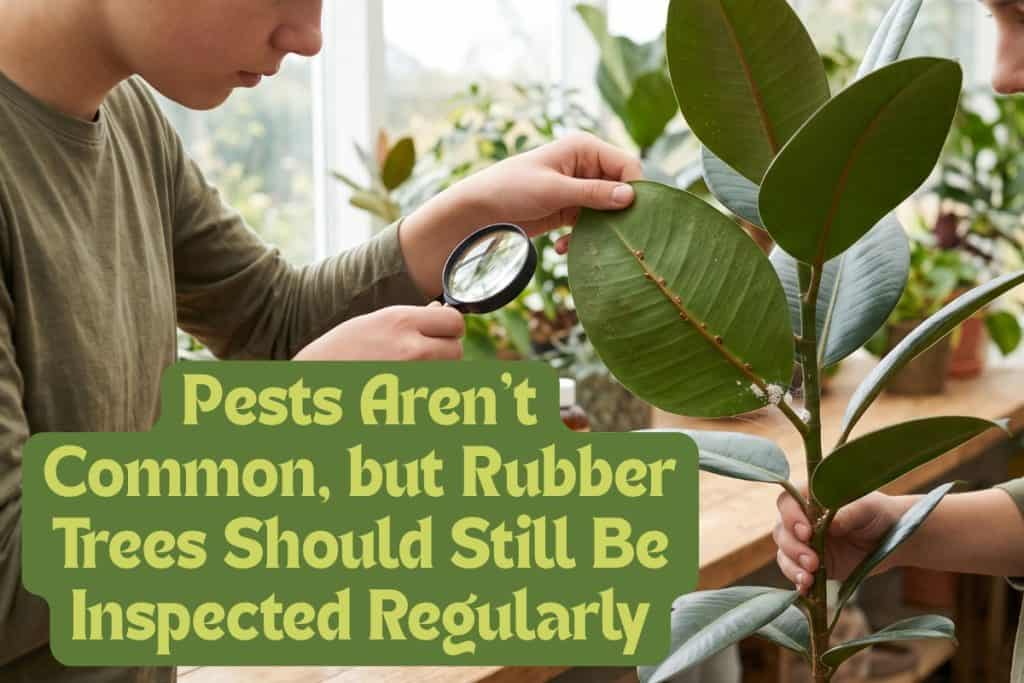
The best protection is buying a clean plant and performing regular inspections. Check the tops and undersides of leaves, along the stems, and at leaf joints every few weeks.
Disease is not a common problem. Bacterial leaf spot can be a problem, so make sure you don’t purchase a plant with lesions.
3 Rubber Tree Pests
- Scale: Shows up as small brown bumps along stems and leaf ribs.
- Mealybugs: Appear as white, cottony spots tucked into leaf joints.
- Spider Mites: Show up as fine webbing and stippled, dull leaves.
If pests do take up residence in your rubber tree, you need to stop them from spreading. Isolate your affected plant and know that eggs are often hidden. One round of treatment rarely clears everything at once.
Check your plants and, if needed, treat them weekly for 2 to 3 weeks.
How to Handle Pests
- Wash the leaves and stems with water.
- Treat visible pests with insecticidal soap, covering every surface.
- Neem oil controls spider mites and is a good all-round control product.
- Wash your hands and tools before touching other plants.
Final Advice
A rubber tree is more forgiving than it can seem during the first few weeks in your home. These trees just want a stable home environment like the rest of us. Give yours a bright spot, don’t fuss over it, and let it settle in — and don’t panic if it drops a few leaves.
Be patient when creating a new shape, too. The full, glossy tree you’re picturing doesn’t show up in a month. It fills in one cut and one season at a time.
Happy growing!