

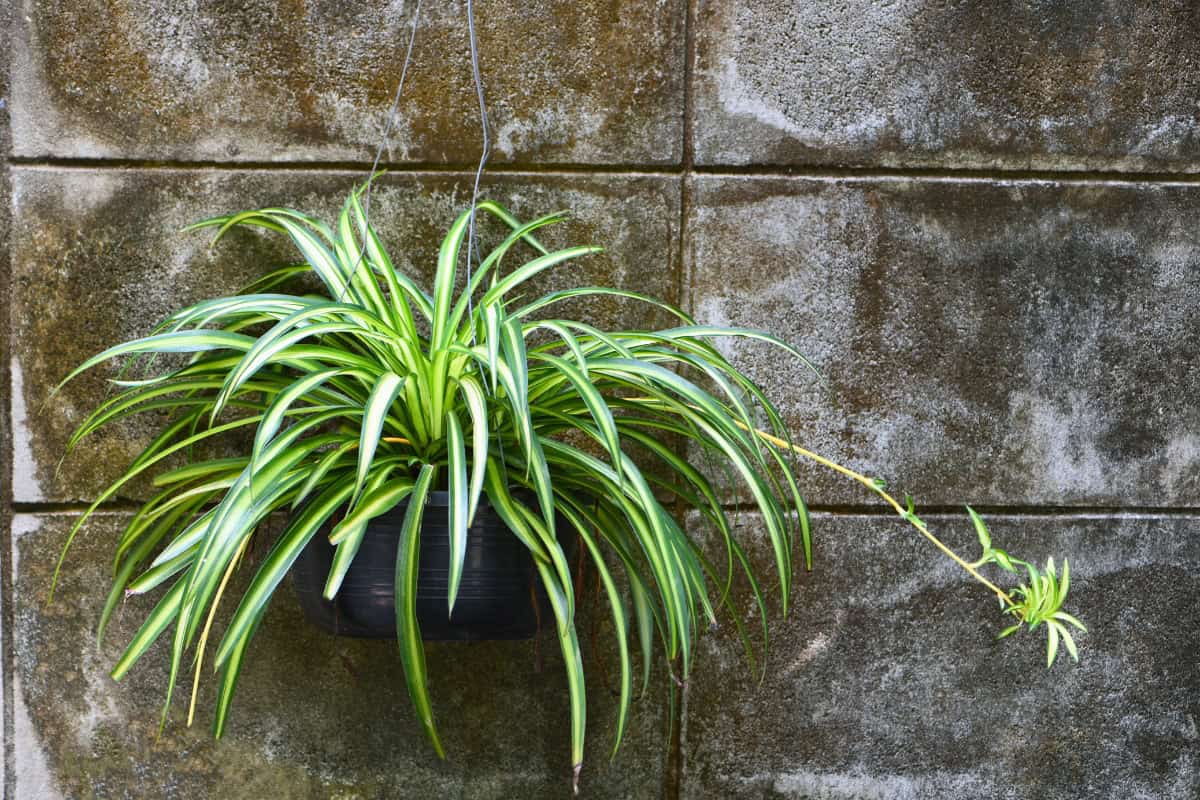
Spider plants got their name from the babies that hang down on the end of their trailing stems. As your plant grows, you’ll also grow multiple complete little plants that are ready to root. Within a year, you can have a dozen spider plants.
But spider plants can face problems, like persistent brown tips and plants that look healthy but refuse to grow babies. In this guide, you’ll learn key care and propagation insights, including:
- Why your spider plant’s stripes are fading, and how to bring them back.
- The water problem that causes brown tips even when you’re watering “right.”
- When a snug pot is fine (and when it isn’t).
- Why some spider plants never develop babies.
For healthy spider plants and a future filled with ready-to-propagate babies, here’s what you need to know.
Know What You’re Growing
Chlorophytum comosum (spider plant’s scientific name) can go by two names in most garden centers: spider plant and airplane plant. They’re the same thing.
However, the confusion makes it hard to look up care information if you don’t know to search both.
Chlorophytum Comosum Plants Are Similar, but Different
Spider plants or airplane plants do have some quirks compared to most common houseplants. The most notable is the root system.
Below the soil, spider plants develop thick, fleshy tuberous roots alongside finer feeder roots. Those white carrot-looking tubers store water and nutrients, which is why the plant can tolerate missed waterings without damage. They also change how water flows once the pot fills up. (We’ll dive into that later.)
Before you buy a spider plant, it’s important to know that not all spider plants look the same. The most common variety has creamy-white striping down each leaf. Others have white-margined leaves, curly foliage, or a nearly all-white center.
Variegated types need more light than solid green ones to hold their color. Put a striped plant in a dim corner, and the stripes will gradually fade as the plant produces more chlorophyll to compensate. So, consider light when selecting a spider plant.
Popular Spider Plant Varieties
- ‘Vittatum’: Each leaf has a creamy white central stripe. It’s the most common variegated type.
- ‘Variegatum’: Green leaves have white margins. This variety produces fewer babies than others.
- ‘Milky Way’: Leaves have white-to-cream centers with green margins and lighter overall appearance.
- ‘Bonnie’: Features curly, twisted leaves and is also available in a variegated form.
- ‘Mandaianum’: A dwarf variety with 4- to 6-inch leaves that have a yellow center stripe.
4 Steps to Choose a Plant at the Store
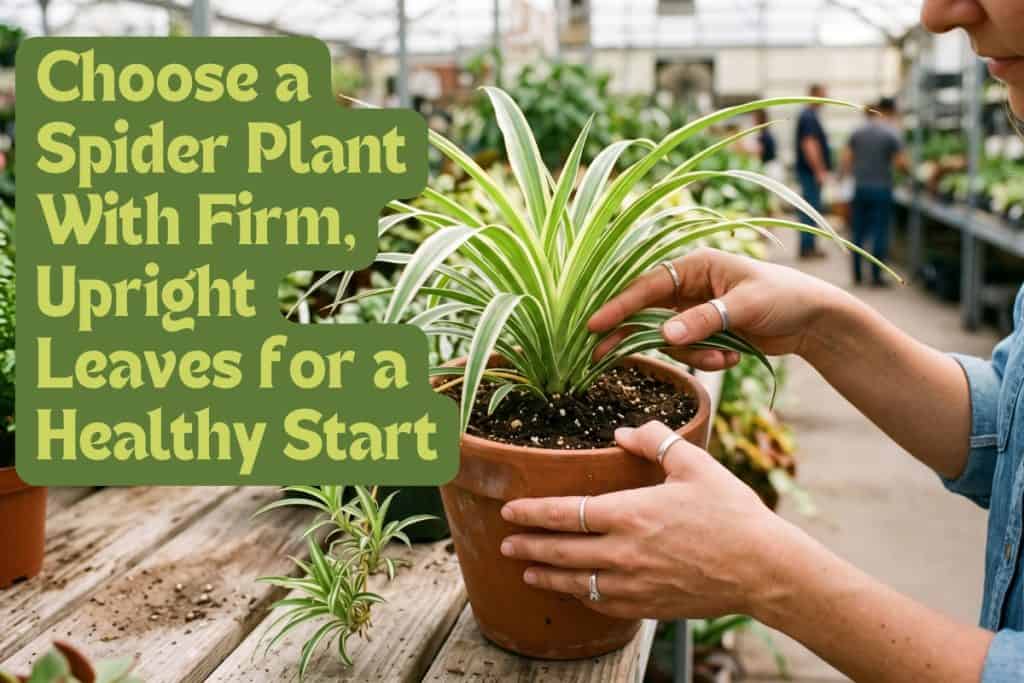
- Look for firm, upright leaves with good color. Skip plants with widespread yellowing, limp foliage, or large brown patches.
- Check the crown and leaf axils for fine webbing, tiny moving specks, or sticky residue, indicating pests.
- If possible, slide the root ball out. Avoid plants with black or mushy roots.
- Minor tip wear is common on retail plants and shouldn’t be a dealbreaker.
How Much Light Do Spider Plants Need?
Light controls color, growth rate, and drives baby plant production for spider plants. Light intensity also matters, but the amount of brightness and darkness each day is particularly important.
That’s because spider plants develop plantlets (or those hanging baby plants) in response to short days and long, uninterrupted nights. A plant kept in the same bright artificial light year-round, or stuck in a dimly-lit corner, may stay alive for years without producing a single offset.
Variegated cultivars are especially sensitive to this. The pale or white portions of each leaf contain little chlorophyll. They can’t generate energy from light the way green tissue full of chlorophyll can. So, when the light drops too low, the plant compensates by going greener. And once stripes fade, they may never fully come back.
Provide the Right Amount of Indirect Light
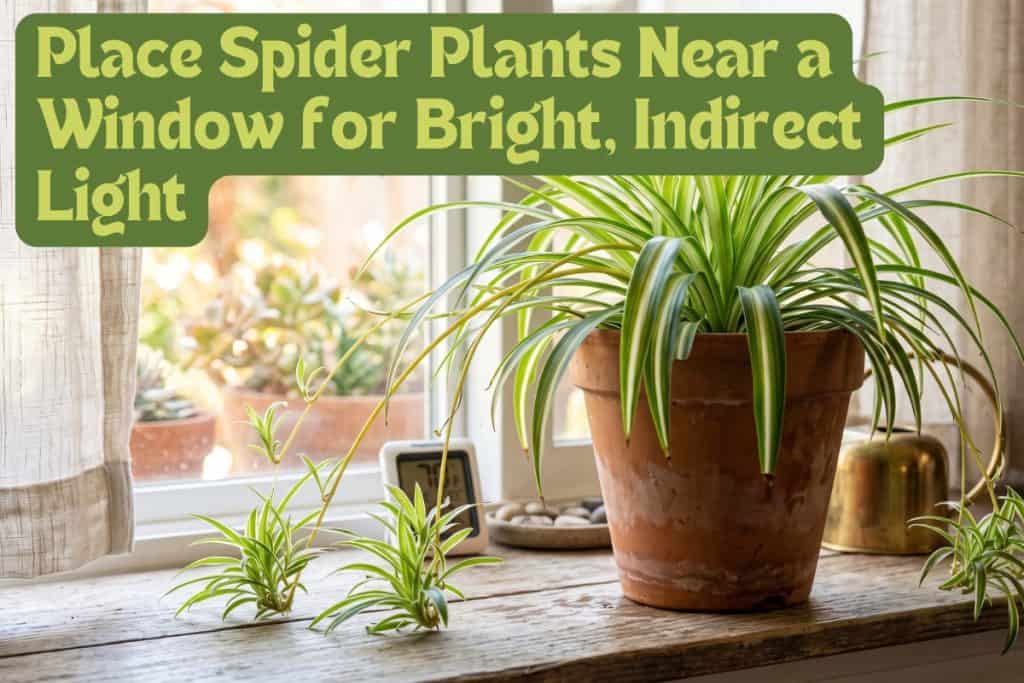
The ideal light for spider plants is bright indirect light. Place your plant near a window, one that won’t deliver direct afternoon sun on the foliage for hours at a time.
Morning sun is generally well tolerated. Hot afternoon sun on thin leaves, on the other hand, leads to bleached patches and crispy edges.
If you live in Zones 9a–11b, you can grow spider plants outdoors as perennials. They can sunburn in full sun, but they work well as groundcover in partly shaded garden beds. (Expert tip: Make sure to plant them in loam soil with a pH of 6-6.5 so the roots get the necessary nutrients.)
4 Signs It’s Time to Adjust Your Spider Plant’s Light
- Too Little Light: Color looks washed out, variegation fades, growth slows, and no babies form.
- Too Much Light: Bleached patches, crispy burns, or signs of damage on the window-facing side occur.
- Extra Humidity: This is rarely necessary. Use a pebble tray or group your plants only if winter heating makes the air very dry.
- Spring Pruning: Prune damaged leaves at the base to help them fill in cleanly.
Positioning Your Spider Plant
- Place near a window with strong light for most of the day. East-facing windows work especially well.
- Pull a few feet back from south- or west-facing windows to avoid afternoon sun.
- In winter, pull back from windows. Cold air pools near the glass and can chill foliage and roots.
- Keep temperatures between 65 and 75 degrees Fahrenheit.
- Keep away from radiators, heating vents, and any source of hot dry moving air.
- In late fall or winter, reduce artificial light to fewer than 12 hours per day to encourage plantlet production.
The variegation of pothos plants also depends on light; learn how to care for them in our guide.
Water the Right Way
Spider plants’ thick tuberous roots store water, and they change how water moves through the pot. In a spider plant pot, the root mass fills the container so water poured from the top can run down the sides and out the drainage holes without wetting the center.
As a result, you might think you watered the plant well, but the reality is the plant is still mostly dry.
But airplane plants (or spider plants) can also be overwatered. This happens not after providing too much water in one session, but rather repeatedly keeping the root zone wet for too long.
Are You Watering Your Spider Plants Correctly?
Your plant isn’t getting enough water if you see signs like:
- Browning tips.
- Curling leaves.
- Dull foliage.
- Slow recovery after watering.
Your plant is getting too much water if you see the following signs:
- Soft or drooping leaves.
- Brown tubers.
- Potting mix never fully dries out.
Water the Right Way in 5 Steps
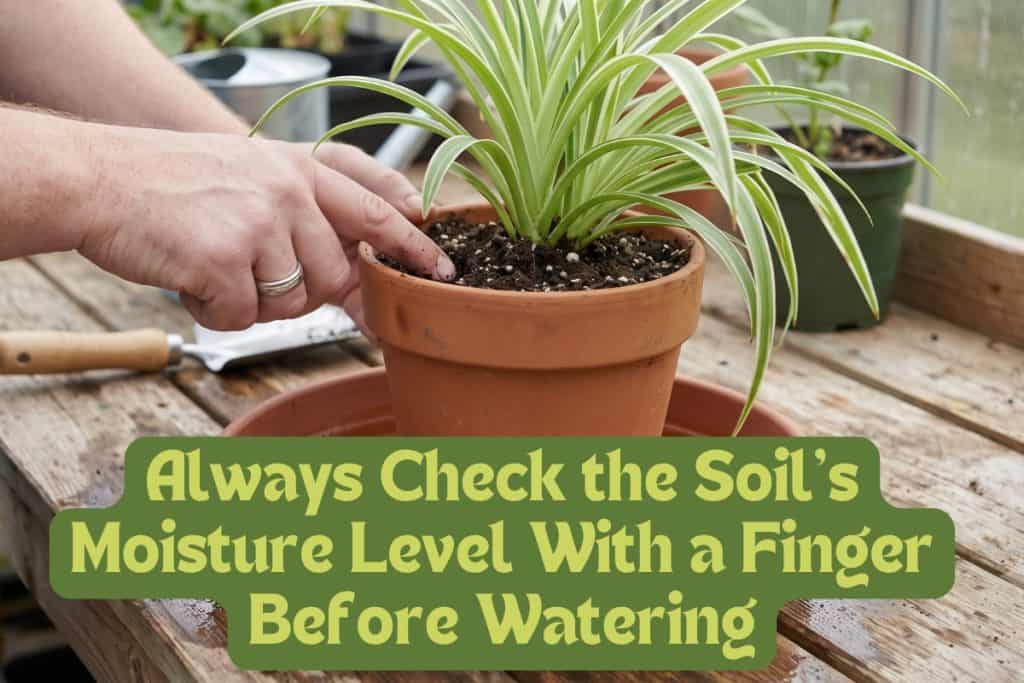
- Check the top layer of potting mix: Insert your finger 1 inch deep before watering.
- Water the entire root ball thoroughly and let all excess drain freely.
- Never leave the pot sitting in water inside a decorative outer pot. Pour out any runoff.
- If water runs through the pot without soaking the root ball, switch to bottom watering: Set the pot in a tray with a few inches of water and let the mix absorb moisture from below for several hours.
- In winter, the mix dries more slowly, so reduce watering frequency to match.
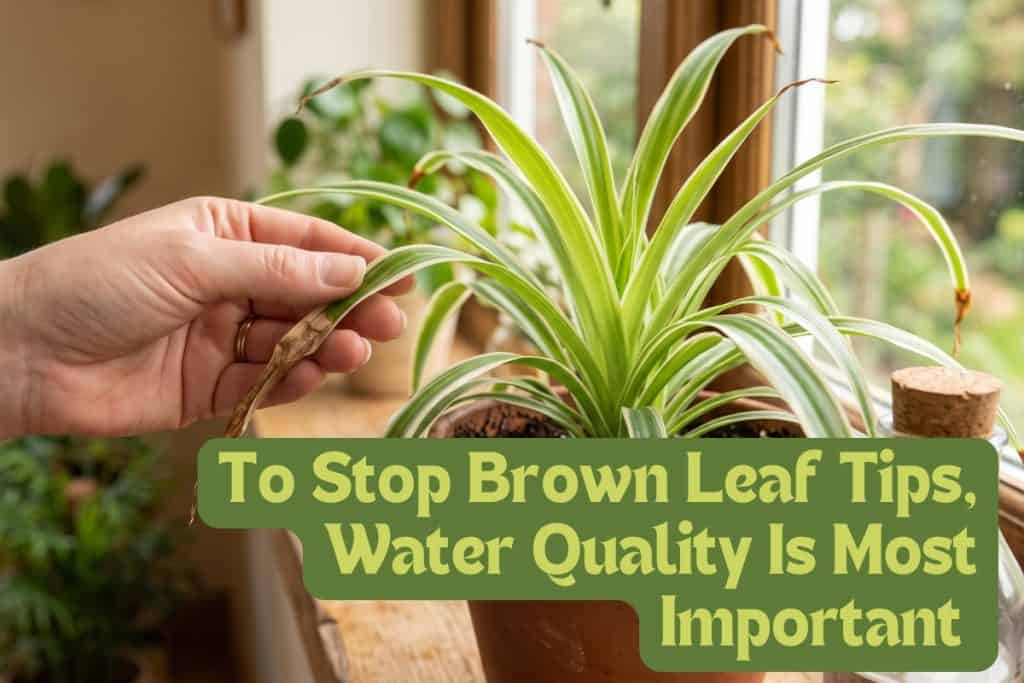
Stop Brown Tips on Spider Plants
Brown tips are the number one complaint people have with airplane or spider plants. It’s so frustrating because it can be caused by several different issues, and the fix depends on which one you’re dealing with.
Water quality is the most common culprit, but hot dry air near heating vents, drought, and over-fertilizing all produce the same symptom.
What Causes Brown Tips on Spider Plants?
Water quality is the most common issue when it comes to brown tips. Spider plants are sensitive to fluoride and chloramine, compounds that are common in tap water. These accumulate in the potting mix over time and cause brown leaf tips.
So, you can adjust your watering schedule — but the tips will keep browning because the problem is in the water itself.
An old trick is to let tap water sit out overnight before using it. That may help with chlorine, which can off-gas into the air. But it doesn’t help with chloramine, which doesn’t evaporate and is now common in many municipal water supplies.
5 Tips to Stop Tip Browning
- Water spider plants with distilled water or collected rainwater.
- Alternatively, use an aquarium-type water conditioner liquid that neutralizes both chlorine and chloramine before watering.
- If brown tips persist, ensure the plant isn’t near a heat source.
- Check that the potting mix isn’t drying out too deeply.
- If tips worsen after fertilizing, cut back on frequency or dilution.
Choose the Right Soil and Pot
Spider plants can develop root problems due to their container and soil mix. Poor choices in either (or both) can lead to water retention, which causes issues of its own.
For example, a pot that is too large contains much more wet mix than a small root ball can utilize quickly, so roots sit in excess moisture, causing gradual deterioration. Dense, compacted potting soil remains waterlogged and produces the same effects.
What Soil Is Best for Spider Plants?
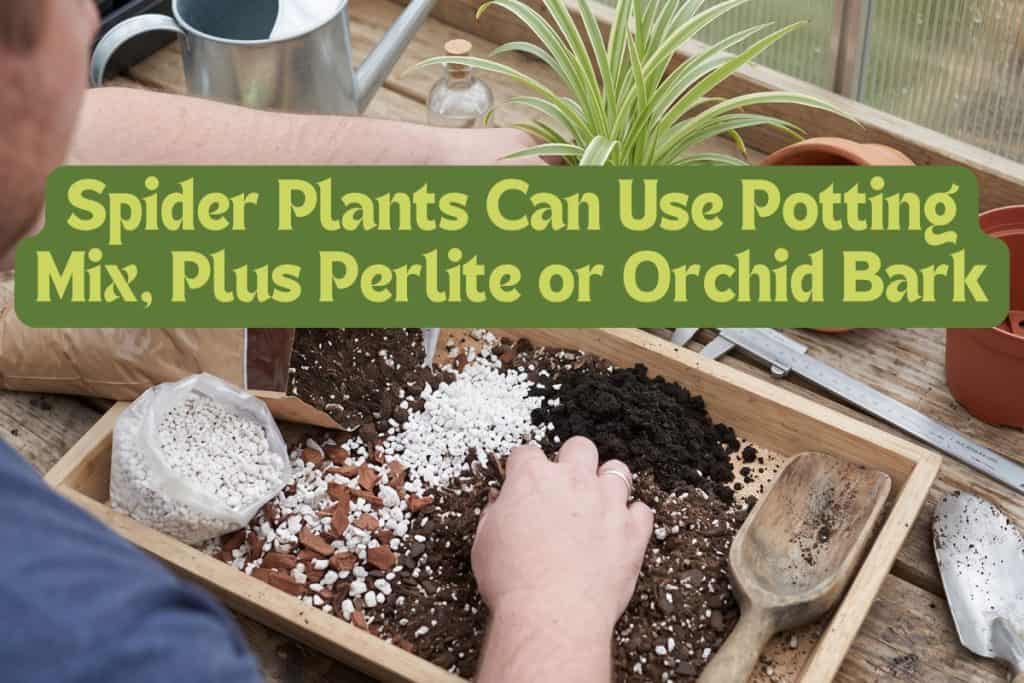
Spider plants don’t need an exotic soil mix. They simply need a well-draining mix that holds enough moisture to support the roots between waterings.
Standard potting mix often becomes too dense for airplane plants once it settles and ages. A coarse amendment can open up the structure and give roots room to breathe.
What Type of Pot is Best for Spider Plants?
The pot you choose matters as much as the soil mix. Drainage holes are required.
Terracotta pots are also a good choice; they dry faster because the clay wicks moisture from the mix. This helps avoid overwatering. However, you’ll need to water more frequently.
A nursery pot inside a decorative cachepot is the most practical setup. You can water thoroughly, drain, and pour off any runoff from the outer pot.
Hanging baskets are a popular choice for spider plants, and they typically drain well.
5 Steps: Prep Soil Mix and Choose a Pot
- Choose a general-purpose potting mix with a pH of 6.0 to 7.5.
- Add 40 percent perlite or orchid bark.
- Blend in worm castings for a light nutritional boost.
- Choose a pot with drainage holes.
- Ensure your pot is only 1 to 2 inches wider than the root ball.
Soil and watering approach also matter for succulents, so read how to care for these plants in our guide.
Fertilizing Spider Plants
Spider plants aren’t heavy feeders, and treating them like they are creates two problems: Too much fertilizer causes leaf-tip browning and reduces plantlet production.
The reason for both issues comes from the plant’s response to excess fertilizer salts. Salt buildup draws moisture away from the roots and damages their cellular structure. This process, known as fertilizer burn, typically shows up first as browning at the tips of the leaves.
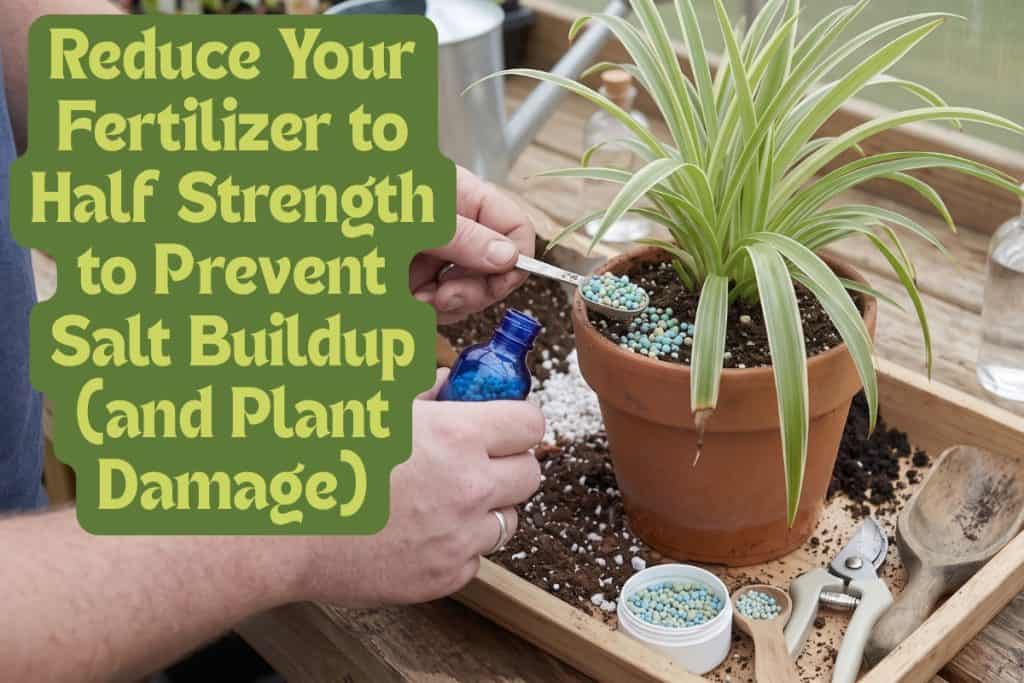
The goal when fertilizing spider plants is to deliver steady, light feeding during periods of active growth. A plant fed this way will look better and produce more babies than one pushed hard with fertilizer every few weeks.
Spider Plant Fertilizing Schedule
- Feed every 3 to 4 months during the growing season (spring through fall).
- If you feed more often, use half the recommended strength.
- Use a balanced (8-8-8) water-soluble or time-release houseplant fertilizer and follow label directions.
- Stop fertilizing in winter when growth has slowed or stopped.
- If tip browning worsens after feeding, cut back on frequency or reduce the dilution.
- Wait 4 to 6 months after repotting before resuming fertilizer.
When to Repot Spider Plants
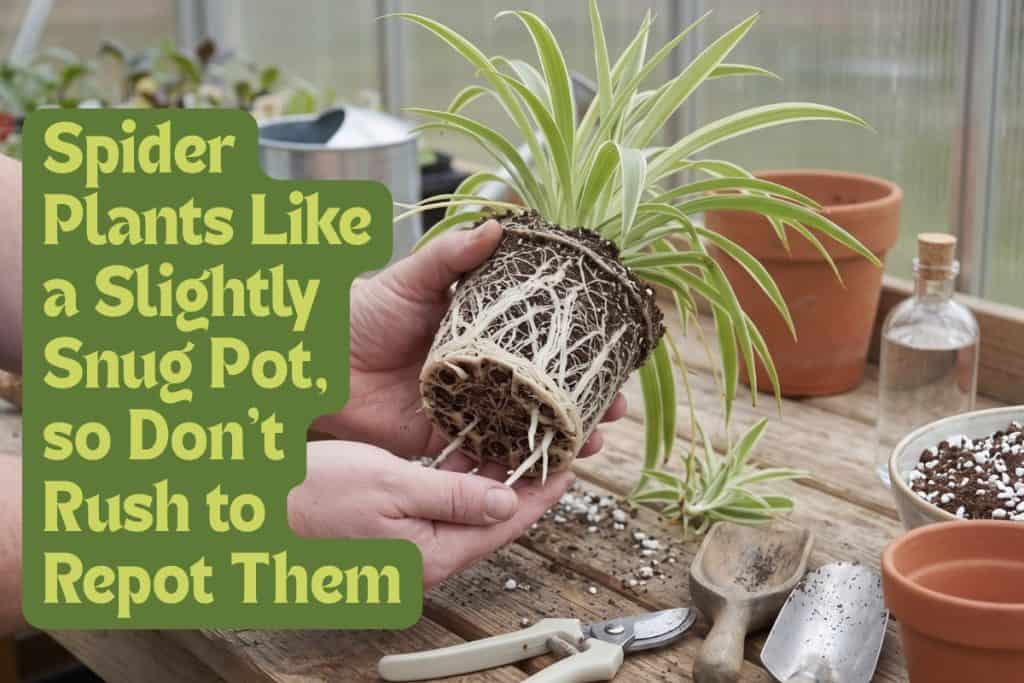
Spider plants prefer being somewhat snug in their pots. A slightly tight root system usually encourages the plant to push out plantlets, so wait until you’ve produced the babies you want before moving up. Roots showing at the drainage holes aren’t automatically a problem.
A plant can stay this way for months without issue. The real trigger is when the root mass has taken over so much of the pot that almost no potting mix remains; then, growth stalls.
3 Signs It’s Time to Repot a Spider Plant
- Roots are emerging from drainage holes.
- The pot dries very fast after watering.
- The root ball is so compact that water runs right through the pot.
Wait for all three signs before repotting unless your pot begins to split (which is common with retail hanging baskets).
How to Repot Correctly
- Choose a pot only 1 to 2 inches wider than the current one.
- Water the plant a few days before repotting so roots are firm and hydrated (and less likely to tear).
- Remove from the pot and loosen only the outer soil gently. Don’t pull the root ball apart.
- Set the plant at the same depth in the new pot. Surround it with fresh, airy mix and settle it in place.
- Water thoroughly right away.
Propagate the Plantlets
Spider plants don’t produce babies on demand. Those little plantlets are triggered by a period of short days.
Specifically, spider plants begin developing the long stolons that eventually carry platelets when they receive less than 12 hours of light per day for at least three weeks.
This is why most babies appear in fall — and why a plant kept in bright artificial light year-round might never produce baby plants.
How Do Spider Plants Form Plantlets?
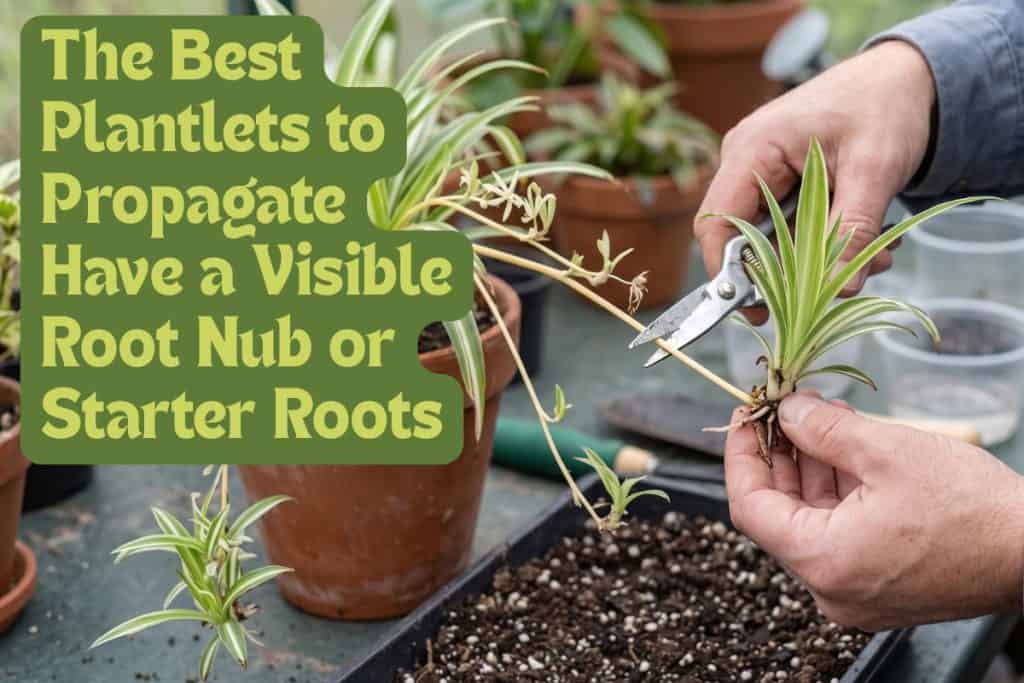
Once stolons appear on a spider plant, flowers form on them. Unpollinated flowers will develop into the plantlets you can propagate. So, you want to watch for a stolon, flower, and then a developing baby with a visible root nub at the base.
The root nub matters. Tiny plantlets without any root initiation can be rooted, but you’ll find faster, more consistent success with babies that already show starter roots.
3 Ways to Encourage Plantlets
- Shorter days are necessary to get started.
- A slightly snug pot encourages offshoot production.
- Temperatures around 70 to 75 degrees Fahrenheit support the flowering that leads to plantlet formation.
How to Propagate Spider Plant Babies
- Choose a baby with several formed leaves and a visible root nub or starter roots at the base. The larger and more developed, the better.
- Cut cleanly from the runner and trim off any excess stem. The goal is a neat little plantlet with the rooting base intact.
- Root in damp sphagnum moss, damp coco coir, or water in a clear container so you can monitor roots and moisture.
- Keep the rooting base moist but not waterlogged. Leaves should sit above the medium.
- Provide bright indirect light and a temperature of 70 to 75 degrees Fahrenheit.
- Cover loosely with a vented plastic cover to retain humidity if your air is dry.
- Once roots are branching and the base is anchored (about a month in), pot into a well-draining mix at the same depth as the original crown.
Learn how to propagate another easy-to-grow plant in our guide to growing snake plants here.
Diagnose and Fix Common Problems
When problems happen to airplane or spider plants, diagnosing them is a challenge because several different issues look the same on the surface.
For example, brown tips can come from water quality, dry air, drought, direct sun, or over-fertilizing. Trimming the tips without fixing the source of the problem just produces more brown tips.
Common Spider Plant Problems and Their Causes
- Brown Tips: Caused by water quality or dry air, not watering frequency.
- Faded Variegation and Weak Growth: Plant needs brighter indirect light.
- Soft, Droopy Leaves With Wet Soil: Caused by overwatering, dense mix, or a too-large pot.
- Plant Dries Fast, Water Runs Straight Through: Plant is severely rootbound and needs repotting.
- No Babies on a Mature Plant: There’s no natural short-day period or light is low.
Spider Plant Pests
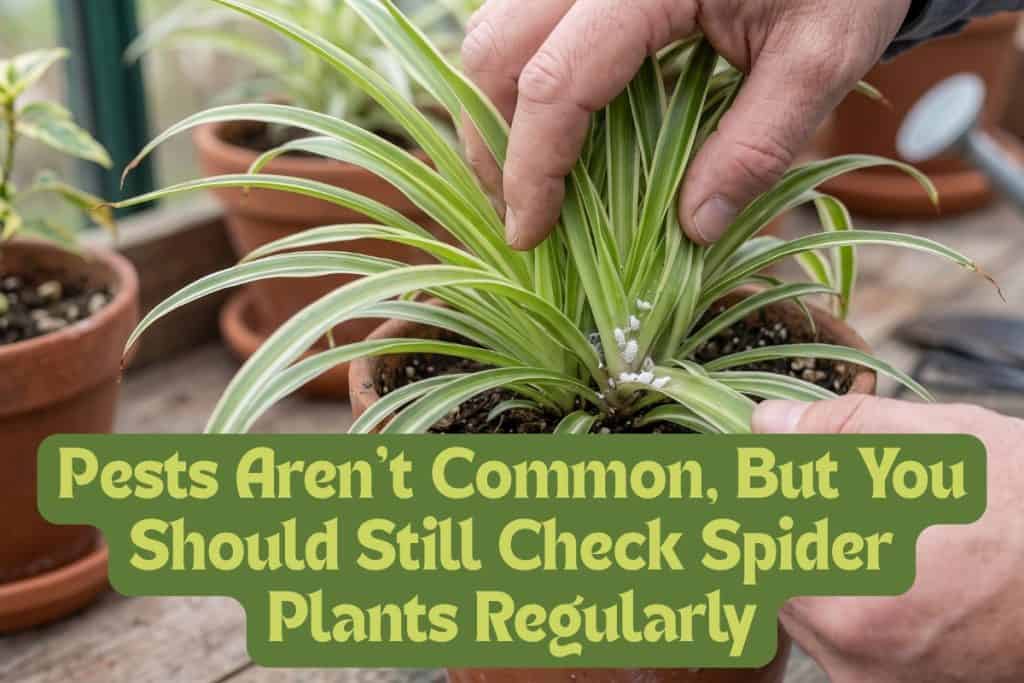
Pests aren’t common, but they do happen. Spider plants are most likely to host mealybugs, scale, spider mites, or aphids.
The dense crown and the leaf bases where leaves meet the center are where early infestations hide. Check there first, before looking at outer leaves, to catch problems before they spread.
Pest-Specific Treatments
- Mealybugs: Check the undersides of new growth. Spray with insecticidal soap, coating all leaf surfaces.
- Spider Mites: Look for fine webbing in leaf axils and under foliage. Insecticidal soap is effective; repeat applications are usually needed.
- Fungus Gnats: Let the top layer of soil dry more between waterings to interrupt the life cycle. Treat larvae living in the soil with a hydrogen peroxide solution.
Learn how to diagnose pests and other problems in flowering plants like chrysanthemums in our guide here.
Final Advice
The two details most people skip when growing and caring for spider plants — getting the light right and addressing tap water quality — take care of the majority of issues. Brown tips and a plant that won’t make babies can almost always be traced back to one of these.
Spider plants are one of the most generous houseplants to share, and they’re long-living ones too. A healthy mother plant in the right conditions will produce more babies than most people have room for. With reasonable care, a spider plant can be around for decades, and so can its plantlets.
Happy growing!
10 thoughts on “Spider Plant Care and Propagation Guide: Everything You Need to Know”
I re-potted a spider plant from a larger garden plant and it did not thrive. I have one last sprout left and it’s not doing well and I’m praying I can revive it. Forgive me if I’m not describing the part properly. I’m new to plants. The root or the trunk part looks to have developed root rot. I got mushy and soft so I snipped that off and placed it in a jar of water. I don’t know if it will grow roots but I wasn’t sure what to do. The leaves are still healthy looking. Can I revive what’s left? HELP!!!!
Hi, yes sounds like it got root rot. Sounds like there is still some crown ther if the leaves are ok, so hopefully it will root in the water. When it gets several good sized roots, pot it up and now you will know to really watch the watering. You could always take the big plant out of its pot and with a shovel or something sharg cut part of it off, roots and all. Just slice all the way through so that you have a big chunk with top and roots and plant that. Put the origiginal back in the same pot with some new soil. Best wishes.
What white liquid do you put on spider plant to propegate?
Hi, spider plants don’t usually need rooting hormone, but you can buy IBA (rooting hormmone) in both liquid and powdered form. Big box stores with a garden department usually have the powdered form. Best wishes.
Hello Diane,
Thank you so much for this post and all the useful information I am a newbie with spider plants, it was growing beautifully but then it just stopped growing, stopped producing babies, all of the tips started turning brown and I only use distilled water once the soil feels dry. I did repot it too soon after reading this post. Should I repot in a smaller pot now or wait? I done this about a week ago.
Thank you for any help!
Hi Tonya, that’s a hard one without checking all the light and everything variables. If you only went up about an inch in size, I would leave it and forfeit having babies for probably quite awhile. and let it adjust. If you put it in a much bigger pot, I would probably put it back in the pot it was in or something smaller so it doesn’t get root issues. Plus the smaller pot makes it panick and want to put out babies to carry on for it. I would give it as much indirect light as possible so it can make as much energy as possible.
Thank you for sharing your expertise with us!
Thank you for visiting the site!
Hello Diane
I’m trying to fine/purchase your book on veggies & fruit care.
I recently moved to Huntsville Al from California and I started a garden and love plants and flowers too.
Thank you,
Judy
Hi Judy,
Thank you, but you can’t find a book because I don’t have one. Just the posts on this website. I used to go to Huntsville AL a lot for business, it is a nice area and will be great for gardening.